Clone a Folder in the View Map
Cloning a folder means that you recreate a Project Map folder inside the View Map.
Consequently, for each new viewpoint you create in the Project Map, a counterpart new view will be created in its cloned folder in the View Map.
For example, if you have cloned the Project Map’s Stories folder, then the cloned folder in View Map will always show all Stories of the Project, even new ones added after the creation of the clone folder.
Moreover, every view in the cloned folder will have identical View Settings - the settings you define when creating the cloned folder.
How to Clone a Folder
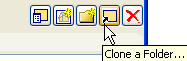
Click the Clone Folder at the bottom of the View Map. This opens the Clone a Folder dialog box.
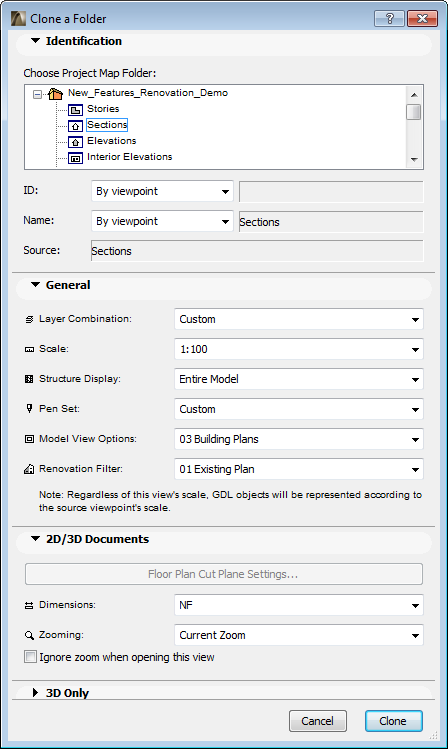
The top of the Clone a Folder dialog box lists all the folders of the Project Map; choose the folder whose clone you want to create in the View Map.
The rest of the controls are identical to those of View Settings. The settings you define here will be applied to every view in the cloned folder. Click Clone to create the cloned folder.
The resulting cloned folder in the View Map will be identified by a special “clone” folder icon, rather than a regular folder icon.

Another way to create a clone is to drag the folder from the Project Map to the View Map, using Ctrl+Shift (Windows) or Opt+Cmd (MacOS) within the Organizer’s View Editor.
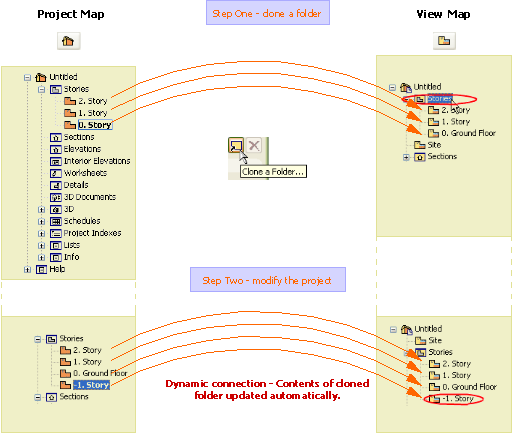
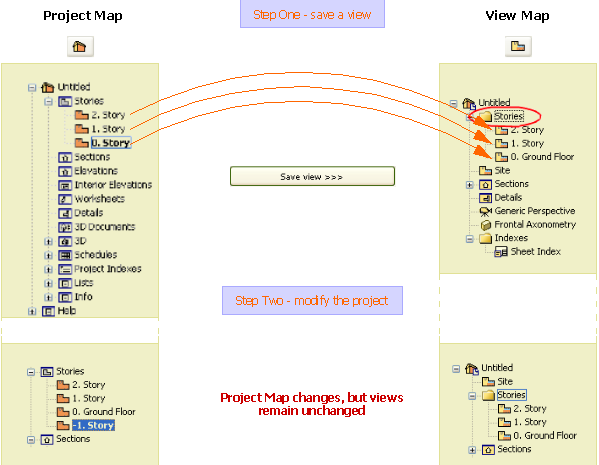
The following two diagrams illustrate the difference between views in regular folders in the View Map (which are not affected by changes in the Project Map structure), and views in cloned folders in the View Map (whose contents change in tandem with changes in the Project Map viewpoints.)
Views in regular View Map folders:
Views in Cloned View Map folders: