To save the view, do one of the following:
•Use the Organizer to drag and drop the viewpoint from the Project Map into the View Map. The current settings are saved as view settings.
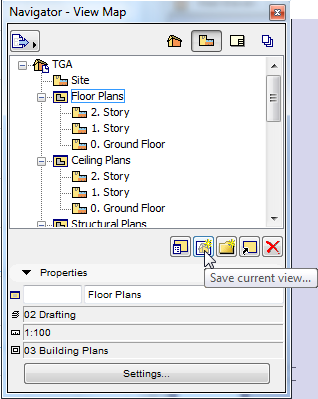
•Click the Save Current view button at the bottom of the View Map. (The View Settings Dialog Box appears, allowing you to modify the settings before saving the view.)
•Select the Viewpoint in the Project map, then right-click and execute the Save Current View command. (The View Settings Dialog Box appears, allowing you to modify the settings before saving the view.)

•Drag and drop the viewpoint from the Project Map into the Layout Book. The current settings are saved as view settings. The new view will appear both in the View Map and in the Layout Book.
•Use the Save View and Place on Layout command, available
•in the active window’s context menu

•in the item’s context menu in the Navigator/Organizer
•as a command in the Document menu.
The current settings are saved as view settings. The new view will appear both in the View Map and in the Layout Book.