
To drag an element, do one of the following:
•With Quick Selection: click on the element’s surface and drag it to its new position.
See Quick Selection of Surface Areas.
•Select the Element; select the Edit > Move > Drag command, and draw a temporary vector anywhere in the active window: the element will be dragged to its new location according to this vector’s length and direction.
•Select the element, select the Drag icon from the pet palette, then drag the element.
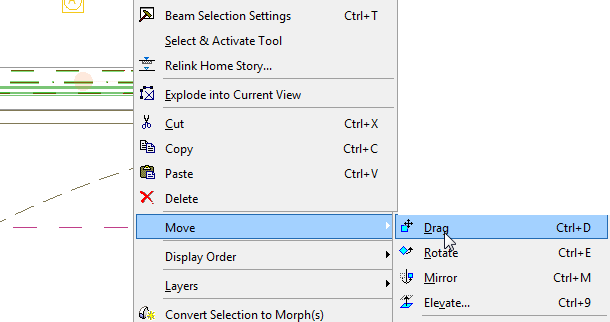
•Select the element, then access the drag command with the context menu or using the Drag command shortcut (Ctrl+D).
Note: To Drag a Copy, press Ctrl while executing the regular Drag command.
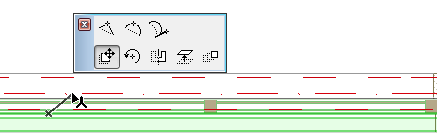
To move a wall, select it, then take hold of it anywhere on its surface and drag it with the cursor to its new location. (The accompanying pet palette shows the “Drag” command activated.)
All selected elements are moved to a new location. Single elements are accompanied by a ghost outline or boundary as you move them. Selections containing grouped elements appear as a grayed bounding box as you move them.
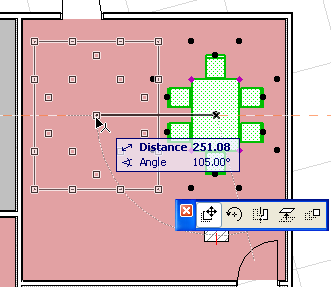
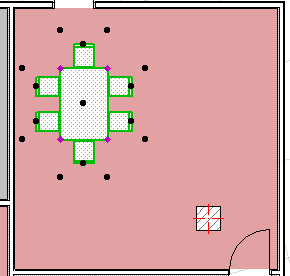
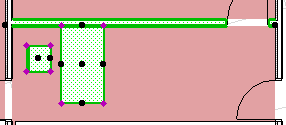
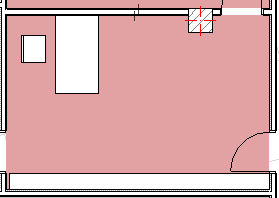
These functions will also work when several elements have been simultaneously selected. All of the selected elements will be dragged along the same vector. In the image below, we select a wall, table and chair, and drag them all at the same time to their new position.
Note: In 3D, dragging can also change the elevation of the selected elements. To constrain the movement of the elements to the horizontal plane, activate the horizontal-vertical angle pair in Options > Work Environment > Mouse Constraints and Methods, make sure the Drag Horizontally icon is active in the appearing pet palette, and keep the Shift key pressed while dragging the elements.