Working with Curtain Walls: Overview
Creating a Curtain Wall involves a simple graphical input. You will select the Curtain Wall tool from the ArchiCAD toolbox, then a geometry method, and then draw a reference line, polyline, contour or arc, depending on the chosen geometry method.
If you use the Boundary method, then your input defines the entire geometry of the Curtain Wall.
If you draw a Reference Line/Arc/Polyline, then the Curtain Wall will be extruded from this line/polyline/arc. The next click, with a “sun” cursor, defines which side of the Curtain Wall should face the “outside”. Finally, a dialog box pops up to allow you to enter basic geometry information for the Curtain Wall. Clicking Place will create the Curtain Wall.
For details on Curtain Wall geometry methods in different windows, see Create a Curtain Wall.
Curtain Walls consist of a set of Members (such as Frames, Panels and Junctions), and each Member’s parameters are defined in Curtain Wall Default Settings.
See Curtain Wall Members.
View the Curtain Wall in your project. If you want to change something, you can approach the Curtain Wall at two levels:
1.either edit the Curtain Wall as a whole, using System-level Settings
2.or edit the settings of individual selected members of the Curtain Wall. To do this, you will enter Curtain Wall Edit Mode, where you can edit selected members either graphically or using member-specific Settings dialog boxes. These individual, edited Curtain Wall members will henceforth have Custom settings.
For System-Level Editing of Whole Curtain Wall:
Select the Curtain Wall; open Curtain Wall Settings; and edit any of its System-level settings again.
Click OK to redefine the Curtain Wall according to the modified settings.
See System-Level Editing.
To Edit Individual Curtain Wall Members:
Select the Curtain Wall; go into Edit mode.
Edit mode shows you your Curtain Wall in 3D. At the Edit mode level, you can delve deeper into the individual components of the Curtain Wall you are editing.
In Edit mode, you cannot place additional Curtain Walls, but you can edit any members of the selected Curtain Wall or add additional members to it. In Edit mode, each member (Scheme, Frame, Panel, Accessory, Junction) has its own Dialog box and its own Tool, enabling you to change settings and place new Members in this Curtain Wall.
To customize the settings of any member of the Curtain Wall, select it and use the dialog box to change its settings. For example, select a panel and change its surfaces. Changing the settings of a selected member will transform that member into a “Custom” member. You can have any number of different customized members. Once a member has Custom settings, the System-level settings no longer apply to it.
In Edit mode, you can create additional members for your Curtain Wall, using the Scheme, Frame, Panel, Junction and Accessory Tools. When using any of these tools to create a new member, you have the choice of using the System-level default settings, or else defining custom settings.
Save changes and leave Curtain Wall Edit Mode to return to your regular ArchiCAD editing environment.
Additional Curtain Wall Commands
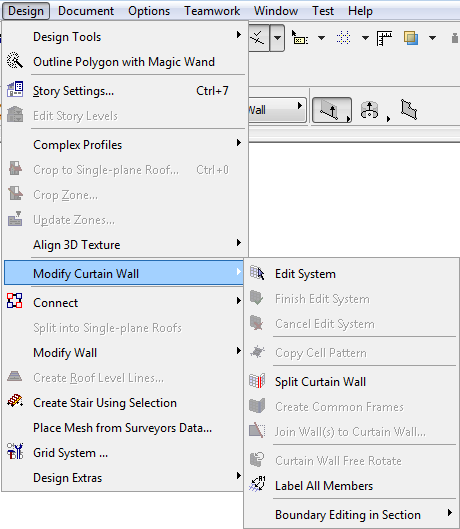
The Design > Modify Curtain Wall menu contains a collection of commands which are specific to Curtain Wall functions. These functions are described elsewhere in this documentation.