
A Curtain Wall Accessory is an optional non-load-bearing member - such as a sun shade, a decoration strip or a canopy - attached to the Curtain Wall at any Frames.
Add New Accessory to the Curtain Wall
Customize an Individual Accessory
In ArchiCAD, accessories can be placed one by one, in Curtain Wall Edit mode only, using the Accessory Tool. (There is no automatic Accessory Placement method.) An Accessory can be configured in Edit mode with custom properties, but you can also set Accessories to use the System-level Accessory settings from Curtain Wall Settings.
To determine whether a given Accessory belongs to the System or is a Custom Accessory, open the Curtain Wall in Edit mode, select the Accessory in question, open Accessory Settings, and view the dropdown at the top of the dialog box:
In ArchiCAD, an Accessory is a GDL object. Its geometry and display attributes are all determined by its GDL parameters, which you can find in the parameter list of the Accessory Type tab page.
An Accessory’s orientation upon placement is determined by the Frames.
Add New Accessory to the Curtain Wall
To add an additional Accessory to an existing Curtain Wall, enter Curtain Wall Edit mode.
Activate the Accessory Tool.
Use the Info Box to define the Accessory type and set Class to decide whether the newly placed Accessory’s properties should be linked to the corresponding page of the Curtain Wall Settings (System Accessory), or not (Custom).

If you want the new Accessory to use Custom parameters, open the Accessory Settings page and adjust the parameters as needed. The Info Box will now reflect that the Accessory Settings are Custom.

Now place a new Accessory in Edit mode.
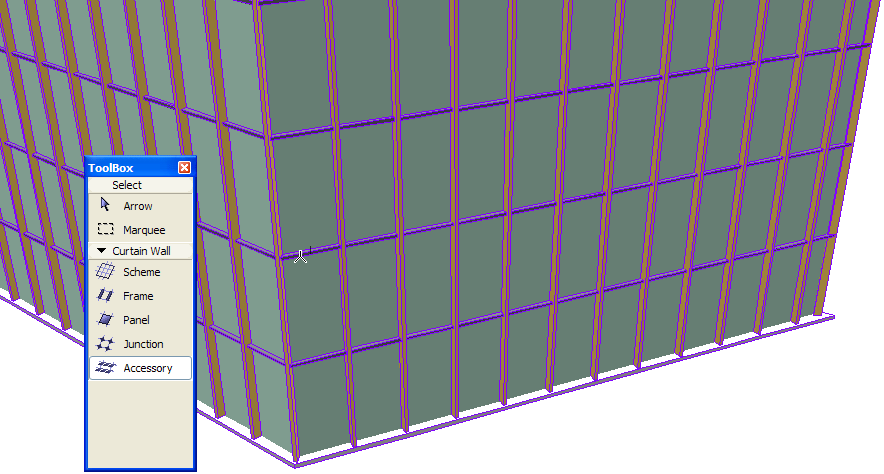
Click on a Frame or a Frame endpoint - the endpoint closest to your click will be used as start of the Accessory.
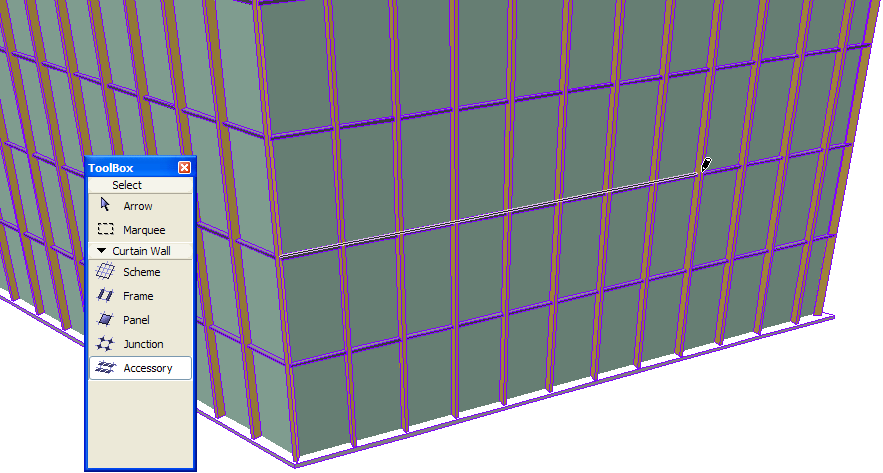
Drag the cursor and click to determine the endpoint of the Accessory.
Click with the eyeball cursor to determine the direction of the Accessory: outside or inside the Curtain Wall.

Moving Gridlines or Frames will move the Accessory along with them.
Customize an Individual Accessory
When an Accessory is selected in Edit mode, you can
•Open Accessory Selection Settings and change them
•Drag the Accessory onto another Frame
•Flip the Accessory to the opposite side of the Curtain Wall (Use the “Flip” button in Accessory Tool Settings or the Info Box)
•Delete the Accessory
Set the visibility to make your work easier (for example, turn off the visibility of everything except for Accessories, Frames and the Scheme.)
Select the Accessory(s) you want to edit.
Click the Accessory tool to enter Accessory Settings.
Make the needed changes. Note that as soon as you make any changes in this dialog box, the “Class” field at the top changes to “Custom Accessory.” This means you have broken the link between the selected Accessory(s) and the settings of the Curtain Wall.
Click OK to leave the dialog box and apply changes to the selected Accessory(s).