Create a 3D Document from 3D Window
1.In the 3D window, set up the desired 3D view of the model: the perspective or projected 3D view; use 3D Cutting Planes; filter or select elements; use Marquee as needed, or perform solid element operations.
2.Create a new 3D Document by doing one of the following:
With any model window (except the Floor Plan) open:
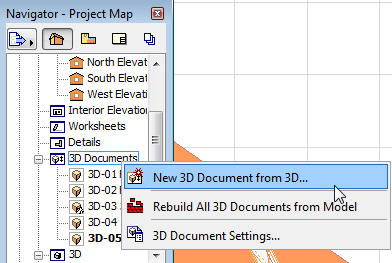
•Use New 3D Document from 3D... from the context menu of the Navigator’s 3D Documents folder.
With 3D window open (with nothing selected):
•Use New 3D Document from 3D command from the context menu
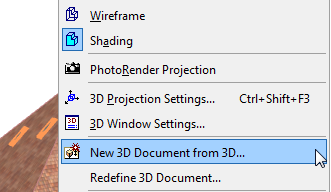
•Use a menu command (Document > 3D Document > New 3D Document; or Document > Documenting Tools > New 3D Document).
3.The New 3D Document dialog box appears.
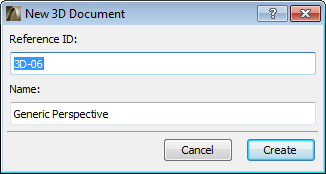
Enter a Reference ID and Name for the new 3D Document; click Create.
Note: Optionally, the name of the source view can be set as the default 3D Document Name.
To set naming defaults, see 3D Document General Panel.
4.The 3D Document is created and opened in its own window. It is listed in the 3D Document folder in the Project Map of the Navigator.
To adjust the content, settings and display of the 3D Document, you can adjust its source view and/or its display settings, and then redefine it.
See the following for more information: