
Create a 3D Document from the Floor Plan
Set up Model View
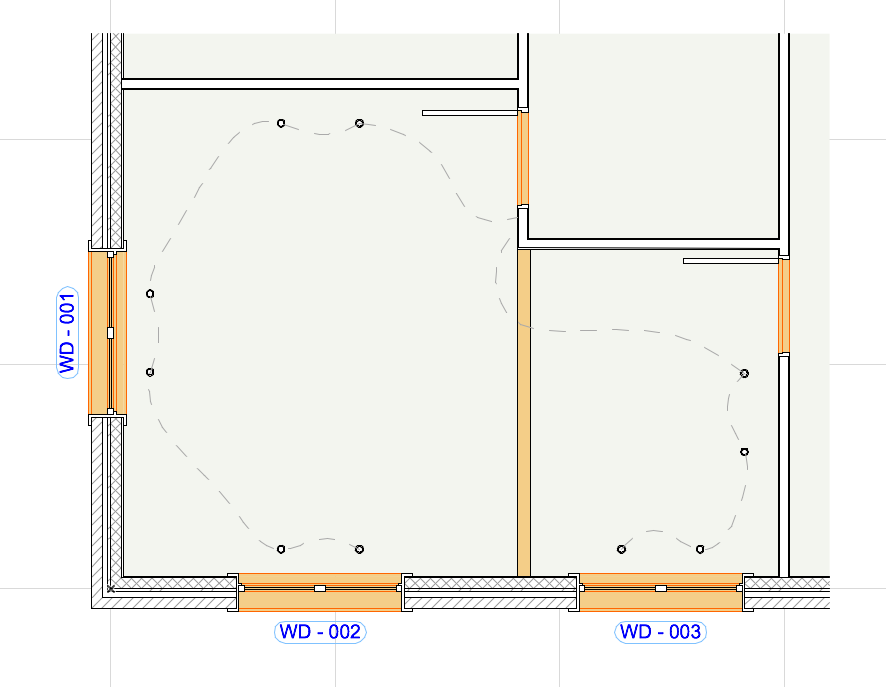
On any story of the Floor Plan, set up the model view you want to see in your 3D Document.
If needed, you can limit the view using Selection or Marquee. (View settings for the 3D window, such as Filter and Cut Elements in 3D, have no effect on 3D Documents created from the Floor Plan window.)
Open 3D Document Default Settings
Do one of the following:
•use Document > 3D Document > 3D Document Settings, or
•use the context menu of the 3D Document folder in the Navigator.
Set up 3D Document Defaults
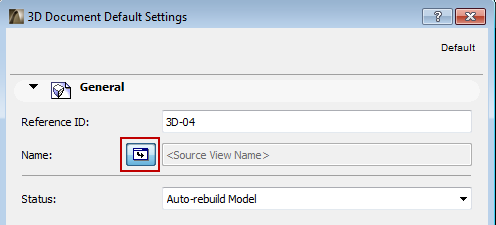
1.In the General panel:
Define a default name (all 3D Documents will use this name), or else click the toggle to activate the Source View Name icon: this will automatically assign the source view as the name of the newly created 3D Document.
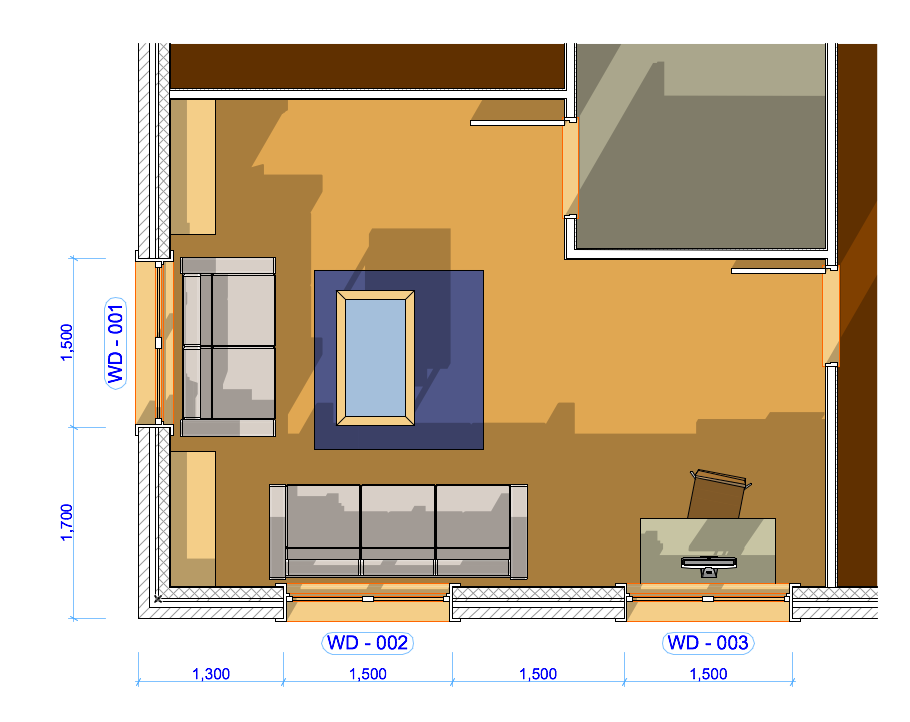
2.In the Floor Plan Projection Panel:
Define Cut Plane Height and 3D Document Direction (Reflected Ceiling or Floor Plan).
For more information, see 3D Document Floor Plan Projection Panel.

Create New 3D Document
With the Floor Plan window open, do one of the following:
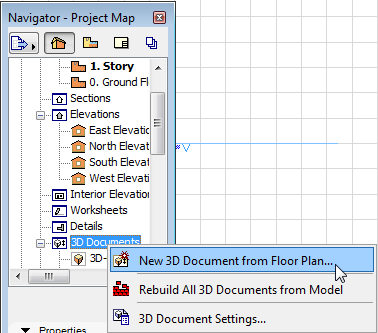
•Use New 3D Document from Floor Plan... from the context menu of the Navigator’s 3D Document folder.
•Use the New 3D Document from Floor Plan command from the Floor Plan context menu (with nothing selected).
•Use a menu command (Document > 3D Document > New 3D Document; or Document > Documenting Tools > New 3D Document).
•Use the New 3D Document from Floor Plan command from the context menu of any Story from the Project Map.
The New 3D Document dialog box appears.
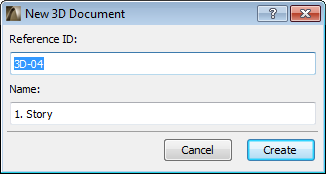
Enter a Reference ID and Name for the new 3D Document; click Create.
The 3D Document is created and opened in its own window.
It is listed in the 3D Document folder in the Project Map of the Navigator.
To adjust the content, settings and display of the 3D Document, you can adjust its view and/or its display settings, and then redefine it.
See the following for more information: