Add/Remove Changes on Layout Revisions
Add an Existing Change to a Layout
Remove Change from Layout Revision
Add an Existing Change to a Layout
Do one of the following:
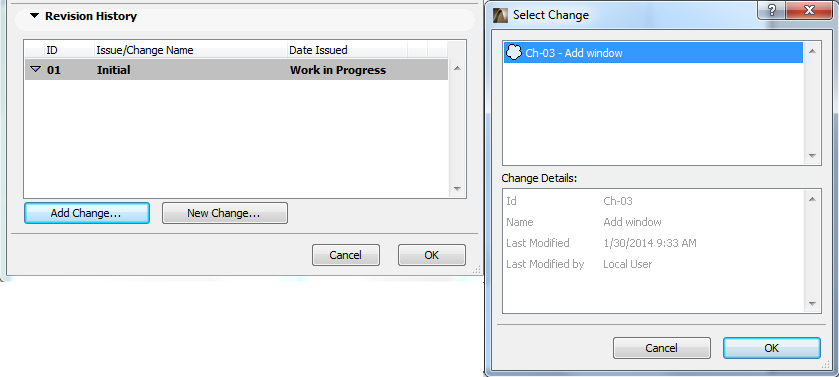
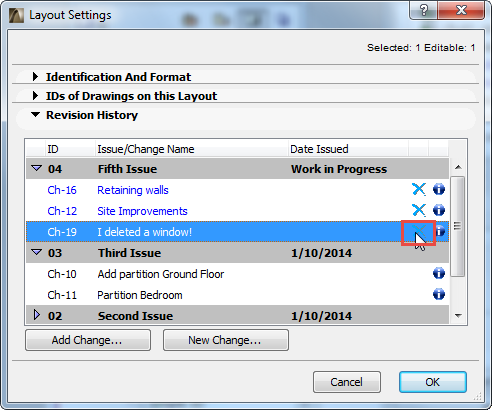
•In the Revision History panel of Layout Settings, click Add Change. From the appearing dialog box, select the Change you want to add to this Layout’s Revision History and click OK.
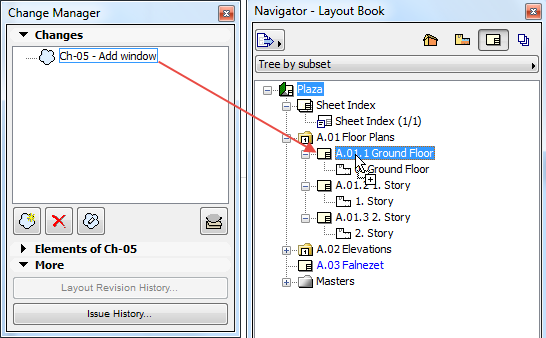
•From the Change Manager, drag and drop the change onto the Layout (either its item in the Navigator, or onto the Layout itself).
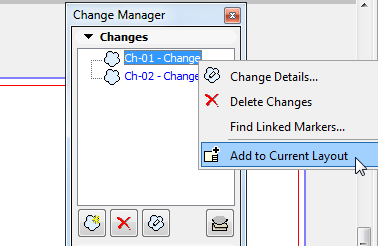
•With the Layout window active, right-click a Change in the Change Manager to add it to the currently active Layout.
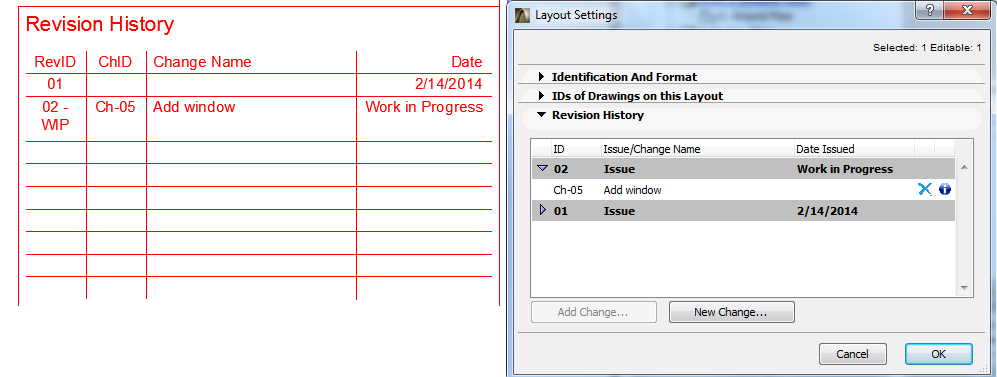
The new Change is now shown in the Revision History, both in Layout Settings and on the Layout itself.
Remove Change from Layout Revision
At any time, you can remove a Change from an open Layout Revision. Do one of the following:
•In Layout Revision History (Layout Settings), just select the unneeded Change and click the blue arrow to remove it from the Layout Revision. The Change will not appear again on this Layout unless you add it back manually (using Add Change).
•With the Layout window active, right-click a Change in the Change Manager to remove it from the currently active Layout.

You cannot remove Changes from the Revisions of closed Issues.