Reservation in Interactive Schedules
Reserve Schemes for Interactive Schedules
Reserve Elements from IS List Window
Reserve All Elements of a Schedule
Colored Feedback in the Interactive Schedule Window
Reserve Schemes for Interactive Schedules
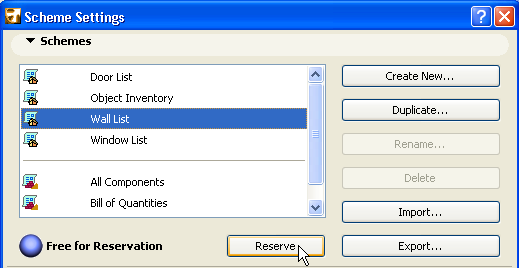
There are two ways to reserve an Interactive Schedule Scheme:
1.Open Scheme Settings.
2.Select the scheme you wish to reserve.
3.If it is free for reservation, click Reserve.

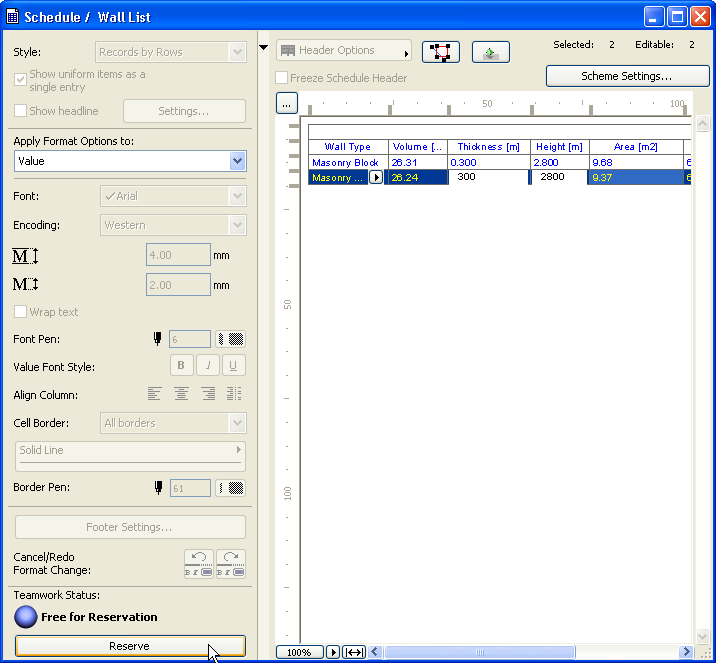
Alternatively:
1.Open the Interactive Schedule window.
2.At the bottom left corner, click Reserve.
Reserve Elements from IS List Window
You can reserve any elements directly from the Interactive Schedule window (typically because you wish to edit the element).
1.In the Interactive Schedule window, select the element(s) you wish to reserve.
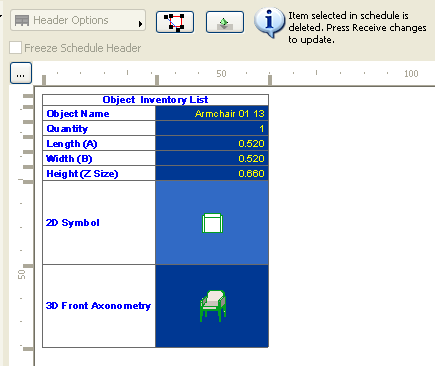
2.A message at the top of the window provides feedback on the elements’ reservation status.
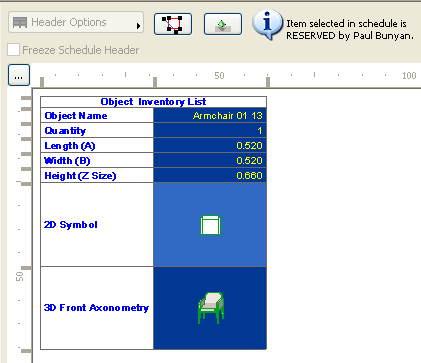

“Elements referred by the selected item” means that the selected item does not correspond to a single element. In the picture above, the single element selected in the schedule (Masonry Block) actually refers to four different elements, as indicated by the “Selected: 4” information at the top. Thus, one or more of these four walls is reserved by another user; the Teamwork Palette shows the Request command.
3.If the element is free for reservation, click Reserve from the Teamwork Palette. (If it is reserved by another user, you can Request it.)
Even if the selected element is free for reservation, or if you have already reserved it, it may still not be possible for you to edit it. In this case, the Interactive Schedule window will provide information about the problem, as in these cases:
•if the element’s layer is locked or hidden. You must unlock or unhide the layer before you can edit the element.
•if you do not have the Access Right needed to edit the element.
•if the element is not up to date in your workspace. You must Receive changes before you can edit it.
Reserve All Elements of a Schedule
Use the Reserve by Criteria function to reserve all the elements listed in a given Schedule window. Just add one or more Schedules to the Project Region. Ensure that “All Types” is chosen as the criterion, then click Reserve Elements.
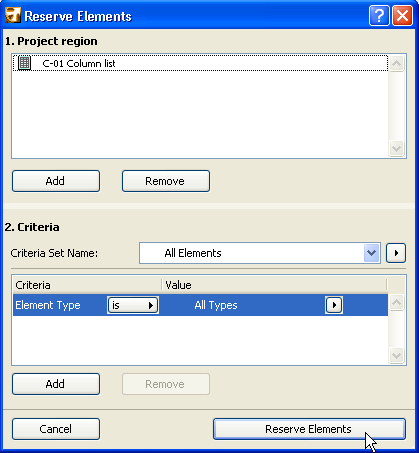
See also Reserve Elements by Criteria.
Colored Feedback in the Interactive Schedule Window
You can use Colored Workspace options to indicate element ownership. (For example, you can show each schedule item is shown in the color of the user who has reserved it, by switching on “Show Reservation by Users” in the Teamwork Palette.)
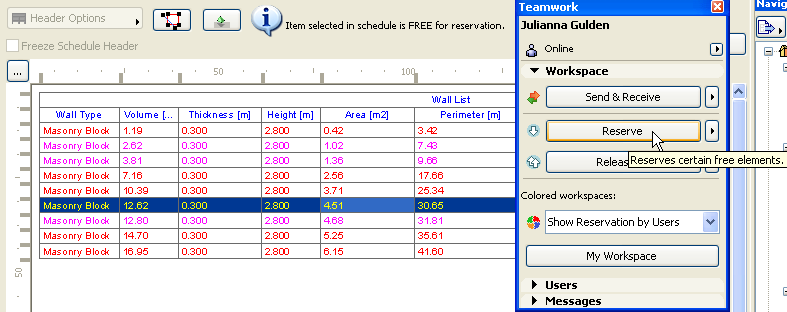
If a selected schedule item is free for reservation, you can reserve it from the Teamwork Palette, using “Reserve.”