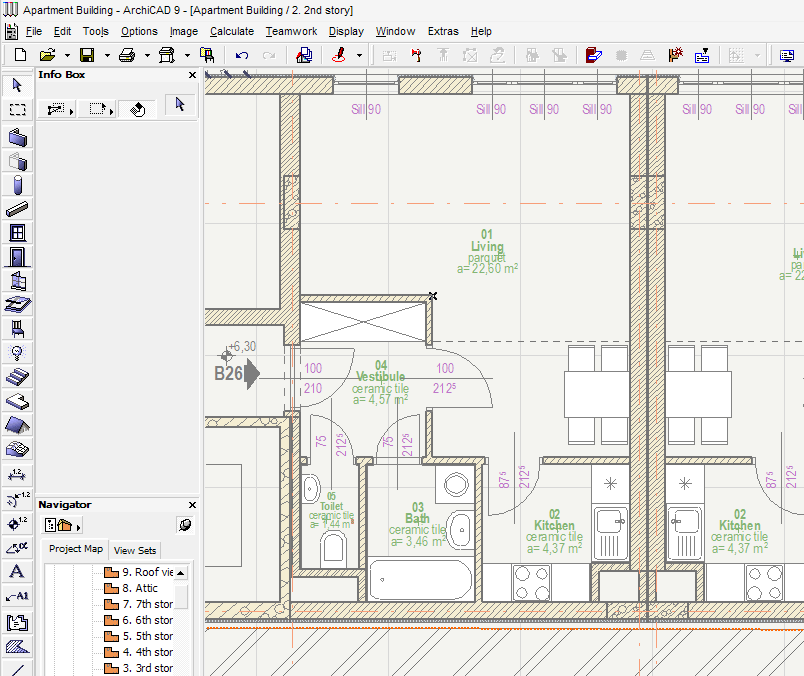
Let us say a Drafter is working on an Apartment building. The Architect wants to review an apartment (e.g. Apartment B26) and make design modifications to it, if necessary.
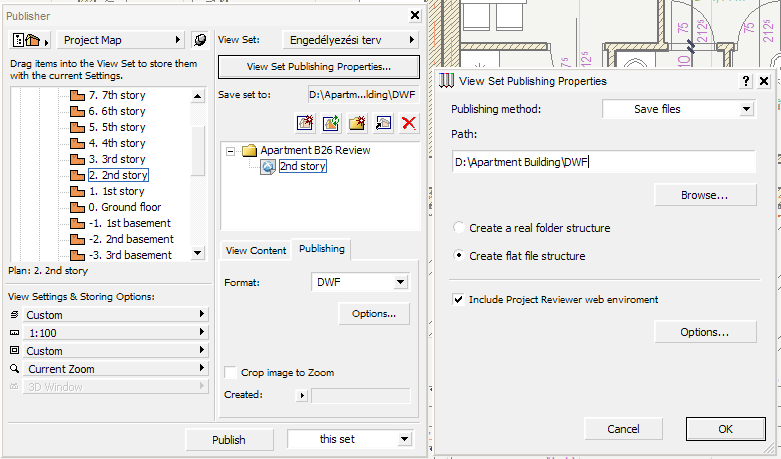
1.The Architect asks the Drafter to send him drawings to review. The Drafter goes to Publisher in ArchiCAD. Here he selects the 2nd Story for Publishing in DWF format. The DWF file is part of the ‘Apartment B26 Review’ Publisher Set. He sets the path for the saved files in the Publisher Set Properties Dialog. Also here, he checks the ‘Include Project Reviewer web environment’ checkbox so the necessary Java application is included with the saved files.
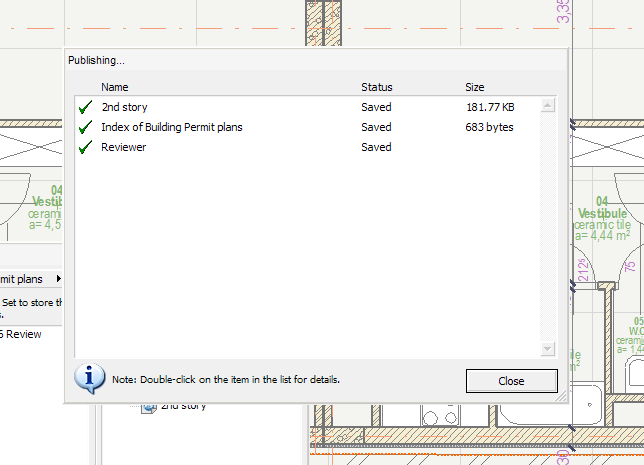
2.The Drafter then publishes this set or drawing.
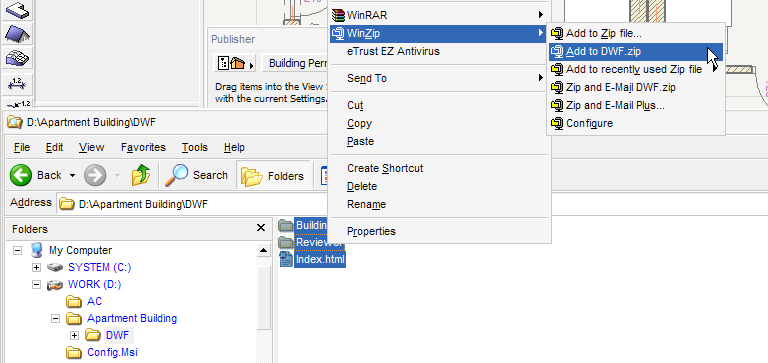
3.He then finds the saved files on his computer, compresses them into one file (ZIP for example) if necessary, and sends them over to the Architect. It may be advisable for the Drafter to open the saved HTML file before sending it to ensure everything is OK and data were saved correctly.
4.The Architect receives the files. He double-clicks the HTML file to start the Project Reviewer web environment.
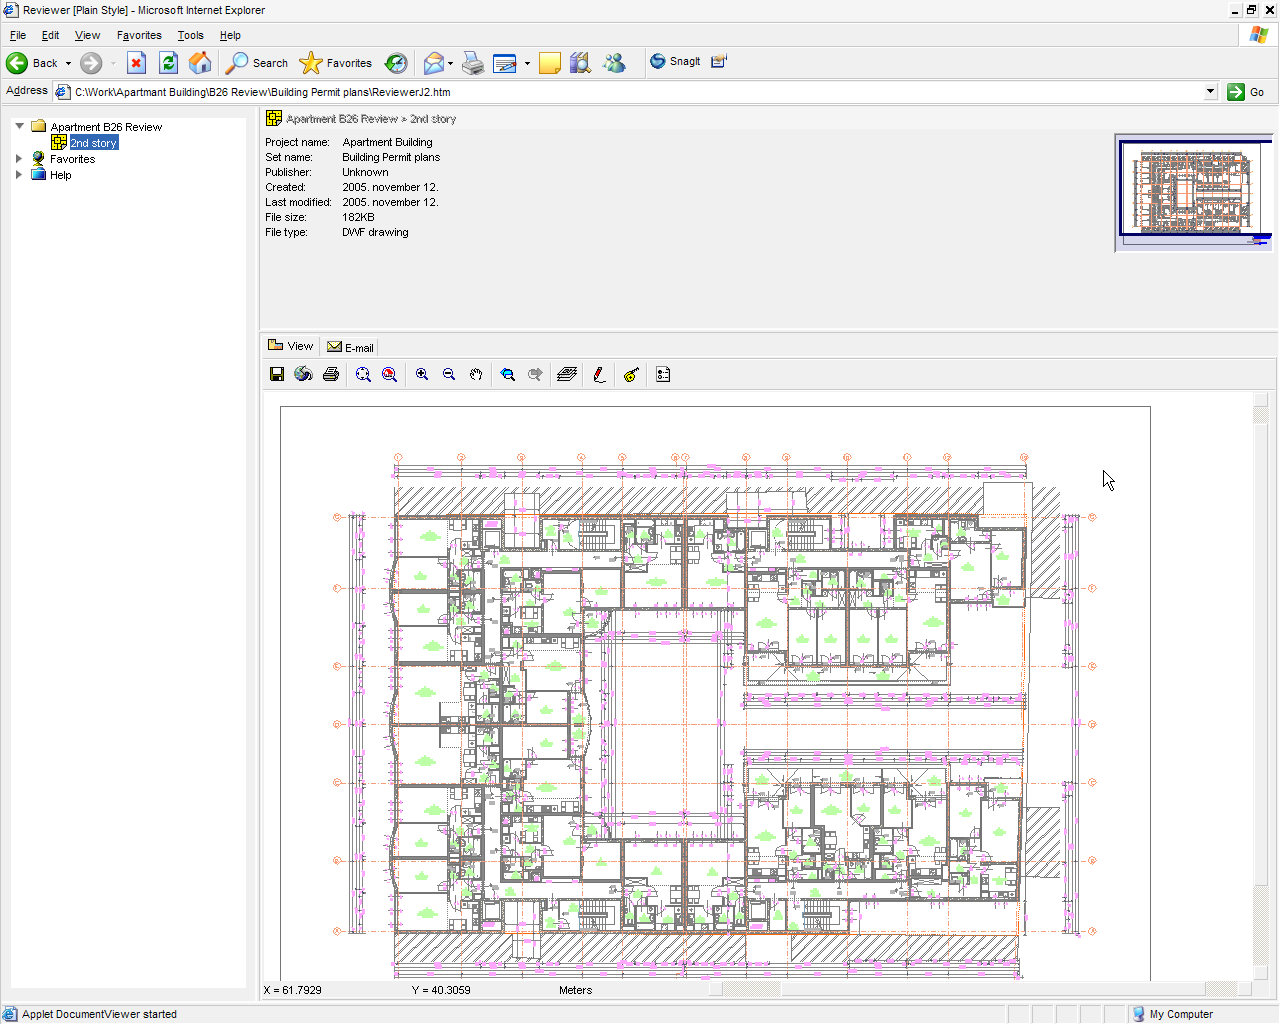
5.He moves in on the area in question and begins to review it.
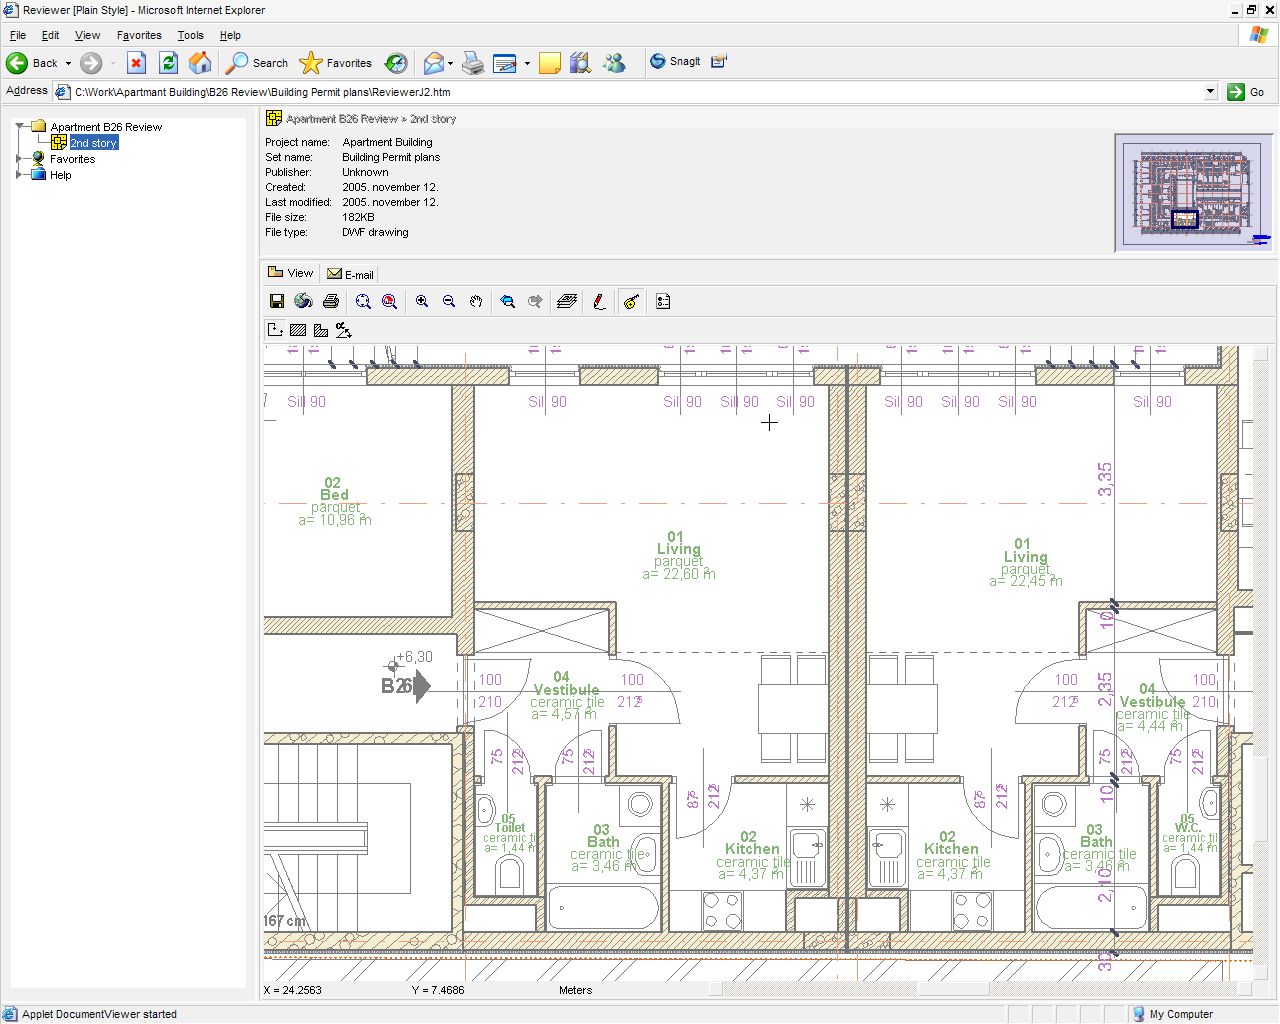
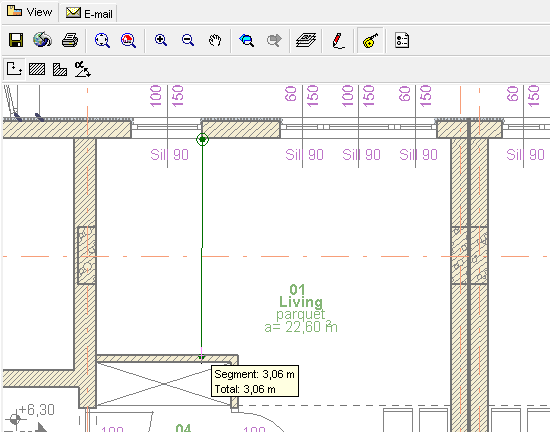
Here he might have several thing he wants to check. For example, he may check, using the Tape Measure Tool of the Surveyor Toolbar to see whether the Bath is wide enough or the Living is wide enough.
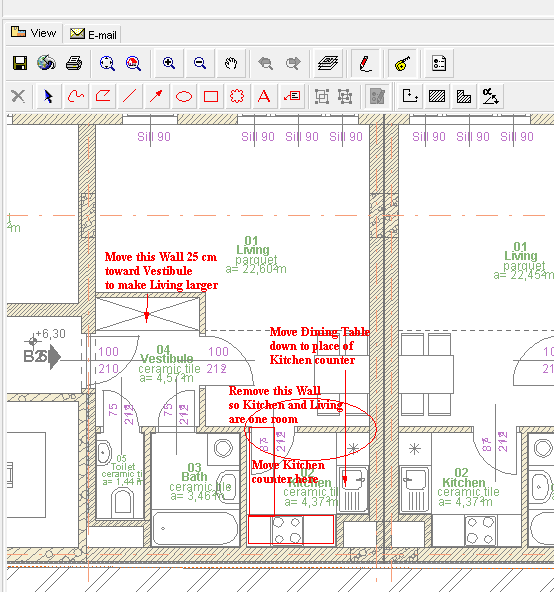
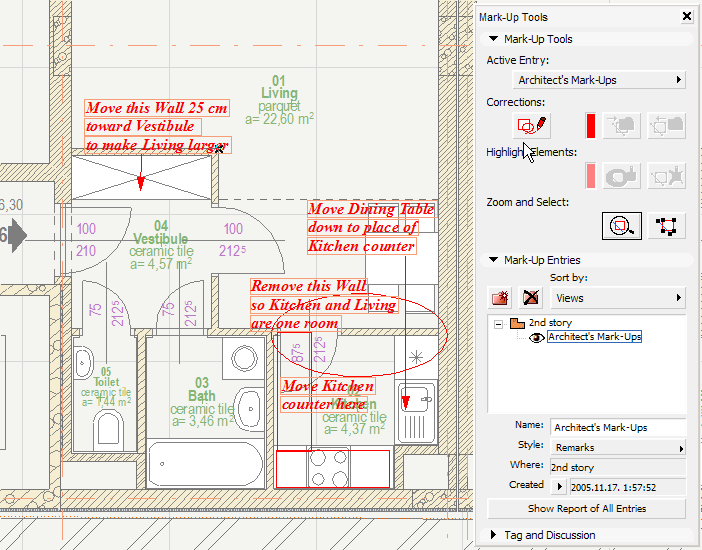
6.Then he can start making Redlining entries to give instructions to the Drafter on what to change. For example, he might want a design option for the Apartment in which the wall between the Kitchen and the Living is removed, enabling him to rearrange the placement of the Kitchen counter and the Dining table. Also he wants the wall between the Living and the Vestibule to be moved downward to increase the Living area. He marks all these changes using the various Redlining tools of Project Reviewer, such as the Ellipse Tool, the Freehand Polyline Tool, the Arrow Tool or the Text Tool.
7.After this step he can Upload the redlining data to the file, save his modifications, then go to the E-mail Tab Page of Reviewer and send the modified DWF containing the Redline file to the Drafter. Reviewer automatically attaches to uploaded DWF redline files to the mail sent. He may also attach any other files to the e-mail he sends to the Drafter. Also, it is not necessary - although handy - to use Project Reviewer to send the e-mail. The Architect may send it from his e-mail program, but in that case he needs to manually locate and attach the Redlining DWF files to his mail.
8.After the Drafter receives the mail, he saves the attached Redlining DWF files to any location.
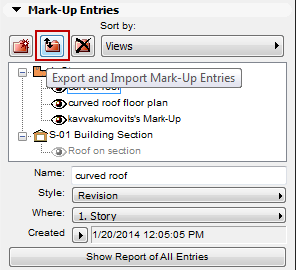
9. From ArchiCAD’s Mark-Up Palette, he clicks Export and Import Mark-Up Entries.
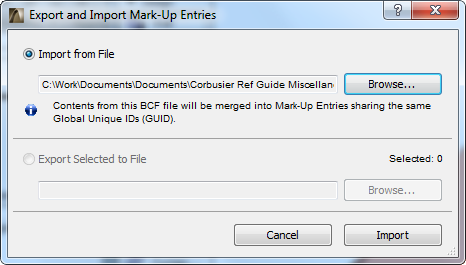
In the appearing dialog box, he chooses Import from File and browses for each saved DWF file. Each becomes a new Mark-Up entry in ArchiCAD.
10.The Redlining information appears on the ArchiCAD Floor Plan. These entries are imported to the ‘Redline’ Layer.
11.Now that all needed modifications are visible to him, the Drafter makes the necessary modifications. After he is finished, the cycle begins anew. After he is finished with the modifications, he again sends the file to the Architect who ensures that all modifications were done as requested. If not, or if new modifications are necessary, he sends another Redlining DWF file. They do this until all modifications are correctly carried out to the Architect’s specifications.