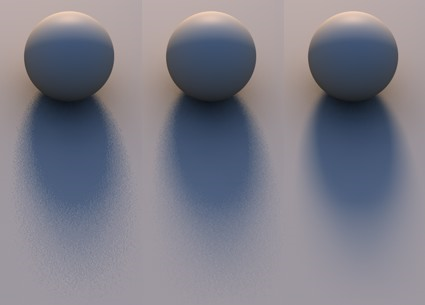
Check this setting to enable Shadow Casting in your rendering. (If you leave it unchecked, the rendering will not generate any shadows.)
Use the Area Shadow Quality controls to define Shadow quality:

•By Light Settings means that the Shadow Casting setting for each individual placed light object (as defined on the Lamp Settings Light Parameters page) will be in effect in this Scene. (See also Shadow Casting.)
If you are not using Light Settings, use the following three settings to control the quality of your Area shadow:
Note: The following three parameters are relevant only if you are using the Standard renderer. They have no effect in Physical rendering mode!
•Minimum Samples
•Maximum Samples
•Accuracy
The more samples, the more homogeneous (less grainy) the rendering will be, and the longer it will take to render. Fewer samples, on the other hand, mean shorter render times.

Minimum Samples and Maximum Samples let you set many or few samples, as needed (as well as an interpolation between them).
Of course you could render a scene with the maximum number of samples possible, but this would not make sense: parts of the scene would only require a minimum amount of samples, and the scene would take much too long to render.
The Accuracy setting determines how (and how many) samples will be allotted in order to achieve the best result. In the most critical areas, Maximum Samples may be set to its highest value.
The Accuracy setting has the most influence in critical areas, since high values lead to more samples being used. In less critical areas, the Minimum Samples value is applied.
If Minimum Samples=Maximum Samples, Accuracy will have no effect.
Follow these steps to achieve the optimal settings for your scene:
1.Find out where the critical areas in your scene are (grainy areas).
2.Set Minimum Samples and Maximum Samples to the same value and render the scene using Render Marquee Region.
3.Raise the Minimum Samples and Maximum Samples equally until you achieve a good result.
4.Lower Minimum Samples to 25% of the Maximum Samples value and set Accuracy to 50%.
5.Finally, raise the Accuracy setting until you have a result you are happy with.
Also, make a note of these rules of thumb:
•Quality can be improved the most by raising the Maximum Samples and Accuracy values. A 100% Accuracy will not do you much good in combination with a very low Maximum Samples value.
•No matter which of the three settings you raise, render time will increase accordingly.
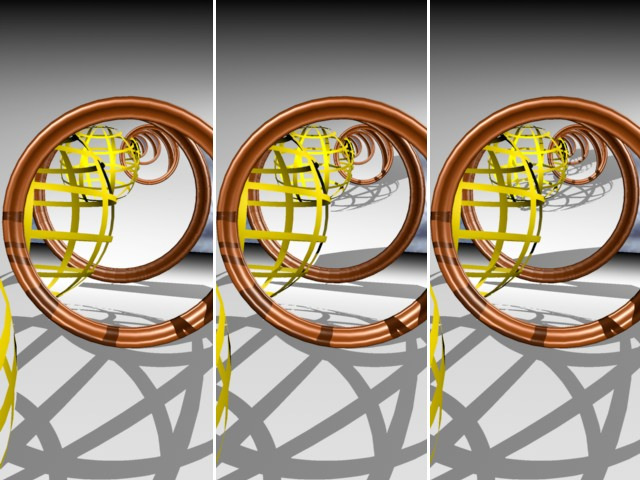
Shadow Depth behaves analogous to the Reflection Depth. If a surface point lies in the shadow of another object this option will use additional shadow rays to check which shadows should be sent from the object surface in the direction of the light source.
The Shadow Depth setting defines the shadow depth with which visible shadow rays will be calculated. For example, if this value is reduced to 2 no shadows will be calculated for reflective, transparent or refractive rays.
The examples below were rendered with Shadow Depth values of 2, 4 and 8, respectively.
