Create a Curved Curtain Wall on Floor Plan
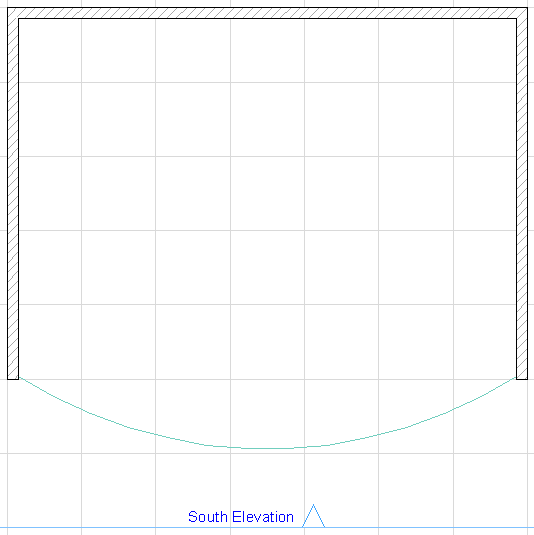
The following building in the Floor Plan is based on a curved slab.
Follow these steps to add a curved Curtain Wall to the South Elevation:
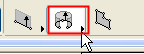
Activate the Curtain Wall tool and choose the Three Points geometry method from the Info Box:
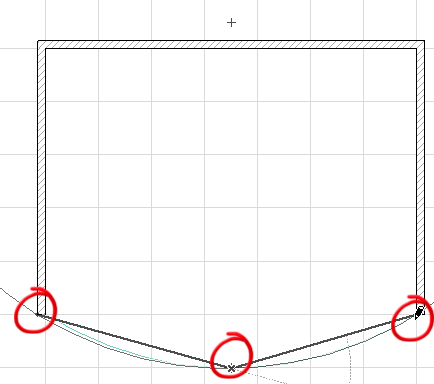
Click the three points to define the reference arc of the Curtain Wall.
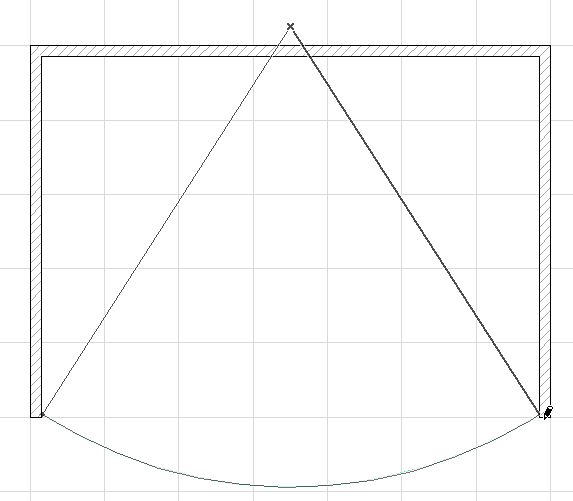
Click a fourth time to define the angle formed by the two ends of the wall and the cylinder centerpoint.
Click with the sun cursor to define the “outside” of the Curtain Wall. In the appearing Place Curtain Wall follow-up dialog, enter the Curtain Wall height. Here, we will enter 6200 mm.
For a curved Curtain Wall, you cannot set a pitch; it will always be vertical.
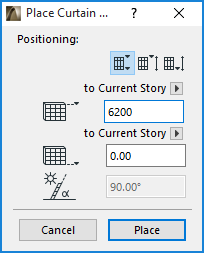
Note: The three icons in the Positioning part of the Place Curtain Wall dialog box give you three different methods for defining the Curtain Wall height.
For details, see Place Curtain Wall Dialog Box: Floor Plan and 3D Window.
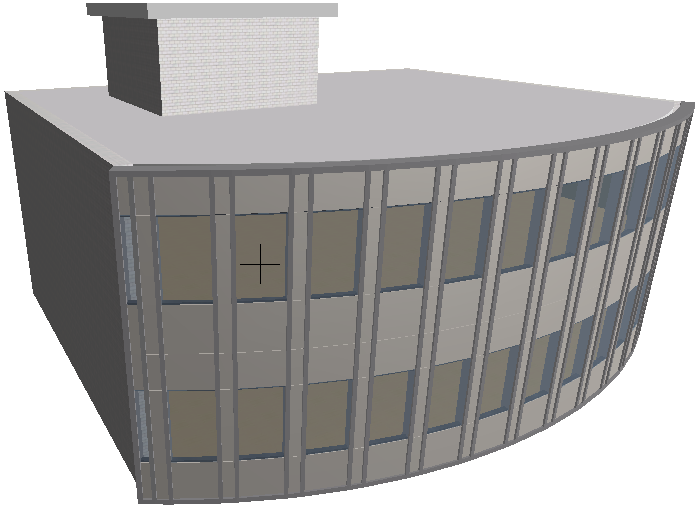
Click Place to close the dialog. The Curtain Wall is placed.
View the result in the 3D window.
To edit the Curtain Wall’s individual Members, select the Curtain Wall and click the Edit button. (If you select the Curtain Wall in the Floor Plan or Section/Elevation, this is the “Edit in 3D” button.)