1.Choose the Shell tool’s Ruled geometry method and the Detailed input method.

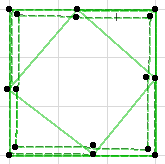
2.On the Floor Plan, draw the shape of your first profile polygon (its plane is flat on the Floor Plan). In this case, we draw a square. Double-click to complete the first profile polygon.
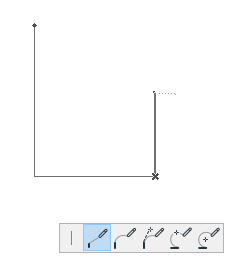
3.In the appearing dialog box, enter the distance between the two planes of your Ruled Shell profiles (between i.e. the first profile, already placed, and the second one, which you are about to draw.)
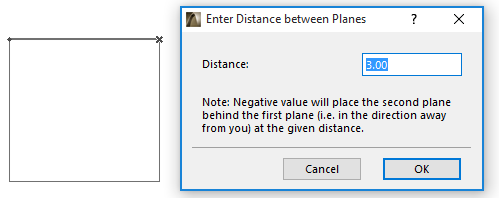
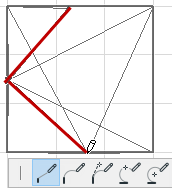
4.Now draw the polygon of the second profile, whose plane is parallel to the first. We draw a skewed square (here, shown in red). The feedback shows the ruled Shell taking shape.
5.Double-click to complete the polygon and the Shell.
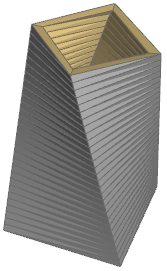
6.View the result in 3D.
