Once you have created a 3D Cutaway, you can still edit it at any time.
Make sure 3D Cutaway is activated, and Show Cutting Planes is on.
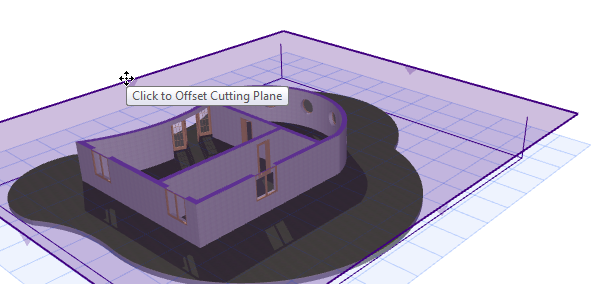
Grab the plane (click on any of its edges) and offset it to the desired location. Click to place, then click Finalize.
Note: After the initial offset, before you click Finalize, you can click anywhere on the plane surface to adjust the offset further.

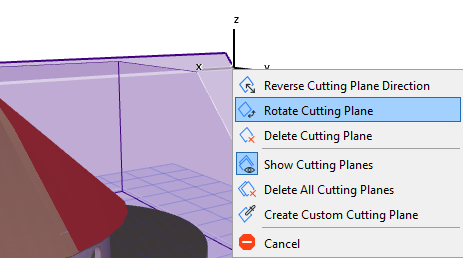
Right-click the edge of a Cutting Plane. Choose Rotate Cutting Plane from the context menu.
Then rotate the plane as you would other elements.
See Rotating Elements.

Reverse Cutting Plane Direction
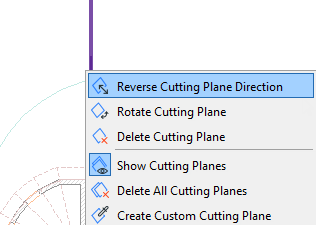
Right-click the edge of a Cutting Plane. Choose Reverse Cutting Plane Direction from the context menu.

The Cutaway is now created on the opposite side of the selected Cutting Plane.

 .
.