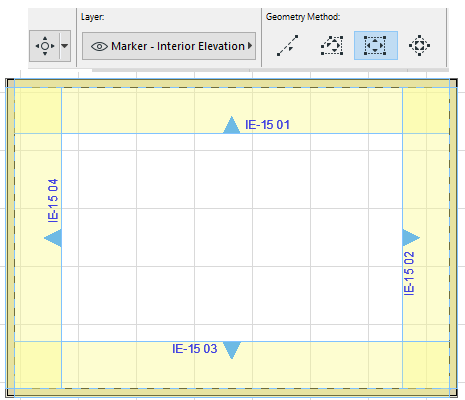
Interior Elevations are typically created in groups (e.g. four IE’s created by placing a four-segment polyline around a single room).
An IE created using one of the polyline or rectangle input methods will have a separate IE viewpoint for each segment of the line; each view is created perpendicular to the segment.
1.Use the rectangular or polyline input method to draw the Room Boundary, or space-click on a Zone.

The resulting rectangle/line/polyline represents the Room Boundary of the Interior Elevation group.
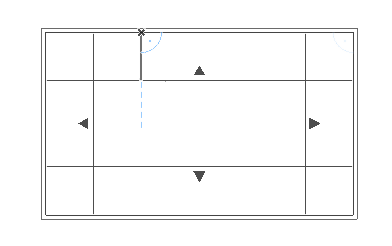
2.Move the cursor to the desired standpoint. The arrows on the feedback indicate the view direction of the resulting Interior Elevation viewpoint.
3.Click to place the IE marker(s).
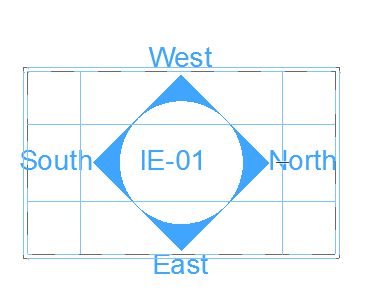
Interior elevations use a dedicated IE marker, a GDL object with editable parameters.
IE marker(s) are placed at the middle of each segment of the IE line or at the center of the room.
To define the Marker style and Position, use the controls in the Marker Panel of Interior Elevation Settings. For any or all of the viewpoints, you can opt not to show a marker, by choosing the No Marker option in this panel.
See Interior Elevation Marker Panel.
4.The new group of viewpoints is created and listed in the Project Map.