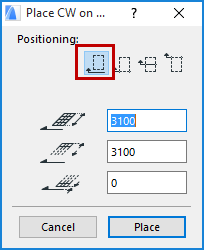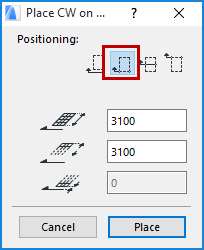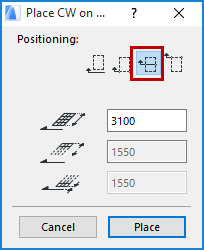
Place Curtain Wall Dialog Box: Section Window
For general information, see Positioning Curtain Wall in Section View.
This dialog box appears during Curtain Wall input in the Section, Elevation or Interior Elevation window, after you draw a Reference Line. (It does not appear if you use the Boundary input method.)
This dialog box appears as part of the input process only. To later change the height of a placed Curtain Wall, use graphical editing methods in Curtain Wall Edit mode.
Use one of the four positioning methods (click one of the four icons) to define Curtain Wall position relative to the Section line.
•To freely position the beginning of the extrusion by offsetting the starting point from the input plane: choose the first method. The first field is the absolute length of the extrusion; the third field is its offset from the input plane. (The sum of the two values is shown in the middle field.)

•To begin extruding the Curtain Wall “away” from you, at exactly the input plane (Section line): choose the second method and enter the length of extrusion. There is no offset (the Curtain Wall begins right at the input plane).
•To begin extruding the Curtain Wall “toward” you, at exactly the input plane (Section line): choose the fourth method and enter the length of extrusion.

•To place the midpoint of the extrusion vector at the input plane, choose the third option. Enter the total extrusion length in the first field below.
