Create a Chained Curtain Wall on the Floor Plan
Use the Chained geometry method to create a multi-segment Curtain Wall based on a reference line drawn as a chained polyline.
•For each segment of a chained Curtain Wall, you can set up a separate Scheme, with a distinct pattern for each.
•A Frame is always placed at the place where two adjacent segments are joined. Such a Frame cannot be deleted. (If you wish, you can set its type to Invisible, by selecting the Frame in Edit mode and adjusting its Type in Frame Settings.)
•A Chained Curtain Wall has as many Schemes as it has segments: you can select one Scheme at a time and customize each Scheme separately.
Chained Curtain Wall Example
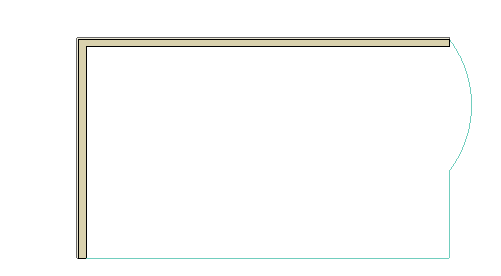
In this example, we will place a chained Curtain Wall along a more complex slab contour.
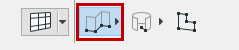
1.Activate the Curtain Wall tool and choose the Chained geometry method from the Info Box:
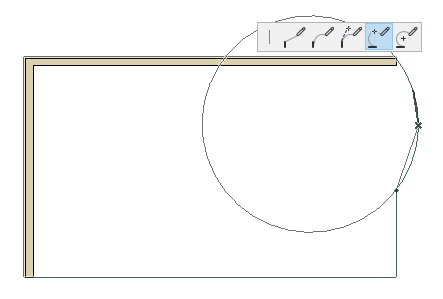
2.Trace the outline of the slab to create the Curtain Wall reference line, using the same pet palette controls as when drawing a polyline. Double-click to complete the reference line.
3.Click with the sun cursor to define the “outside” of the Curtain Wall.
4.In the appearing Place Curtain Wall dialog, enter the Curtain Wall height. Here, we will enter 6200 mm.
For a chained Curtain Wall, you cannot set a pitch; it will always be vertical.
Note: The three icons in the Positioning part of the Place Curtain Wall dialog box give you three different methods for defining the Curtain Wall height.
For details, see Place Curtain Wall Dialog Box: Floor Plan and 3D Window.
5.Click Place to close the dialog. The Curtain Wall is placed.

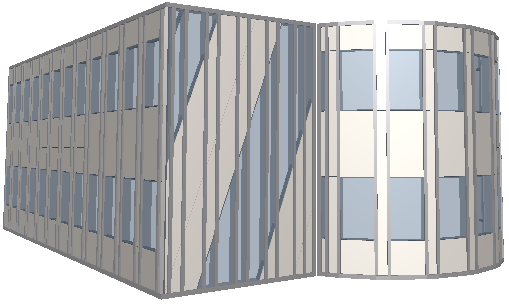
The result: a single Curtain Wall, based on a three-segment Reference Line.