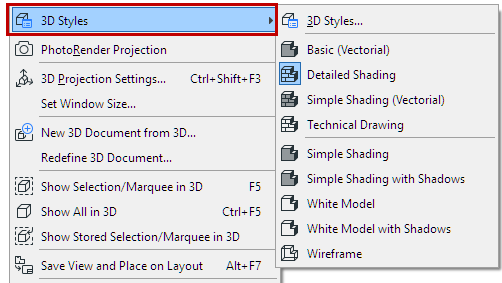
A 3D Style is a collection of settings (3D Engine, shading, background, etc.) that determine model display in the 3D Window.
The 3D Style is saved with View Settings. Every time you edit a 3D Style, all views using that 3D Style are updated instantly.
Note: To set 3D Window Size, use the separate command from 3D window-related menus (Tab Bar, or context menu of 3D window or tab).
See 3D Window Size.
Apply 3D Style
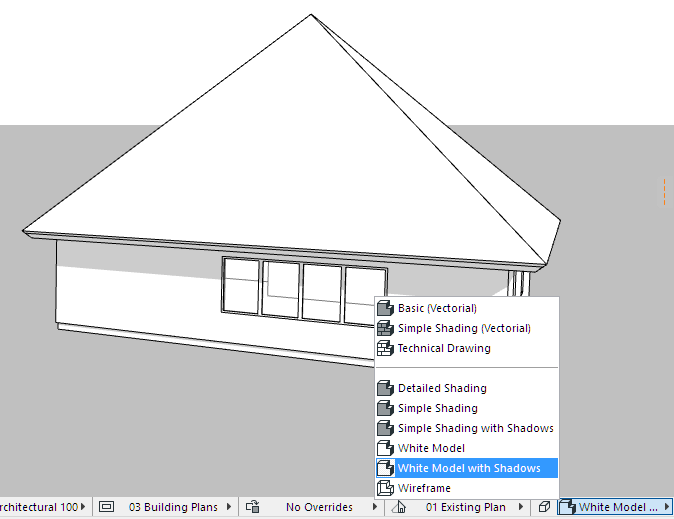
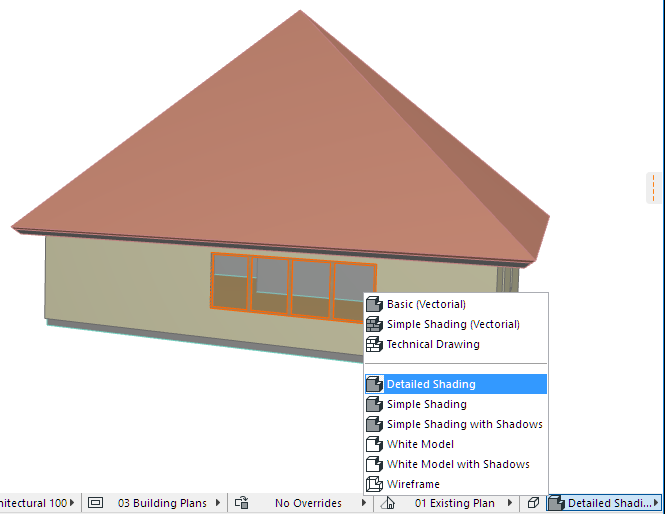
To switch the 3D style of a 3D window, use the 3D Styles pop-up from:
•context menu of the 3D window
•Quick Options Bar or Quick Options Palette
•3D Window Tab in the Tab Bar
In the pop-up list, a separator divides the styles based on their 3D engine (Vectorial or OpenGL).

Define or Modify 3D Styles
Use View > 3D View Options > 3D Styles to open this dialog box.
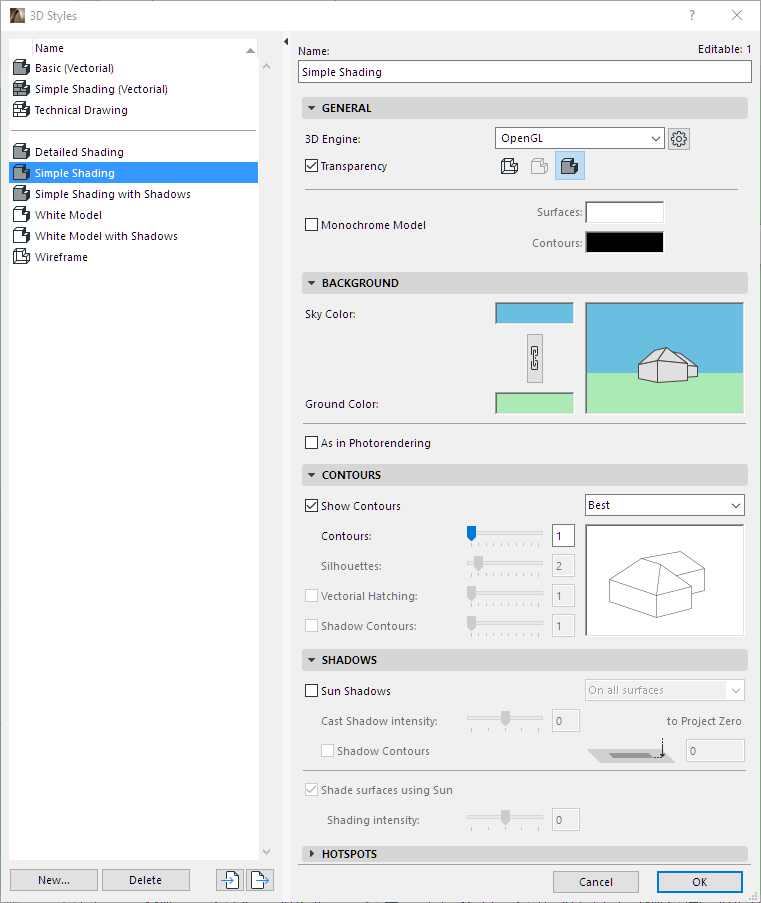
The project’s 3D Styles are listed on the left.
•Select any Style to edit its settings using the controls on the right.
•If needed, multi-select Styles to edit their settings simultaneously.
•Click New to create and name a new 3D Style.
•Use Import and Export to transfer 3D Styles (XML files) between ARCHICAD projects.
Choose a 3D engine to generate the 3D window:
•OpenGL: Can display texture images (from Surfaces) and takes advantage of high-performance OpenGL graphics cards. This is the default engine and recommended if your video display card supports OpenGL. It is optimized for fast, smooth navigation and useful in a live presentation environment. Copy/paste or export will result in bitmap images.
Some effects, for example vectorial 3D hatching, are not available with OpenGL. With OpenGL, you cannot save the 3D window contents as a vectorial 2D drawing.
Click the Settings button at right to set additional options with OpenGL.
See Open GL Options.
•Vectorial 3D engine: Produces a non-photorealistic 3D view, without texture images. Shows vectorial patterns (from Surfaces) and can be printed at any scale. You can save the contents of the 3D window as a vectorial 2D drawing. Copy/paste or print to PDF will result in 2D primitives such as lines and arcs. Usually results in slower navigation of the model on most machines.
Choose Wireframe, Hidden Line or Shading for this 3D Style.
Note: When using the OpenGL engine, only the Wireframe and Shading modes are available.
![]()
Wireframe mode shows all the edges and lines of your project. Note that if you have many elements one behind the other, this type of view can be hard to interpret.
In Hidden Line mode (available with Vectorial Engine only), lines which are blocked by solid objects are removed. This type of view is the best choice for easy interpretation, if you do not want a shaded view. It is also suitable for hard copy output on a printer. Hidden Lines can be saved in many file formats, either as 2D or 3D files.
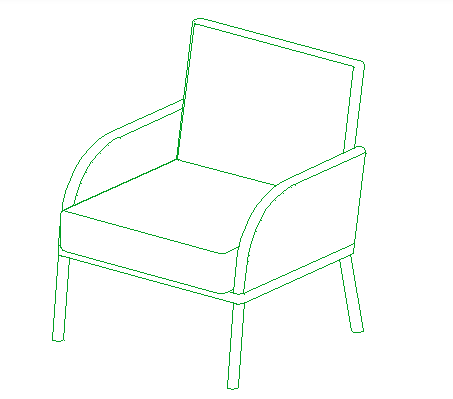
In Shading mode, the 3D model appears with all of its visible surfaces shaded according to the light direction set in the 3D Projection Settings dialog box.
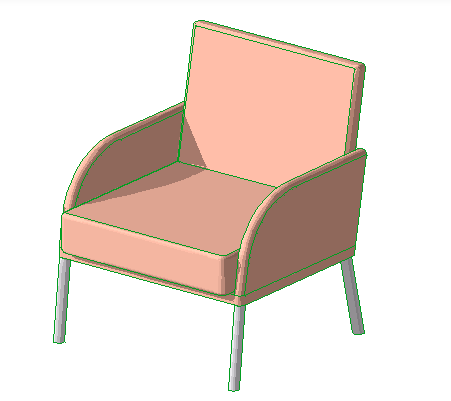
Shading is recommended for:
•Fast on-screen feedback
•Easy checking of surface colors
•Any presentation for which photorealistic quality is not a requirement
Note: If you have defined a Layer as Wireframe, its elements will always appear in Wireframe mode, even if you have chosen another 3D view mode here.
Check this to produce transparent views of elements that have the appropriate Surfaces setting when generating a shaded view. Below, the same glass wall appears with Transparency Off and On.
When you save a view, the Transparency setting will be saved with the view.
Note: When used with the Vectorial Engine, Transparency is not effective with Postscript printers.
Check Monochrome Model, then set uniform colors for all of the Surfaces and Contours.
Otherwise, the model’s surface colors depend on the elements’ Building Materials.
Watch the Video:
Monochrome Model Visualization
Consult the Preview to see the effects of each setting:
Click in the Sky Color and Ground Color fields to choose background colors for the 3D Window.
Click the chain icon for identical colors in both.
•As in PhotoRendering: Check this to use the background specified in PhotoRendering Settings.
See CineRender Basic Settings: Background Panel.
Consult the Preview to see the effects of each setting:
Check this to make the contours of model elements visible in Shaded images. Use the pop-up at right to define contour quality.
•The Best option produces a perfect result, but it may be rather slow for large and complex 3D models.
•The Draft option produces a fast result, but it doesn’t eliminate all the lines that the Best method would.
Use the sliders to define line weights for
•Contours. Contour settings are applied when all its attached polygons are visible in the view.
•Silhouettes (Vectorial Engine only). Silhouette edge settings are shown when only a single attached polygon is visible (the rest are hidden from the camera).
Vectorial Hatching (Vectorial Engine only)
Display Vectorial Hatching patterns in Hidden Line and Shaded images, provided that you have selected a 3D Hatching in the Surfaces dialog box.
For more information, see Surfaces.
Note: Vectorial 3D Hatching is also available for Section/Elevation/IE Windows and for 3D Documents, but that setting has to be made individually in each Section/Elevation/IE and 3D Document Settings dialog box.
Shadow Contours (Vectorial Engine only)
Available if Sun Shadows are turned on (see below).
Check this box to enable ARCHICAD’s shadow-casting capability.
With the Vectorial Engine, the following additional Sun Shadow controls are available:
•Cast Shadow Intensity: Define using the slider.
•Shadow Contours: Check to display shadow contours.
•Use the pop-up to define where Sun Shadows are generated:
◦on all surfaces, or
◦on a single level only (that is, a horizontal plane). This option is useful for shadow studies in top view. If you choose this option, enter a value here to specify the absolute elevation of the horizontal plane on which the Vectorial Shadows will be generated.
•Shade surfaces using Sun: If this is turned off, all identical surfaces are draw with the same color, regardless of orientation.
GDL Object Hotspots
•Enable 2D Hotspots: Enable Hotspots defined for 2D editing. (This will give you more editing points in the 3D Window.)
•Show 3D Hotspots only
Note: If the GDL Object has no 3D hotspots at all, the 2D hotspots will be always displayed, as well as their copies projected to the zzyzx height value, provided that such a parameter has been defined for the object.
Watch the Video:
3D Shading Modes and Backgrounds
OpenGL Rendering Engine Enhancements
Vectorial Rendering Engine Enhancements