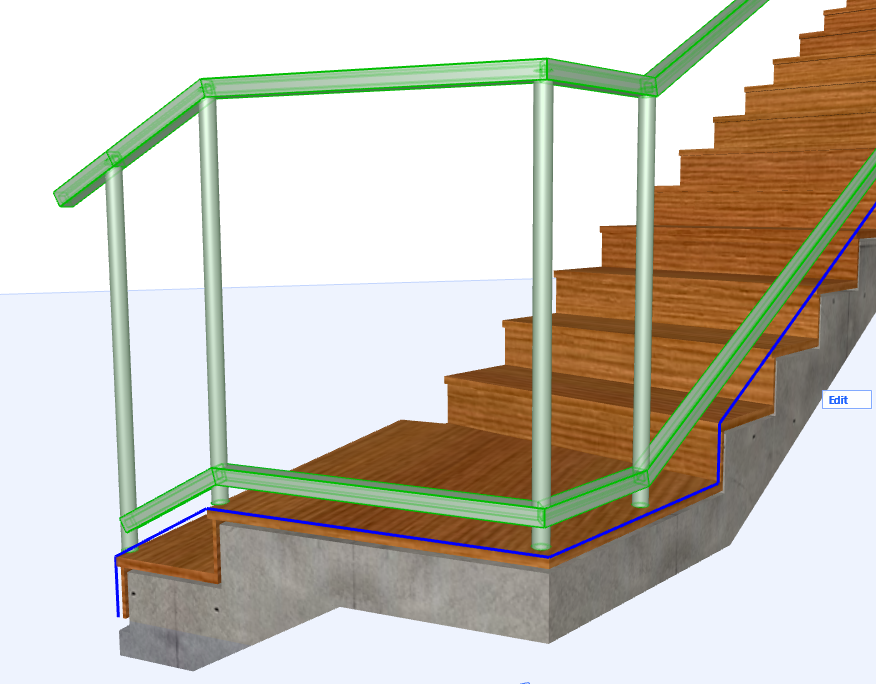
Nodes are the points that divide the Railing Segments (like points on a polyline).
One or more Posts are located at each Node.
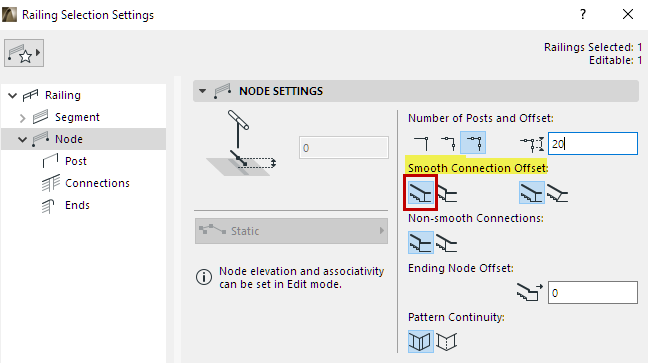
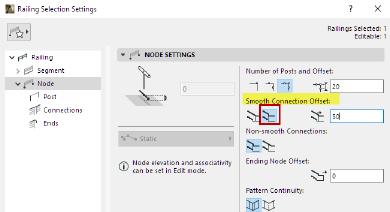
Use the Node page of Railing Settings to define the number and position of Posts at the Nodes, and how to handle the connection of two Segments when they meet at a Post.
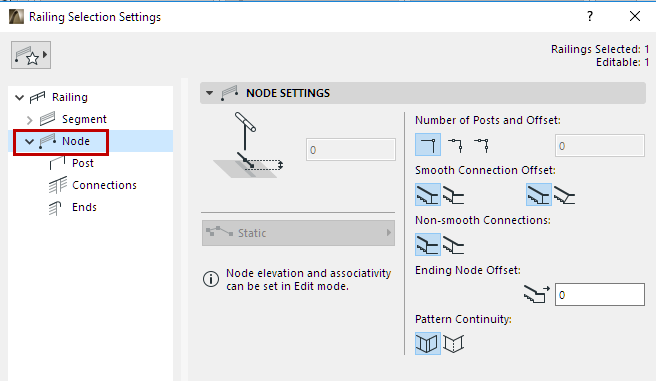
Available in Edit Mode only.
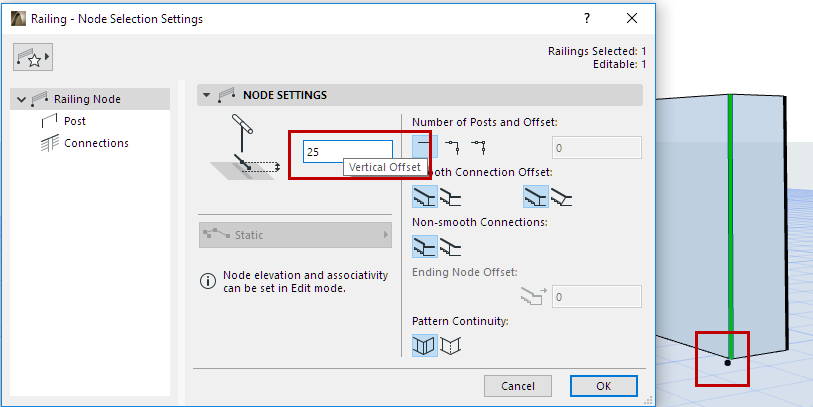
Set an optional elevation (vertical offset) for the Nodes (this is relevant for static Nodes).
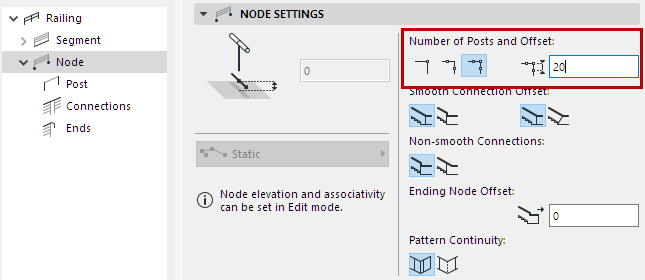
Number of Posts per Node; Offset from Node
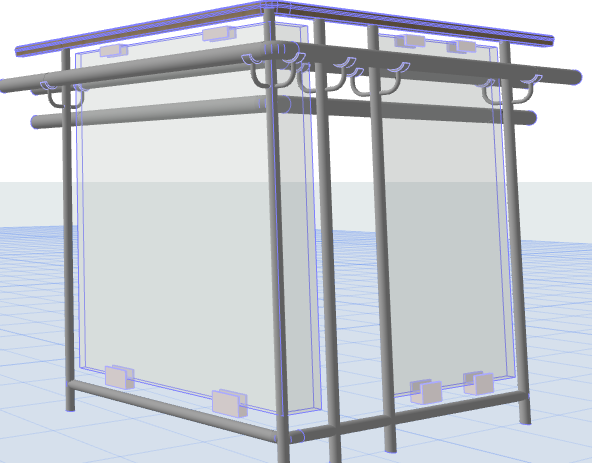
Set the number of posts per Node (one post at the Node, or two posts on either side of the Node, or all three posts).
Node with Two Posts and Three Posts
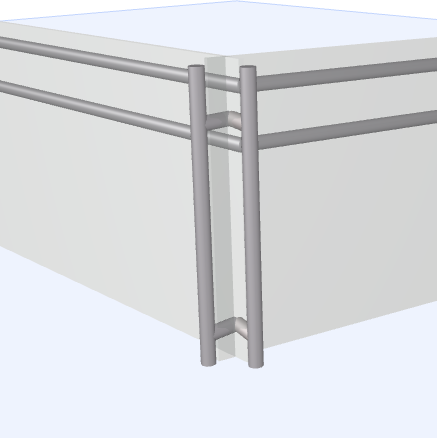
If the Node has more than one post, set the offset distance of the posts on either side of the Node.
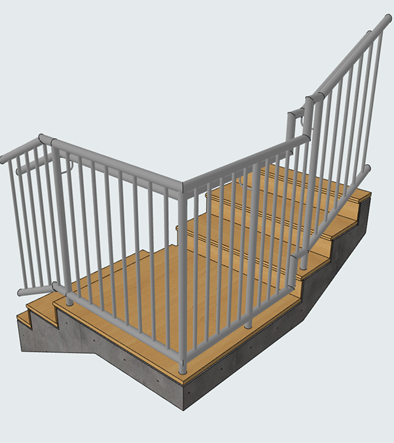
Offset the Node to adjust Post position.
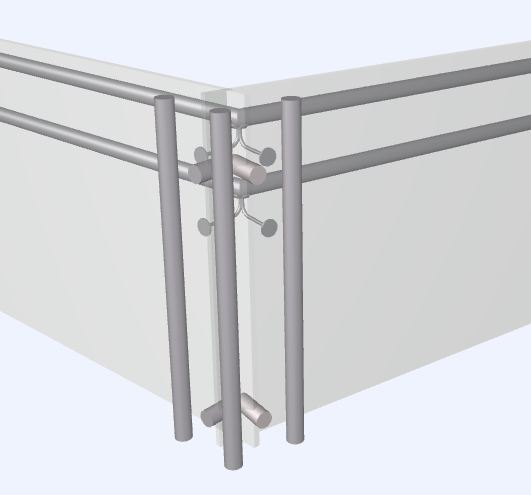
Post Position at Smooth (Tangential) Connections
This is relevant for Posts located where two Railing Segments connect tangentially.
•Choose either Automatic or Manual
–In case of Automatic: Define the connecting Post as Vertical or Tilted.
At Segment Connection: Post Moves Automatically
At Segment Connection: Offset Post Manually
Note that these options will only affect Railing Segments that connect tangentially. Other connections will use the settings defined on the Toprail/Handrail/Rail Connections pages.
See Connection Settings (Toprail, Handrail, Rail).
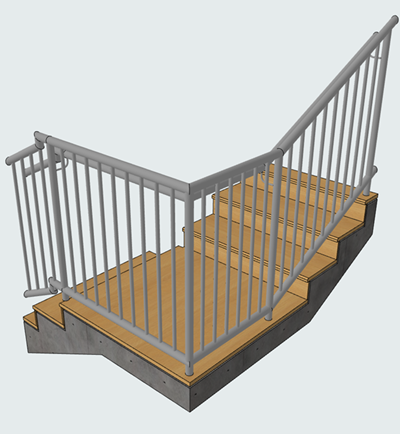
If two neighboring Segments use the same pattern: choose whether the pattern should end at the Node and start over, or else continue without interruption.
For information on setting the Railing Pattern, see The Pattern Editor (Railing Tool Settings).
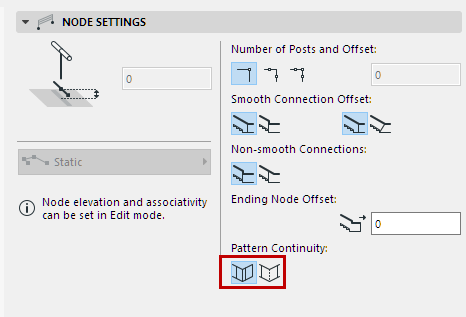
At Nodes: Crop Segment, or Continue Pattern