Selecting and Modifying Beam Holes
Modify Single Hole
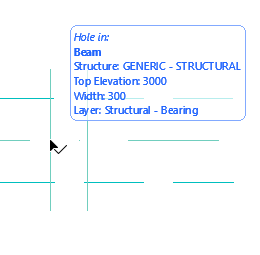
1.Do one of the following:
•With Arrow tool active, click in the center of the hole.
•With any other tool active, Shift-click in the center of the hole.
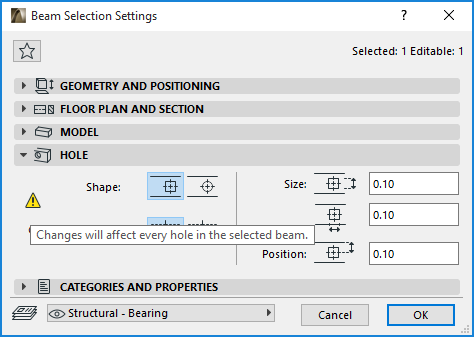
2.Open Beam Selection Settings - Hole Panel to modify the selected hole’s shape and size (or use the controls in the Info Box).

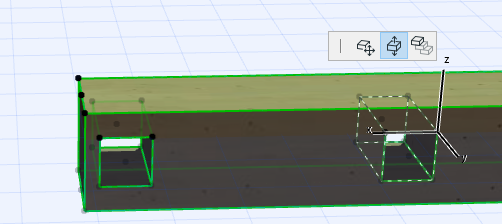
3.As needed, change hole position graphically:
•Move a hole laterally along the Beam (Floor Plan or 3D)
•Move a hole up and down along the Z axis (3D)
Modify all Holes
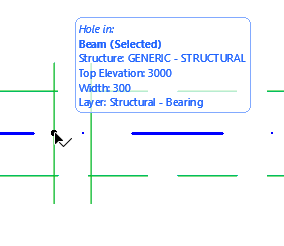
1.Select the Beam. All of the Beam holes are selected, too.
2.Open Beam Selection Settings - Hole Panel to modify all Beam holes simultaneously (or use the controls in the Info Box).
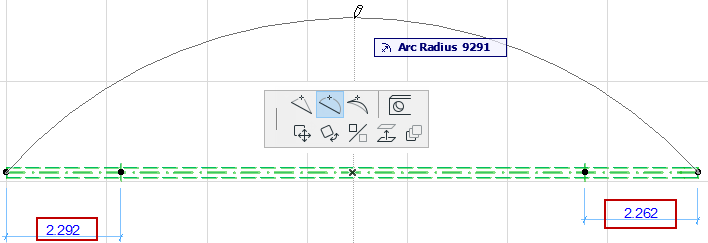
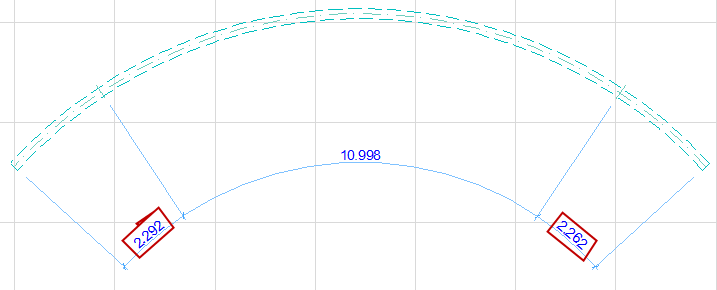
Suppose you have placed holes into a straight beam (at the given distances from either end of the beam), and then you curve the beam (as in the picture below).
The Beam Holes’ Position dialog box allows you to choose how to handle the holes’ new position in the curved beam:
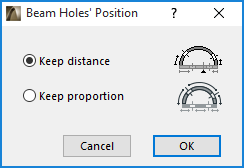
Keep distance: This option will ensure that the holes’ distance from the nearest beam end (as measured along the center beam arc) remains unchanged.
Keep proportion: This option will keep constant the placement of the holes relative to the beam length.
