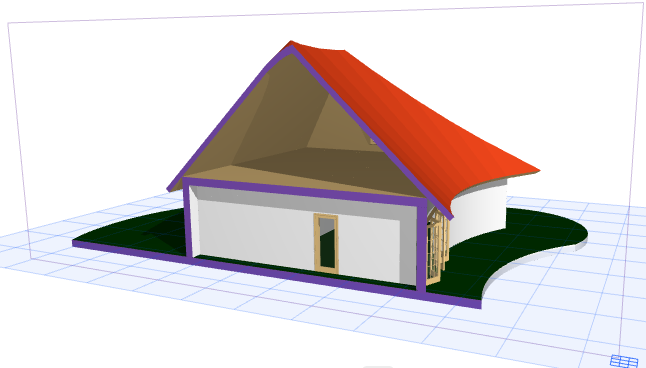
Create a 3D Cutaway on the Floor Plan or Section
1.Make sure 3D Cutaway is On.
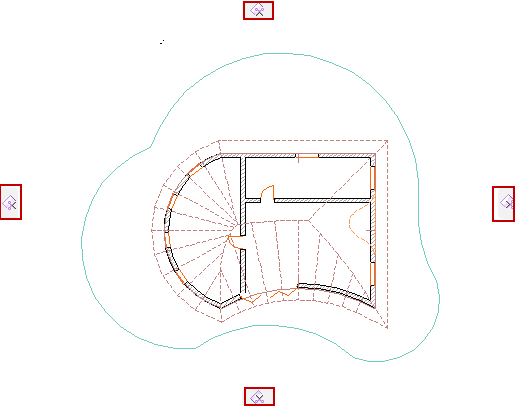
2.The window will display Cutting Planes handles on all four sides of the screen.
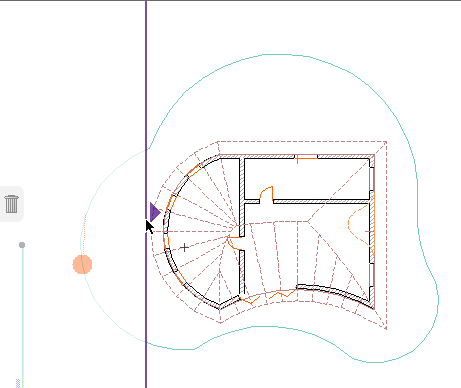
3.Click and drag one or more tabs to the desired location. By default, you will drag the Cutting Plane orthogonally.
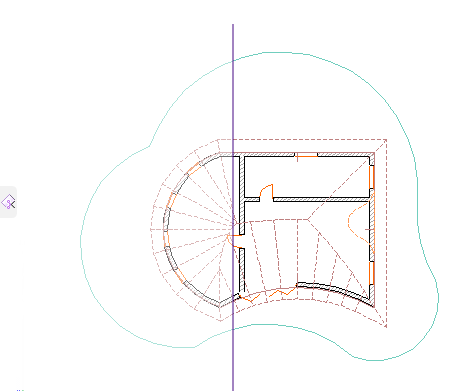
4.Click to place the Cutting Plane at the desired location.
To cancel the operation: Note that the tabs on all four sides change into garbage cans: if you change your mind while dragging, just move the Cutting Plane back into one of the garbage cans (or press Esc) to cancel the operation.
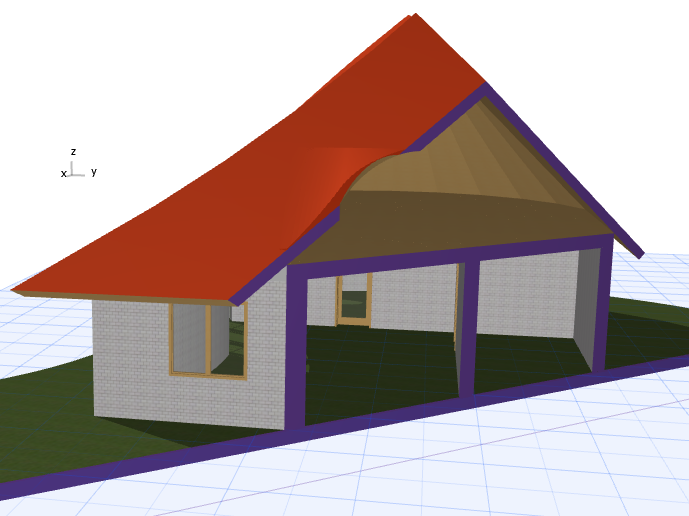
5.View the resulting 3D Cutaway.
To hide the Cutting Plane:
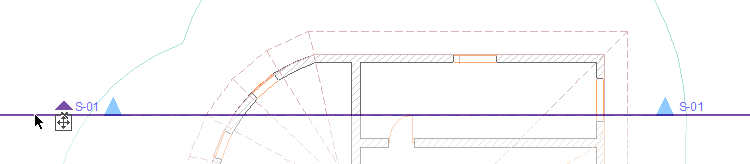
Use Section Line as Cutting Plane
It may be convenient to use an existing Section as the basis for your 3D Cutaway.
Select the Section line, and choose Create Cutting Plane Here.

The Cutting Plane coincides with the Section Line, but is independent of it. You can now move and edit the Cutting Plane if needed; the Section remains unchanged.
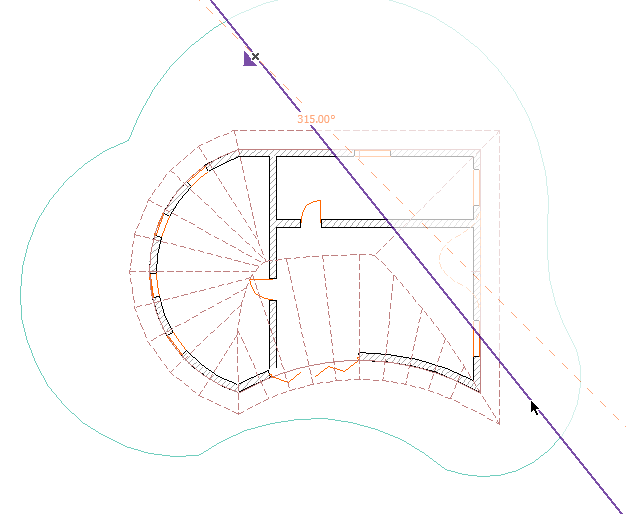
Create Custom Cutting Plane on Floor Plan or Section
If you wish to cut the model from a different direction than the predefined orthogonal directions, create a custom Cutting Plane.
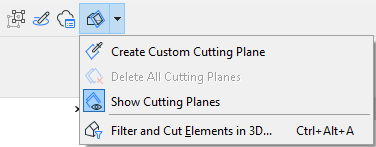
1.From any of the four Cutting Plane tabs, click to bring up the context menu.
2.Choose Create Custom Cutting Plane.

Note: This command is also available from the Standard Toolbar.
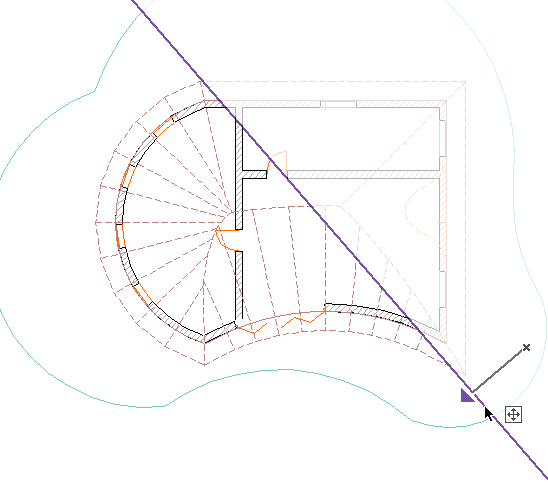
3.Click twice to define the cutting line.
4.Click on the cutting line, then drag it to the desired location to create the Cutaway.
5.View the resulting 3D Cutaway.