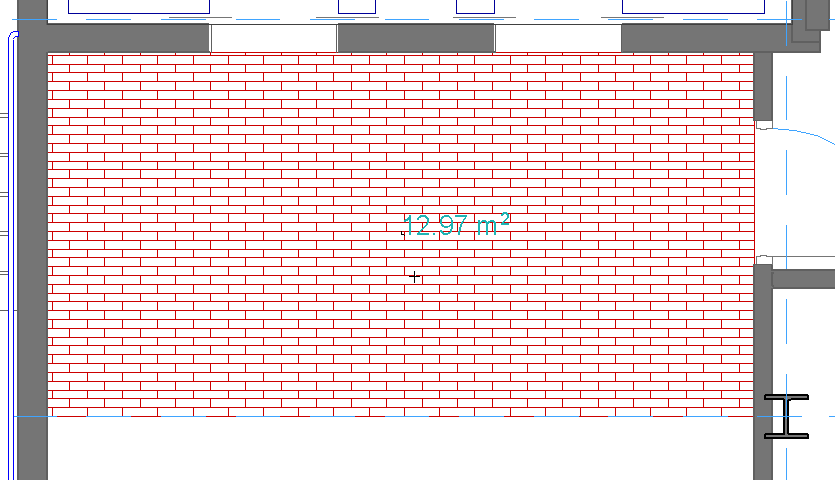
Enable the Show Area Text checkbox in the General Settings panel of Fill Settings. When you create the Fill, the Hammer cursor will appear, prompting you to position the area text with a click.

The text block is created by calculating the area of the Fill. The text settings will be the same as the default values set in Dimension Text Settings. This text will always be displayed horizontally on screen, even if the fill is rotated or mirrored, or the view itself is rotated.
See Set Orientation.
Note: If the fill contains holes, they are subtracted from the fill area.
To modify the font settings or even the content of the area text, select the text only (not the Fill itself) and edit the Dimension Text Settings (in this case, the last command of the Edit menu changes to Dimension Text Settings). The style of the Fill Text, if displayed, is stored as part of the Fill’s Favorite settings.
See also Dimension Text Settings.
Note: Favorites of the Text tool can be applied to the text-type items in Dimensions and Labels, and to Fill Text.
The measurement unit and accuracy of the area value are defined in Dimensions (Options > Project Preferences > Dimensions).
Fill Area text will always be displayed horizontally on screen, regardless of the view’s orientation.