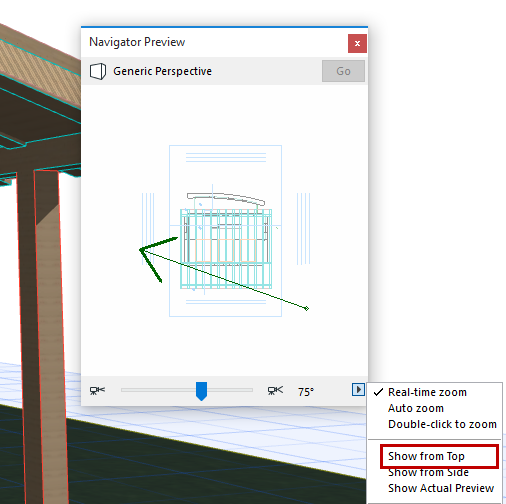
The 3D Navigator Preview Palette Controls
The 3D Navigator Preview Palette is only available when working in the 3D window.
See also Navigator Preview (3D).
The options are different for Perspectives and Parallel Projections (Axonometrics).
If you are in a perspective view:
Choosing Show from Top from the pop-up at the lower right corner of the palette allows you to manipulate a perspective camera directly: move it around, fix the target point or the viewpoints.

Choosing Show from Side at the pop-up at the lower right corner displays only the perspective camera and story elevation marks. Click on the camera and hold the mouse button on the up or down arrow to adjust the camera’s vertical position. (The story signs will start to move in the opposite direction, simulating the effect of camera motion on the model.) A caret will appear in the upper or lower right corner of the preview field to indicate when the camera position has reached the top or bottom of the model.
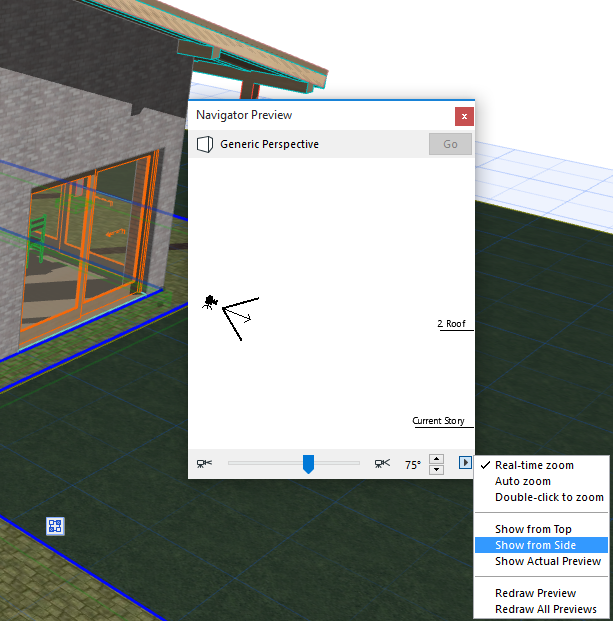
The double-arrow at the bottom of the window enables you to adjust the camera position from story to story (up or down) with just one click.
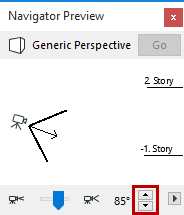
Click and drag the camera’s arrow to adjust the camera’s tilt.
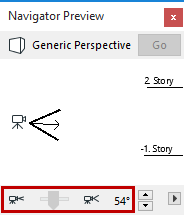
Use the sliding arrow at the bottom of the window to adjust the camera’s view cone.
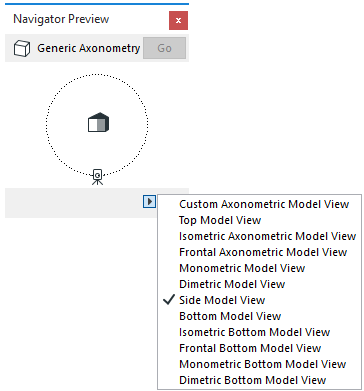
For axonometric views, only the small house representing the model is displayed when showing the Top view. The controls resemble those of the Parallel Projection Settings dialog box.
For more information, see 3D Projection Settings.
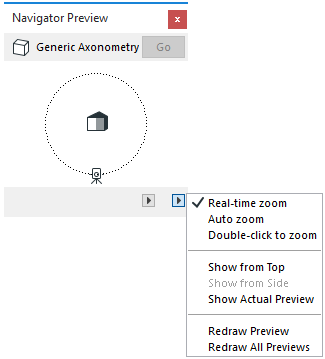
Choosing Show Actual Preview displays the current content of the 3D Window. In this case, all zooming controls are disabled. To refresh the preview of the current 3D view, double-click it or choose Redraw Preview. Redraw all previews will redraw the 3D Navigator Preview picture of each 3D view.