To display the Navigator Preview Palette, click the shortcut button in the bottom scrollbar of any window; or use Window > Palettes > Navigator Preview.
![]()
This palette allows you a quick way to modify your 3D Projections, whether perspective or parallel (axonometric).
See 3D Projections.
The options of the Navigator Preview depend on whether you are looking at a Perspective or Axonometric view.
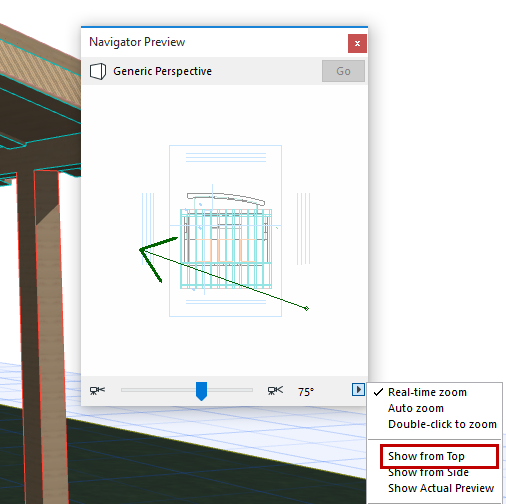
For Perspective 3D views, edit the camera and target positions directly by clicking them in the Preview window and dragging them to a new location.
Note: Make sure that Show from Top is chosen from the pop-up menu in the Preview’s lower right corner.

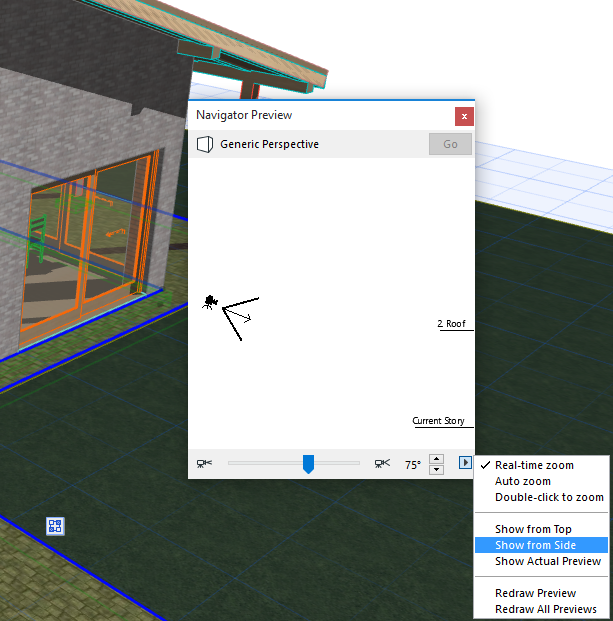
If you choose Show from Side view from the Preview options pop-up, you can easily re-set the camera height relative to the stories of the project: just click in the Navigator Preview and move the camera up or down.

Or you can change the view cone, using the sliding switch or the small icons at its ends, in 5 degree increments.
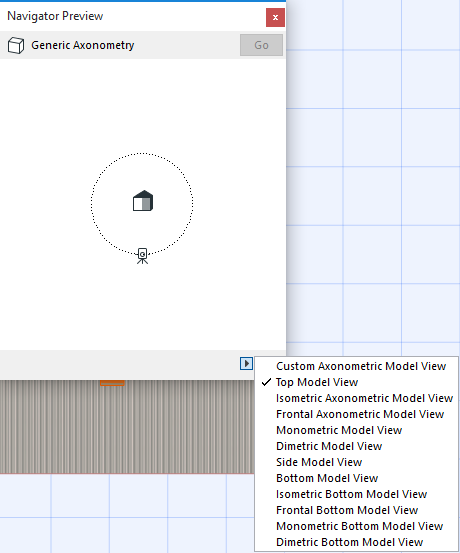
For Axonometric (parallel) projections, the 3D Navigator Preview has two pop-up menus at the bottom right. From the left button, choose one of the 12 predefined projections to quickly switch to that view.

(These are the same predefined axonometries available from 3D Projection Settings).
To customize the projection, use the right-side pop-up button, then move the small camera icon inside the Preview window to set up a custom view.

For detailed information, see The 3D Navigator Preview Palette Controls and 3D Projections.
For information on saving this data, see Save Navigator Preview Data with Project files.