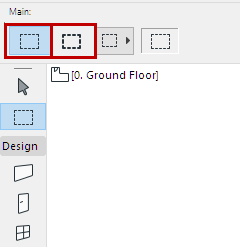
The Marquee tool has two definition methods available in the Info Box (Floor Plan only).
•Single Story method (thin contour): Marquee elements on the current Story only.
•All Stories method (thick contour): Marquee elements on all Stories.
Marquee Area Geometry
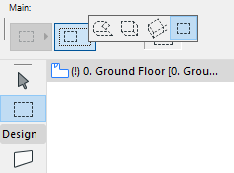
Choose one of the Geometry Methods from the Info Box. (If you are working in the 3D Window, four options are available; otherwise there are three options).
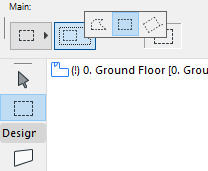
•Polygonal: Only straight segments are possible.
•Rectangle method: Click twice to define.
•Rotated Rectangle: Click three times to define.
•In the 3D window: Use the Polygonal, Rectangle or Rotated Rectangle methods to first define the base of the marquee area, then click again to define the height of the selected space. (In perspective view, the marquee base must be underneath the horizon.)
•The fourth option (3D window only) allows you to draw a 2D marquee in order to copy elements from the 3D Window in the form of pictures.
For more information, see Copy/Paste Marquee Area from Project Window.