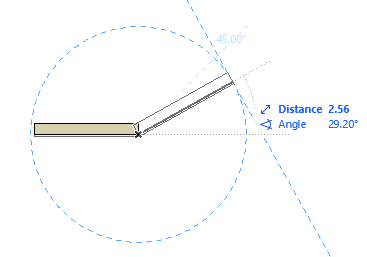
Snap Guides are temporary lines and arcs that appear along existing elements, to assist accurate element placement.

Unlike Guide Lines, Snap Guides are temporary and disappear automatically when the cursor is no longer in the vicinity. However, you can make a Snap Guide remain in place by pinning it.
You can also control which Snap Guides appear by marking particular points or edges as Snap References.
See the sections below on how to use Snap Guides:
Lock Input to Snap Guide
To constrain your input to the desired Snap Guide, do one of the following:
•Press Shift during input
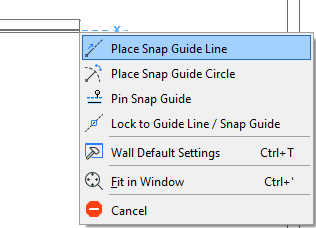
•From the context menu, use Lock to Guide Line/Snap Guide
Turn Snap Guide Function On/Off
To activate/deactivate Snap Guides, do one of the following:
•Click the Snap Guides and Points toggle from the Standard Toolbar
•Use the Snap Guides command in the toolbar dropdown
•Use View > Snap Guides

To make Snap Guides appear in more places that are relevant to your input, you can define any edges or points as Snap References.
Activate a Snap Reference (a dynamically appearing blue highlight) by hovering the cursor over element edges or points:

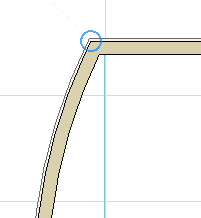
You can activate any number of Snap References simultaneously. Once you have defined Snap References, you will see additional Snap Guides appear which are relevant to those References as well as your current input vector.
Again, to lock your input vector to any Snap Guide, press Shift.
Snap References stay in place, even if you move the cursor away, until you do one of the following:
•Complete input
•Click ESC
•Hover over the existing Snap Reference until it disappears, or click Q (see Force Snap Reference (Shortcut), below).
Force Snap Reference (Shortcut)
Click Q on any edge or point to “Force Snap Reference”, to highlight an edge or node as a Snap Reference instantly (regardless of the timer set in the Work Environment).
Note: The predefined Shortcut for this command is the Q key, but may vary depending on your localized version of ARCHICAD.
During input, Snap Guides will pop up automatically and temporarily.
Which Snap Guides will appear?
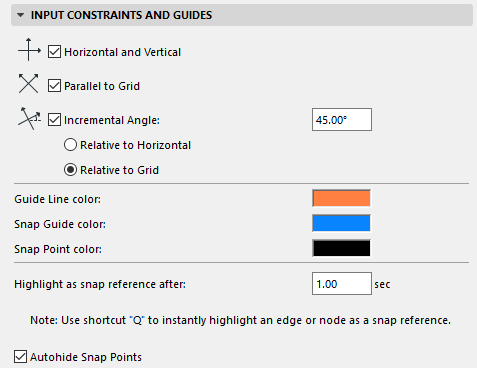
•Snap Guides which are relative to the location of your cursor (e.g. Horizontal/Vertical, Parallel to Grid, a fixed Incremental Angle), depending on the options set at Options > Work Environment > Input Constraints and Guides.
•Snap Guides relative to any Snap References you have marked, and to the relations among those Snap References.
Where applicable, icons on the Snap Guide indicate the relation:
•Tangent
•Parallel
•Perpendicular
•Angle Bisector (if applicable)
•The line connecting two circles’ centerpoints (if applicable)
Pin or Place a Snap Guide Manually
Unlike the automatically appearing Snap Guides, a pinned or explicitly placed Snap Guide is infinitely long and will remain visible, without fading out, until input is complete - even if you move the mouse away.
To pin a Snap Guide so that it does not disappear until input is complete, or to place one manually, do one of the following:
•From the context menu of an existing Snap Guide, use the Pin Snap Guide command:

•From the context menu during element input, use the Place Snap Guide/Snap Circle command:
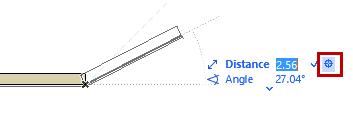
•During Tracker input, click the crosshair icon in the coordinate field. The edited element will then jump to that coordinate value and the applicable Snap Guides will appear.
Options for Snap Guides and Snap References
Options for Snap Guides/References are set at: Options > Work Environment > Input Constraints and Guides.
The color of the Snap Reference is the same as the Snap Guide color.
