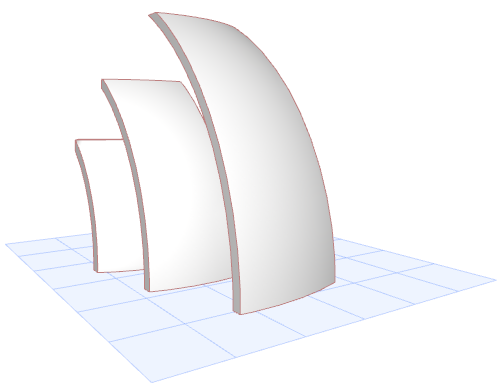
Revolved Shell: Define Contours in Section

Here, you draw several revolved Shells having a common endpoint for their profiles, but slightly offset from each other.
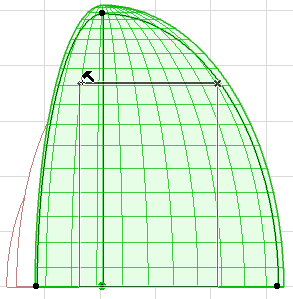
Then, in the Section window, select each Shell separately and draw its contour in the shape of a rectangle - use progressively smaller rectangles. The result is several overlapping Shell segments, each of a slightly different size.
1.Ensure that the default Shell elevation is 0.
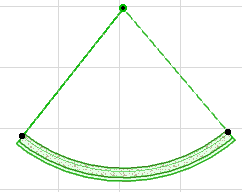
2.Draw the first revolved Shell on the Floor Plan as shown.
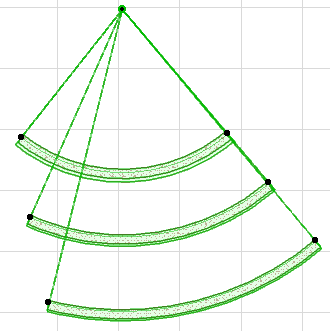
3.Draw two more revolved Shells using the same profile starting point, but each slightly larger and offset from the previous one.
4.View the result in 3D.

5.Now create a Section for these Shells and open the Section window.
6.Select the Shell closest to you. From the context menu, choose Define Shell Contour.
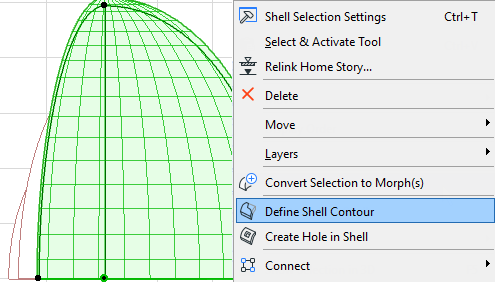
7.Draw the contour as a rectangle.
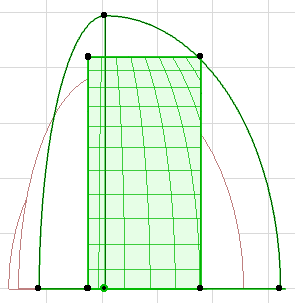
8.Select the other two Shells and define rectangular contours for them.

9.View the result in 3D and fine-tune as needed.
