Create Grid Pattern Graphically
Use this workflow to graphically create a custom Curtain Wall grid pattern, in the 3D or Section-type window (using Edit mode).
Note: Another approach is to predefine the pattern in Curtain Wall Scheme Settings before placing the Curtain Wall. See Set up Grid Pattern in Scheme Settings.
Place Frames and Panels in any pattern of Frames and Panels on the Scheme Grid. Then activate the Pattern box, and use it to define the extent of the pattern. The pattern will be automatically repeated within the Curtain Wall segment.
See the detailed workflow below.
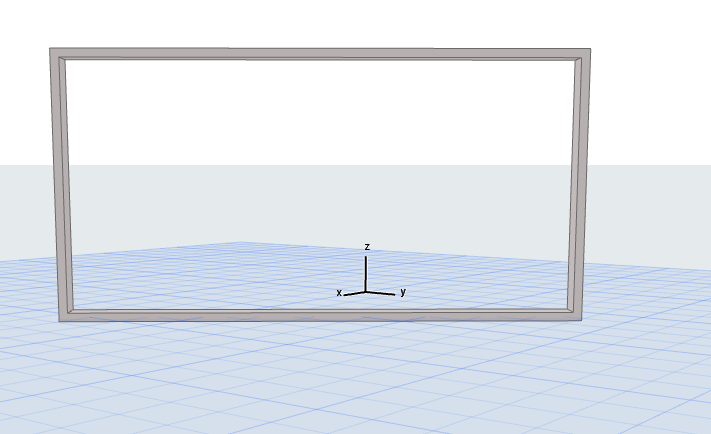
1.Place a new Curtain Wall without any Frames or Panels.
•Use the Curtain Wall Scheme Favorite “Empty” or “Empty with Grid”. (For a curved Curtain Wall, use “Empty with Grid”.)
or draw a Curtain Wall Boundary in Section view.

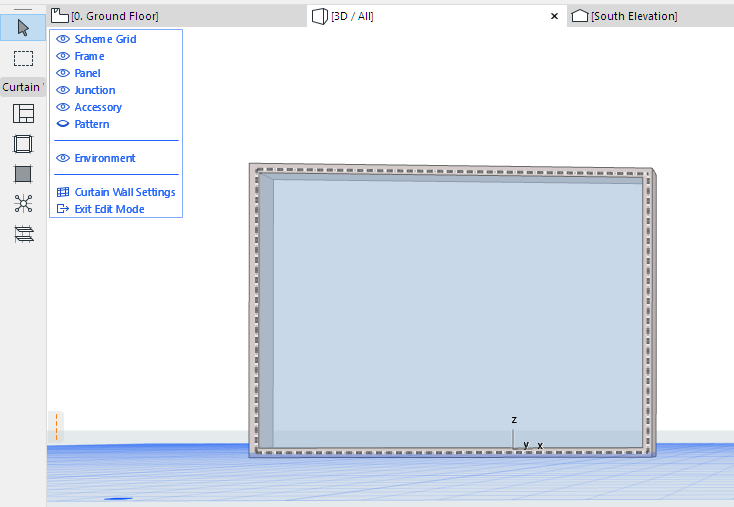
2.From the 3D window or Section view, open the Curtain Wall in Edit mode.
3.From the Edit mode display menu, make sure the Scheme Grid is visible.

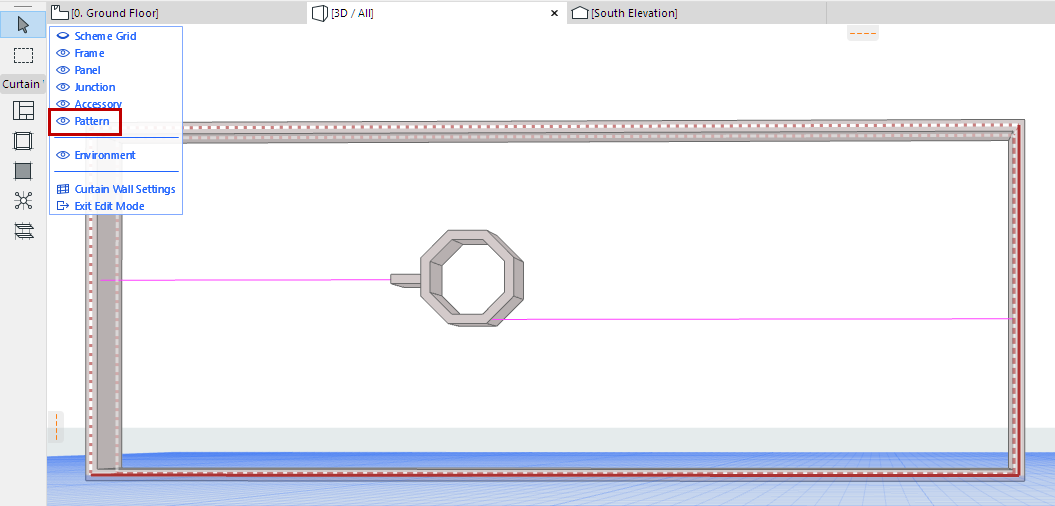
4.Use the Frame and Panel tools to draw Frames and place Panels in any pattern, anywhere within the Boundary. (To place a Panel, activate the Panel tool and click inside a Frame.)
Note on Temporary Frames
All Frames must be connected at both ends to another Frame. If you place a Frame that is unconnected to another Frame at either end, a temporary Frame is automatically placed - as shown in the image below.
Temporary Frames disappear as soon as the Frame is connected to another one. If the Frame remains unconnected, the temporary Frame remains, and acts as a Division Frame: adjoining Panels will be divided at the Division Frame.

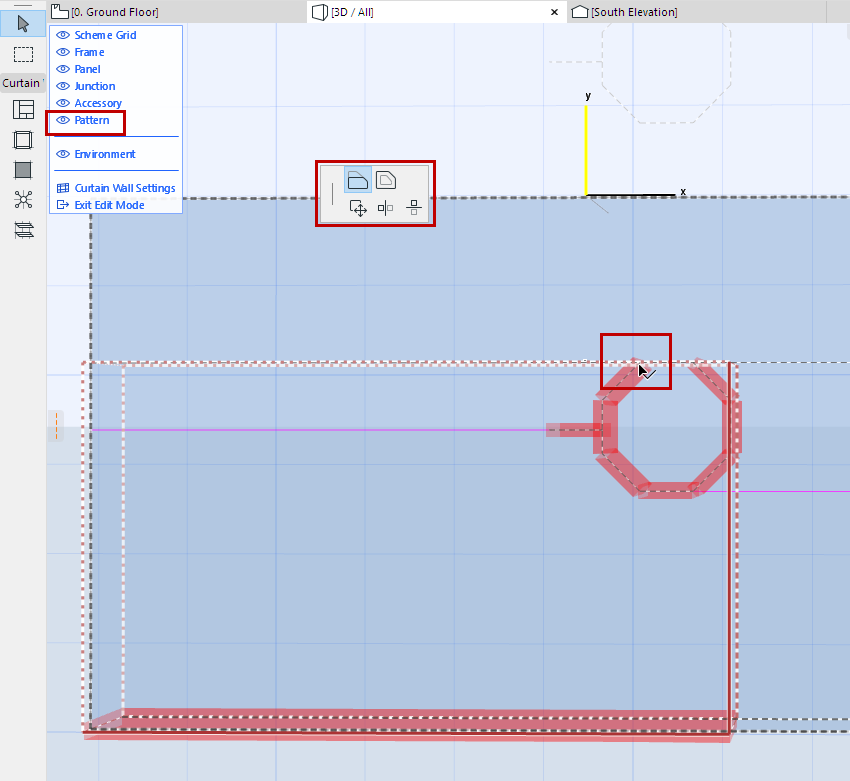
5.In the Edit mode display menu, click the Pattern item to display it. An editable red Pattern Box appears on your Curtain Wall.

6.Use the Arrow tool to select the Pattern box edges and drag them (use Pet palette editing commands) to define the limits of the Pattern that you want to repeat.
7.Snap the Pattern box edges to Frame nodes. Frames and Panels within the Pattern box will constitute the Scheme Grid pattern.

Notes:
–To make it easier to snap the Pattern box, use a Model View Options Combination in which Curtain Wall components are displayed as Schematic or Simplified, or (for Frames) Axis only.
–Even with the Pattern Box visible, you can continue to edit any Curtain Wall components as usual.
–On a multi-segment Curtain Wall: in Edit mode, the Pattern box is used on one segment at a time. As you move your cursor over the different segments, the Pattern box jumps to the current segment. However, once you finish the Pattern, you can apply it to all segments with one click - see below.
8.When the Pattern Box encloses the pattern you need, click Apply.

For a multi-segment Curtain Wall: You have the option to apply this pattern to all segments.
9.The pattern is now repeated over the Curtain Wall segment (or the entire Curtain Wall).

Curtain Wall Pattern Box
The Pattern Box is displayed on two sides with solid lines, and two sides with dotted lines.
With the box, the Frames that coincide with the solid lines will be repeated, while those that coincide with the dotted lines will be discarded. (This is relevant if the Pattern Box includes Frames with different settings.)
