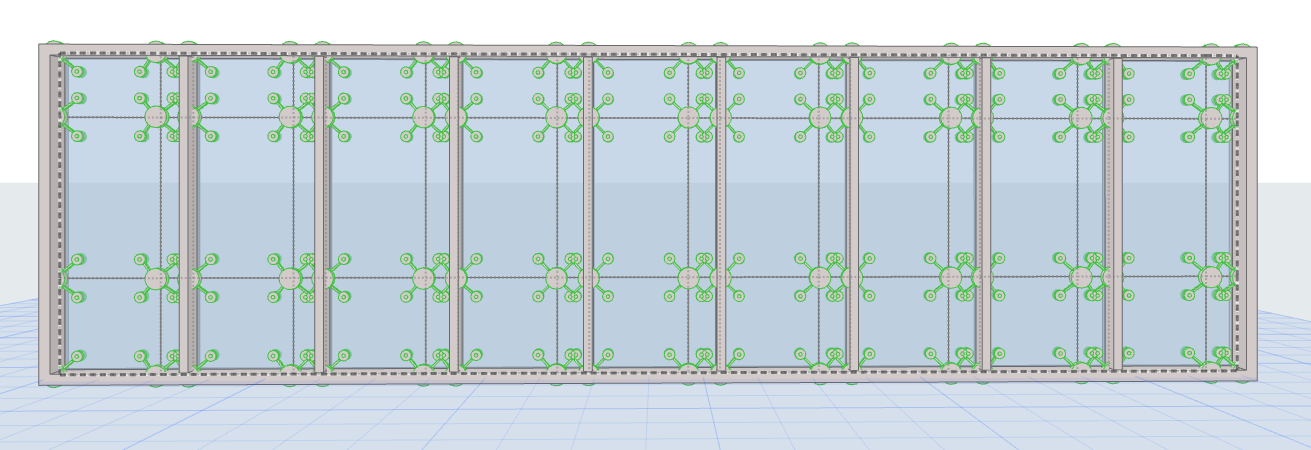
A Curtain Wall Junction is an optional structure that serves to connect panels to each other, to support or (more often) to substitute for Frames, resulting in a seamless, more lightweight structure than the traditional Framework.
Junctions are placed at one or more grid points. Moving the grid lines will also move the Junction.
When a Junction is selected in Edit mode, you can
•Open Junction Selection Settings and change them
•Drag the Junction to another panel connection point (3D Edit mode only)
•Delete the Junction
Junctions are placed on the inside of the Curtain Wall by default. You can flip the Junction to the opposite side of the Curtain Wall (use the Flip button in Junction Tool Settings or Info Box).
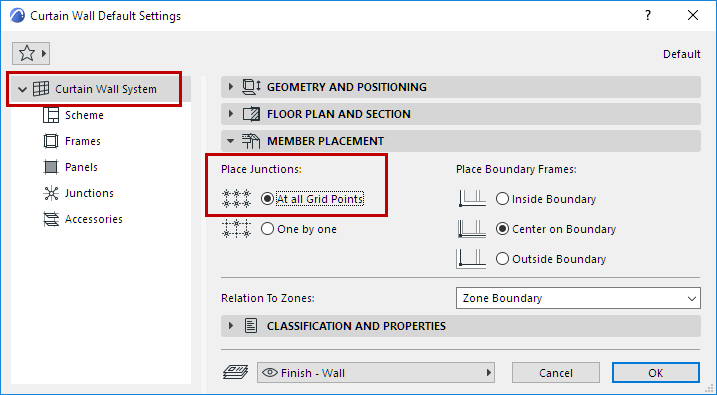
Place Junctions at All Grid Points
Junctions can be placed either one by one or automatically at every intersection.
To place them at all Grid points, choose this option under Member Placement in Curtain Wall System Settings.


Add New Junction to the Curtain Wall
1.Enter Curtain Wall Edit mode from the 3D window.
2.Activate the Junction Tool.

3.To use Custom parameters, open the Junction Settings page and adjust the parameters as needed.

4.To use the Junction as a substitute for Frames: select the Frames at a desired panel connection point and switch them to “Invisible” type.

5.With the Junction tool active, click the hotspot in the middle of the connection.
6.Click to define which side of the Curtain Wall you want to place the Junction. It will be placed at the nearest panel connection point to your click.
Note: To reverse its orientation, select the Junction and click Flip from the Info Box.

