
Use the Edit mode of the Stair tool to access and edit any one or more Stair components: Treads, Risers, and Structures.
Note: You can edit the Stair’s Baseline and Boundary regardless of Edit mode.
•Enter Edit mode from Floor Plan, Elevation, Section and 3D Window. You can remain in Edit mode even when switching between views.
•In Edit mode for the Stair (unlike Curtain Wall Edit mode) you cannot add new Treads, Risers or Structures - you can just edit existing ones, either graphically or through their component Settings dialogs.
Exception: In Edit mode, you can extend the Stair using Continue Stair from the Baseline’s pet palette.
To enter Edit mode, select a Stair in any model window, then do one of the following:
•Click the Edit button which appears.
•Use Design > Enter Stair Edit Mode.

Exit Edit Mode
Do one of the following:
•Use ESC (with nothing selected)
•Click Exit Edit Mode from the display palette (see below).
•Use Design > Exit Edit Mode.
Edit Mode Display Palette
Edit mode has its own Display Palette, which varies depending on the window you are in (2D, 3D, Section/Elevation).
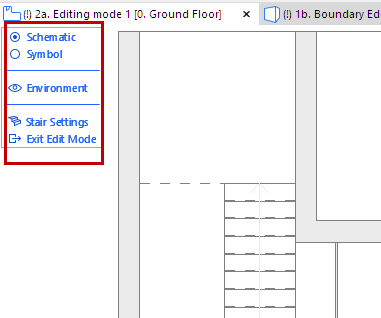

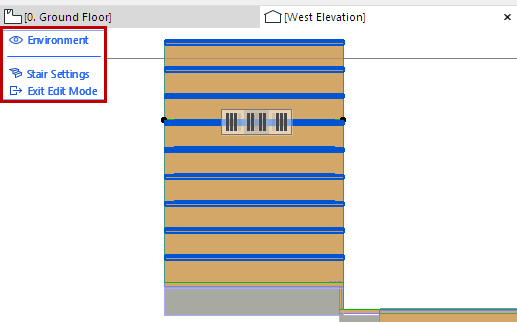
Edit Mode Display Palette
Use the Edit mode Display Palette to show/hide the Stair components as needed (click the eye icons to open or close them), even in the middle of an editing operation.
Right-clicking any of the components (e.g. “Tread”) in the display palette means that component will be displayed and the rest hidden.
Schematic vs. Symbol View (2D Edit mode)
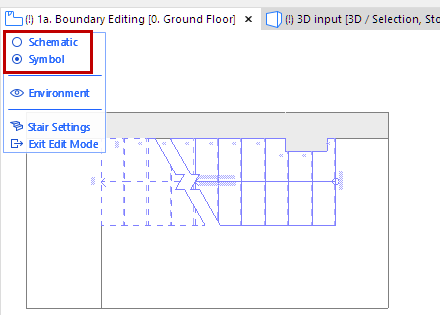
The 2D view of Stair Tool Edit mode has two options to display the Stair for optimal editing:
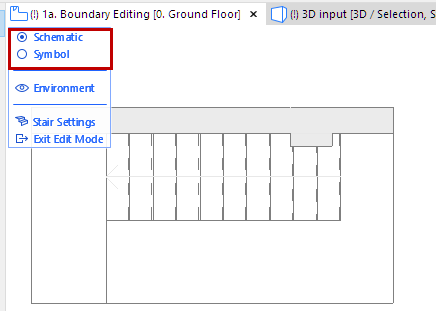
•Schematic: shows the Stair as a simplified 3D transparent surface. Use this mode to select Structures, as well as Treads and Risers (use Tab to cycle among multiple highlighted elements):
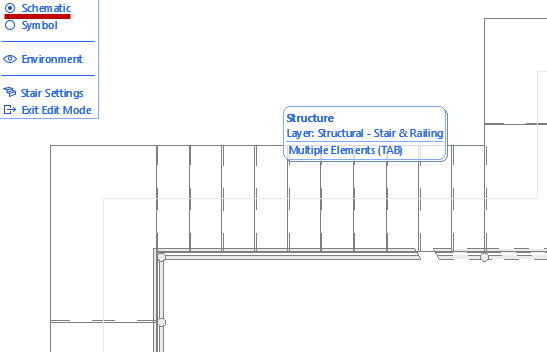
•Symbol: Use this to access the Stair’s the 2D symbol elements (e.g. Walking Line)


Use Symbol View to Edit Walking Line or Break Mark
Related Topics
Edit Stair Symbol Components Graphically
Walking Line Symbol: Position and Display Settings
Select Stair Component for Editing
In Edit mode, select a Tread, Riser or Structure component to edit it graphically and to access its settings.


•Use the Element Info tag to make sure you select the component you need. In case of multiple overlapping elements, use the Tab key to cycle among selection options.
•The selected component’s Settings are available from the Info Box (click Settings) and the context menu.
Note: Unlike Curtain Wall Edit mode, there is no Stair toolbox available from Edit mode, because you cannot create new Stair components in Edit mode.

•When selecting a Structure component in 3D Edit mode, you may have to navigate “underneath” the Stair, or turn off the display of Treads/Risers.


Multi-selection of Treads and Risers
When you select a single Tread or Riser in Edit mode, a “Grip” appears with shortcuts for selecting multiple Treads or Risers.
Click on one of the Grip options to select one or more Treads/Risers, in addition to the selected one:
•all Treads/Risers above
•all Treads/Risers below
•all Treads/Risers altogether


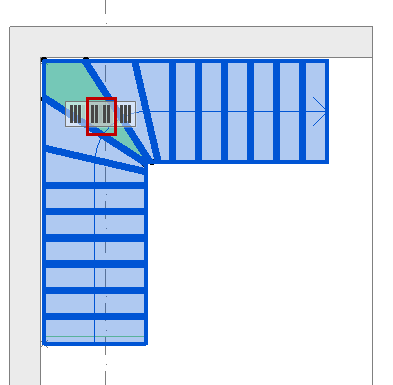
A Riser in 2D Edit mode is shown as a single line. (Hover your cursor and use Tab if you have trouble clicking on the Riser line.)
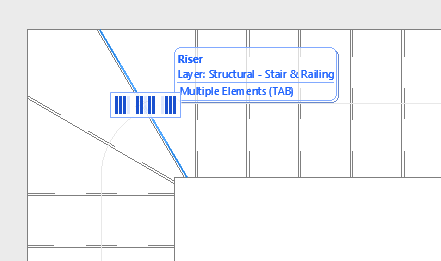
Selected Riser (Line) in 2D Edit Mode
Show/Hide Environment
“Environment,” in this display palette, refers to the rest of the building model, which you can show or hide as needed to assist in editing. Preselection tags will identify the Environment’s model elements in dimmed form, but in Stair Edit mode, you can edit only the components of the Stair you selected to enter Edit mode.
Note: If you have trouble identifying the edges of these model elements shown as the Environment, try checking Show Contours in View > 3D View Options > 3D Styles.
Access Stair Settings from Edit Mode
To edit the System-level Settings without leaving Edit mode, click Stair Settings at the bottom of the display palette.
