Before placing a Column, go to Column Settings to adjust its core geometry, height, positioning and end cuts.
See Column Tool Settings: Preview and Positioning
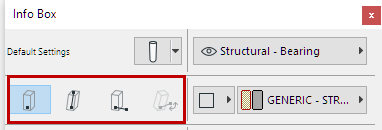
To place a Column, choose one of the four Geometry Methods (input methods) from the Info Box.

Simple Column

Place the Column (straight or slanted) with one click. The Column axis will be projected from the Floor Plan.
For a slanted Column: see Create a Slanted Column.
Two-Click Column Input
Use this to freely define the column slant during input.
No need to define a slant angle before input.

1.Click to place the Column base.
2.Click again to complete the Column.
•The second click defines the Column’s slant angle and (in the 3D window) its height.
–In Floor Plan, the height is fixed, and you defined the slant angle graphically (as shown in the Tracker.)

–In the 3D window, you can snap to existing elements, and/or click Shift to constrain input to an editing plane.


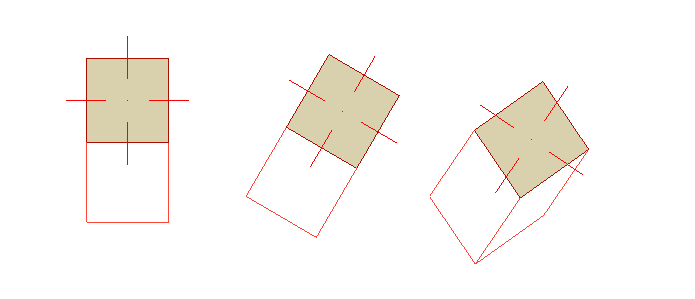
Rotated Column

1.Click to place the Column base.
2.Click again to define its rotation angle.
Slanted and Rotated
Slanted column only.

1.Click to place the Column base.
2.Click again to define its rotation angle.
3.Revolve it around its slanted axis, and click to complete.
