Create a Single-plane Roof in the 3D Window
Note: Apart from drawing a new Roof as described below, you can also select a Multi-plane Roof and split it into several Single-plane Roofs, using Edit > Reshape > Split into Single-plane Roofs or Design > Roof Extras > Split into Single-plane Roofs.
Use this method if you want to place a roof that snaps to existing elements in the 3D window.
1.Select the Roof Tool.
2.In Roof Settings or the Info Box, adjust the main roof parameters (e.g. pitch, surfaces, eaves overhang)
3.Choose the Single-plane Construction method from the Info Box.
4.Choose one of the three Geometry Methods in the Info Box (Polygon, Rectangle, or Rotated Rectangle).

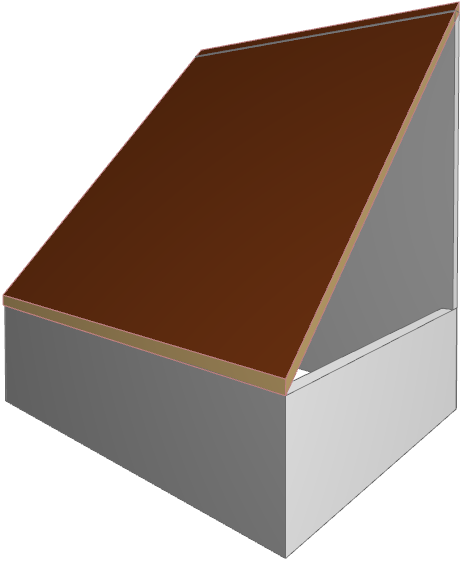
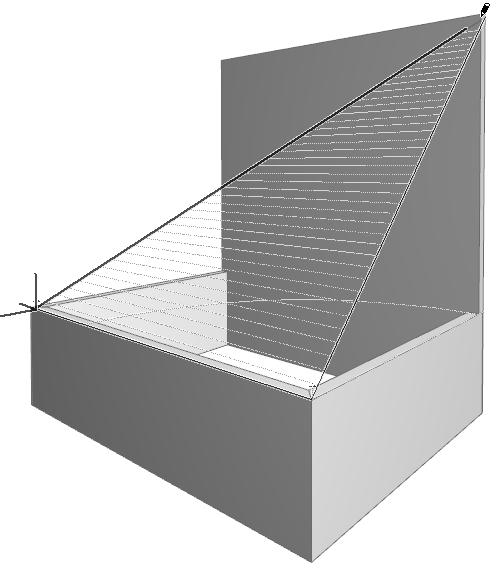
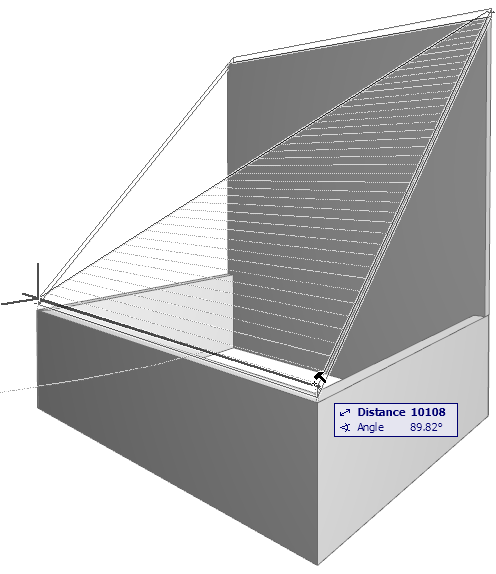
5.In the 3D window, define the roof plane by clicking on three points. The first two points constitute the pivot line.
6.Draw the contour of the roof. The Hammer cursor appears when you return to the first node. Click to close the polygon.
7.ARCHICAD will generate the Roof.