Note: This process is identical for Elevations, Details and Worksheets.
A linked marker is for reference purposes only. It has no model source and does not generate a new viewpoint.
To place a linked Section marker, use the Section tool in any of the following windows: Floor Plan; Section; Elevation; Interior Elevation; 3D Document; Worksheet; Detail. Then link the marker to an existing viewpoint, view or drawing whose information is displayed in the marker.
Define Reference for Linked Marker
Follow these steps to define reference information for linked Section, Elevation, Detail and Worksheet markers.
1.Activate the Section tool.
2.In the Marker Type control of the Info Box or Section Default Settings, select “Place Linked Marker”.

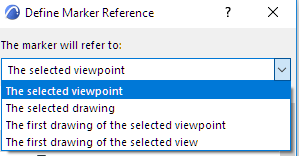
3.In the appearing dialog box, define the Marker Reference.
For a new linked marker, or to redefine an already placed selected marker, you have these choices:

•the selected viewpoint (i.e., the viewpoint you select from the directory list after choosing “Browse”)
•the selected drawing (i.e., the drawing you select from the directory list after choosing “Browse”)
•the first placed drawing of the selected viewpoint (i.e., the first drawing created from the viewpoint you select from the directory list after choosing “Browse.”). “First” means the topmost eligible drawing in the Navigator Layout Book.
•the first placed drawing of the selected view (i.e., the first drawing created from the view you select from the directory list after choosing “Browse.”). “First” means the topmost eligible drawing in the Navigator Layout Book.
Choosing any of these reference options will bring up a directory dialog box showing the relevant view of the Navigator (Project Map, View Map, or Layout Book). Choose the desired viewpoint, view or drawing. The chosen item’s information will be displayed in the linked marker.
Thus, a linked marker can refer to any viewpoint, view or drawing in the project.
Note: The option to refer to a view is available in case the desired Drawing is located in a different project’s Layout Book (and is therefore not listed in the “Define Marker Reference” dialog box). Since you cannot refer to the actual drawing, you can refer to the View (in the current project) from which the Drawing was created (in the other project). The marker will display the drawing data of the first drawing created out of this view as autotext (e.g. #Drawing Name, #DrgID). Once the Layout Book that contains the reference drawing is opened alongside the project containing the marker, the marker will fill in the correct drawing data.
See Import View(s) from External ARCHICAD Project (Solo or Teamwork).
After the marker is placed, you can still go back and change its marker information at any time.
Linked Section Example
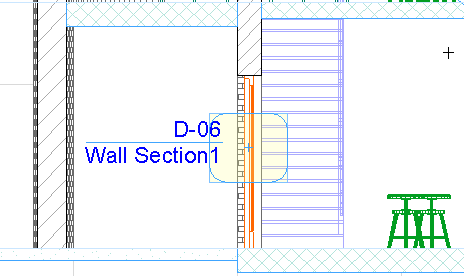
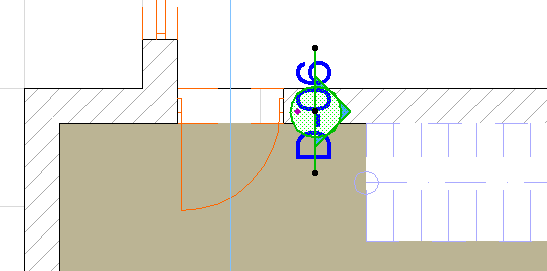
For example, you might create a Wall Section that functions like a Detail:
First, place a source Detail marker in the Section window;

then place a linked Wall Section marker on the Floor Plan which is linked to this Detail.
