
1.Activate the Structural Support tool
–from the toolbox, or
–Design > Structural Engineering Tools > Structural Support
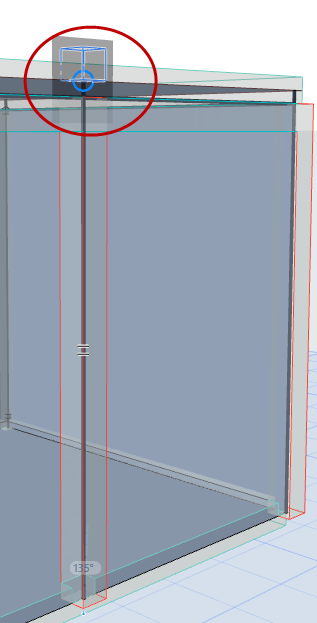
2.On Floor Plan or 3D window: hover over the Structural Analytical Member to which you want to add the support.
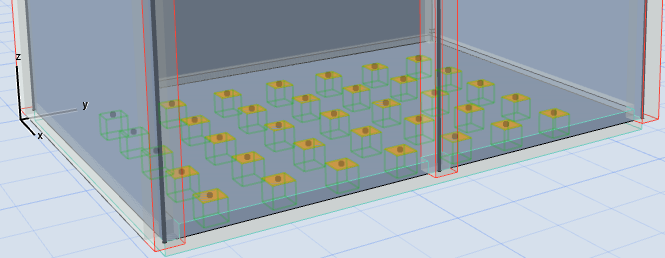
3. Depending on the Member type (1D or 2D), the graphical feedback indicates the available Support types: Point, Line, and/or Surface.
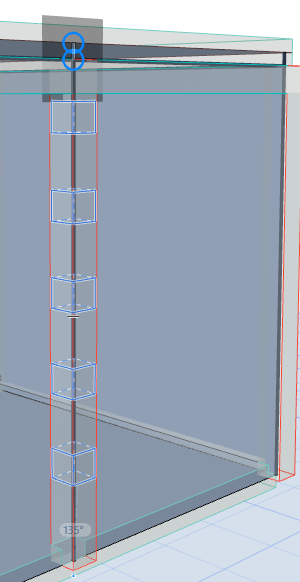
Graphical Preview: Point and Line Support for 1D Member
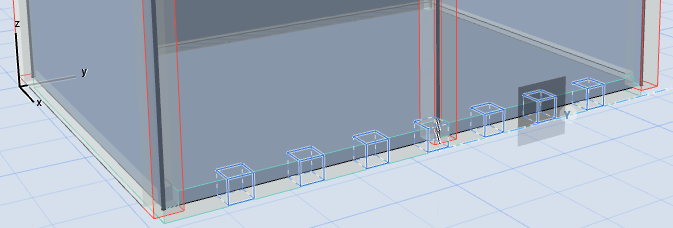
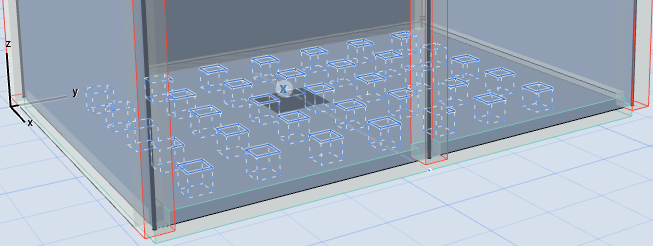
Graphical Preview: Line and Surface Support for 2D Member
4.When you see the Support geometry you need, click to place.
5.Use Support tool settings or the Info Box to set additional options as needed.
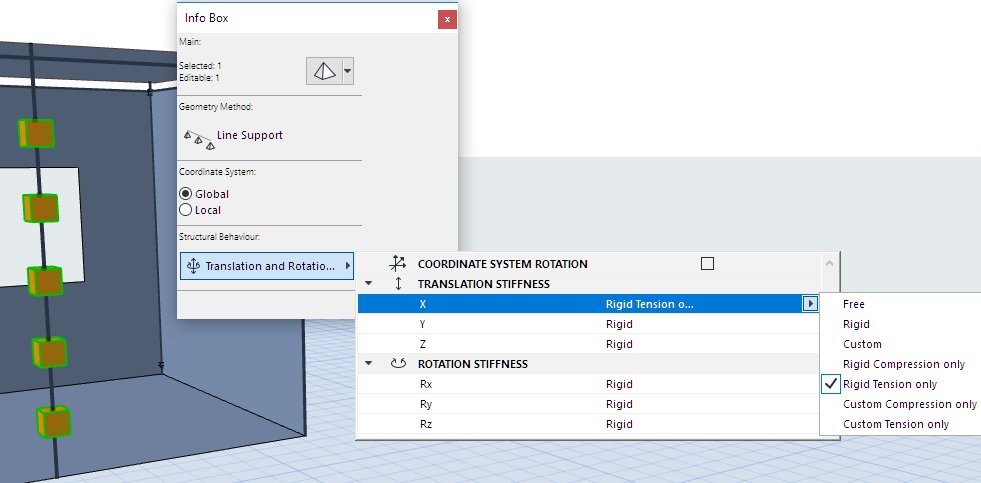
Translation/Rotation Stiffness of Line Support Element
Default Settings of Structural Support Tool
When you place a new Structural Support, the element Default Settings reflect the options and working units used by Point-type Supports (some of which are not relevant for other Support geometries). Even so, just set the values needed for your specific Support geometry (e.g. Line or Surface Support).
After placement, its Selection Settings will now show the correct and relevant options and working units.