Use this function to create a specialized ARCHICAD model and save it as a custom MEP part.
1.Open a new, empty ARCHICAD project file.
2.In the Floor Plan or 3D window, use any construction elements (e.g. Wall, Slab, Object, MEP element) to model a custom MEP part.
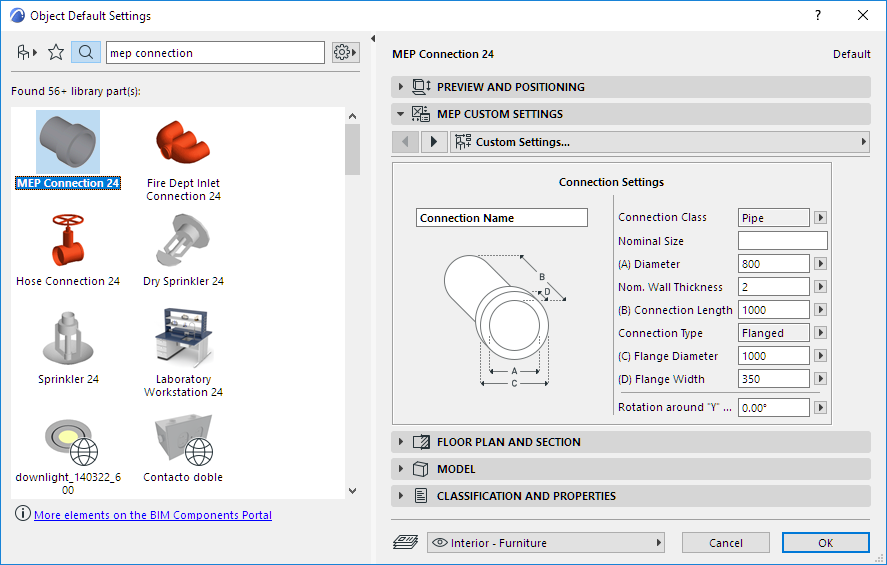
3.If your custom MEP element requires one or more connections, you must use the MEP Connection object as part of your element under construction.
Note: The MEP Connection object is located in the MEP Library. (You can use the Library Part search function to locate it.)

4.When you are finished designing the MEP part, go to the 3D window (if you are not there already).
5.Use the File > Libraries and Objects > Save Selection As > MEP Part command
6.In the appearing Save Library Part dialog box, enter a File Name for your new MEP object, which will be saved in your project’s Embedded Library, or another library designated by you.
7.Choose a Subtype from the Type drop-down list:

Note: The available subtypes in this list depend on the number and type of MEP Connection objects you placed in the custom MEP part. If your custom MEP part has only a single Connection, the equipment and in-line subtypes (which require multiple collinear connections) are not available here. Also, if you placed an MEP Connection that is set to Pipe type in its Settings dialog box, then the Duct subtypes are not available.
8.Click Save. The new MEP object is now located in the library folder to which you saved it, and is accessible from the Tool settings of the chosen subtype.