Creating Trusses in the Floor Plan
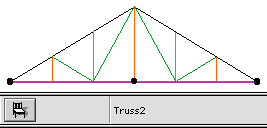
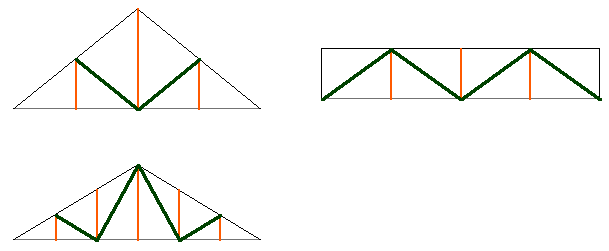
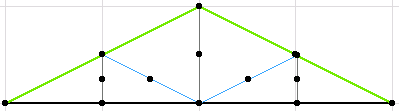
Start by drawing the framework of the truss in the Floor Plan window with the Line and Arc/Circle tools. Use different pen colors for the different parts of the truss, as seen below. Pen thicknesses have been exaggerated for clarity.
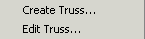
When you are satisfied with your design, select the lines making up the truss and choose the Create Truss command from the TrussMaker hierarchical menu (Design > Design Extras).
Use TrussMaker Settings to choose a shape and define options for creating the truss.
See TrussMaker Settings.
When you have finished customizing your truss, click the Save button at the bottom right of the dialog box. You will then be prompted to name the new truss object and place it in your Embedded library.
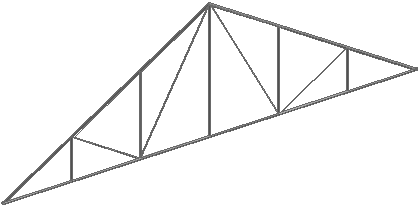
The new truss appears on the Floor Plan on the baseline of the contour. Go to the 3D window to visualize it, and then drag it into its final location.