Linear Dimensions in the 3D Document Window
In the 3D Document window, use the Linear Dimension tool to place dimensions as needed. All the options for Linear Dimensions are available except Arc Length.
In the 3D Document window only, you can constrain the plane in which the dimension line is to be placed. (see below)
Choose Dimension Plane in 3D Document Window
To choose a plane constraint for linear dimensions in the 3D Document window, choose among the options in the Linear Dimension Tool Info Box:

•the horizontal plane
•the vertical plane
•any other plane
The default is the “Any Plane” option, which gives you the most freedom.
Example
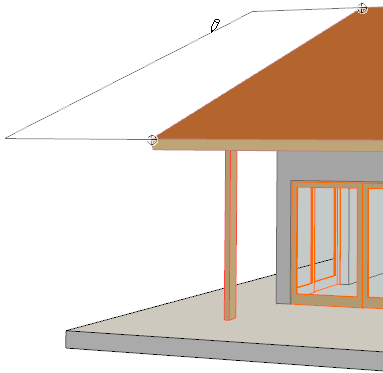
Suppose we wish to dimension the width of the roof in a 3D Document.
Activate the Linear Dimension tool. Select the “Any Plane” geometry method in the Info Box, as well as the “Any Direction” option.

As usual, click at both ends of the roof, then double-click.

Next, choose the plane in which you wish to measure the dimension. To do this, move the cursor onto the roof plane. The feedback indicates the direction of the dimension plane; click to define the desired plane.
Now the cursor will move only in this defined plane. Click one more time to place the dimension line at the desired location.

Offset Dimension Plane
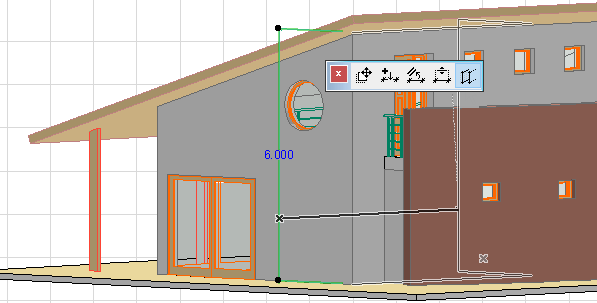
Once you have placed a dimension line in the 3D Document window, you can offset it within its current plane. This option is available for dimensions in the 3D Document only:

The usual dimension line editing options are also available from the pet palette (insert/merge dimension point, drag or align dimension line.)
See Edit Dimensions.