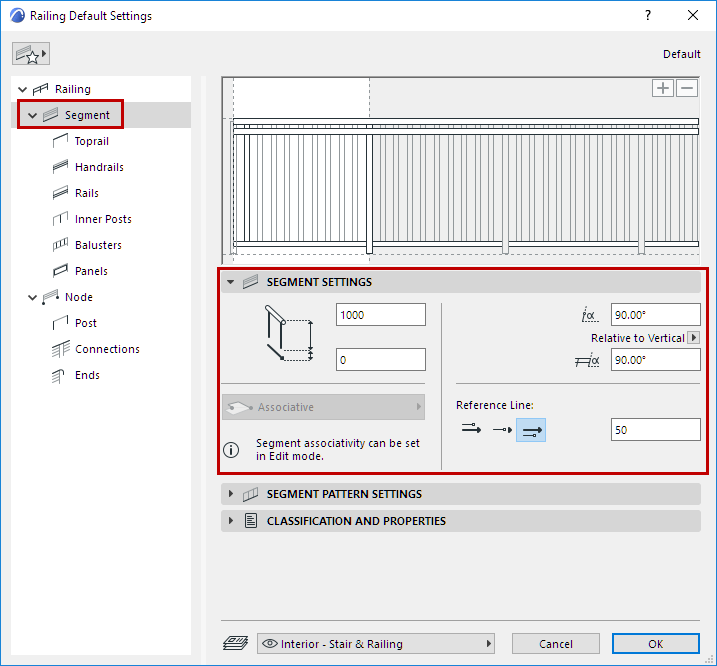
Segment Settings (Page of Railing Tool Settings)

Segment Height and Vertical Offset
Enter the Segment height.
The position of other Railing components can depend on the Segment height:
•The height of the Toprail equals the Segment height (this is not true for Handrails or Rails).
•The tops of Railing Posts, Inner Posts, Balusters and Panels can be defined as offset from the Segment top.
Optionally, add a vertical offset (positive or negative) to the Segment height.
A Railing Segment is associative by default, but you can change any Segment to Static.
See Working with Railing Segments and Nodes.
Slant and Skew Railing Segment
Slant the Segment by entering a slant degree, measured perpendicularly to the Segment plane.
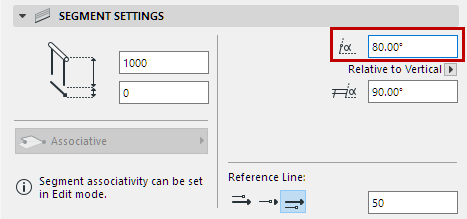
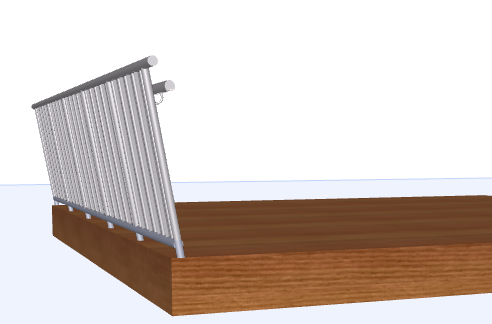
Slanted Railing Segment
Optionally, skew the Segment. Set the skewing angle: either relative to vertical, or perpendicular to the Railing reference line.
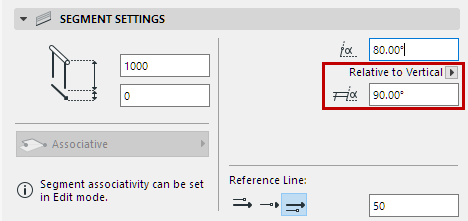
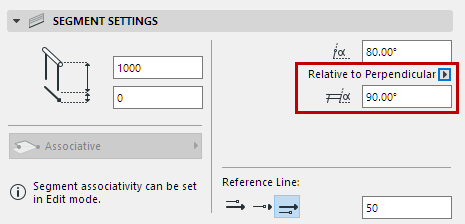
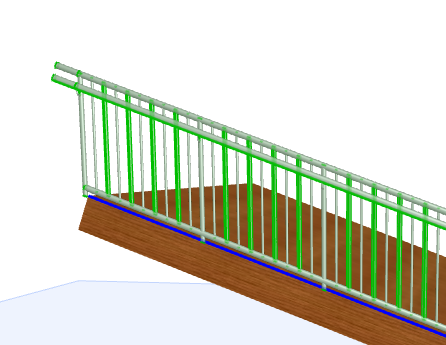
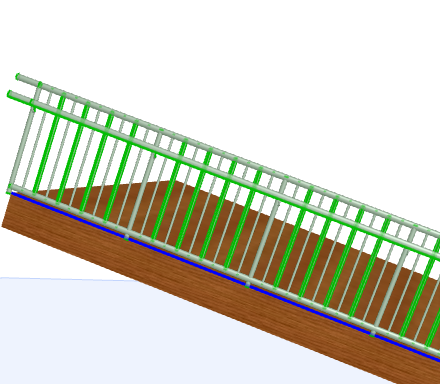
Skew Railing (to Vertical or Perpendicular Plane)
You can also skew or slant the Segment graphically, by modifying the Toprail angle in Edit mode.
See Slant or Skew Railing in Edit Mode.
Offset Railing Segment from Reference Line
As needed, offset the Segment from either side of the Railing Reference Line. Enter the offset value in the Reference Line field of Segment Settings.
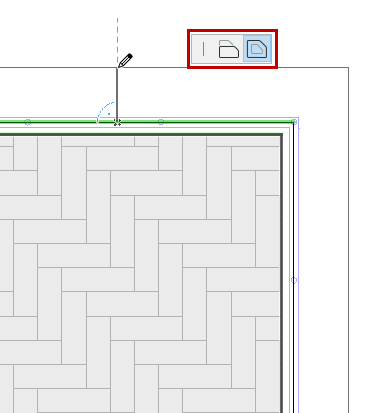
In Edit mode, you can offset any or all Railing segments graphically (Reference Line remains in place, e.g. with associated element)
For other Reference Line uses, see Railing Reference Line.