Example: Create Custom Frame or Cap Profile for Curtain Walls
Suppose you wish to customize the profile of your Curtain Wall Frame, or to add a custom Cap. Follow these steps:
1.Using ARCHICAD construction elements, draw the custom Curtain Wall frame on the Floor Plan or in the 3D window.
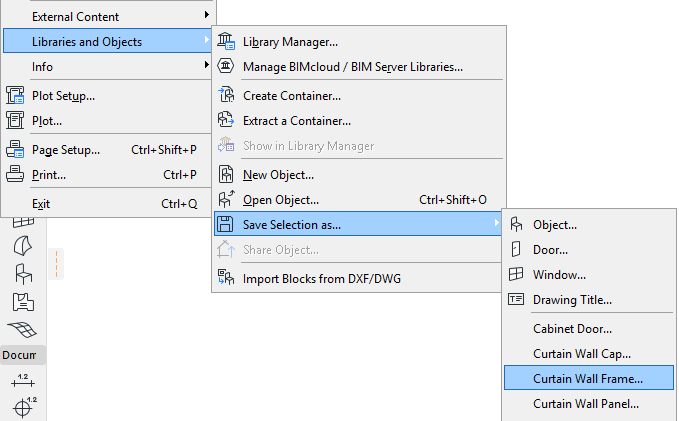
2.Select the drawn element(s) and choose the File > Libraries and Objects > Save Selection as > Curtain Wall Frame.
3.The Save Curtain Wall Frame dialog box comes up.
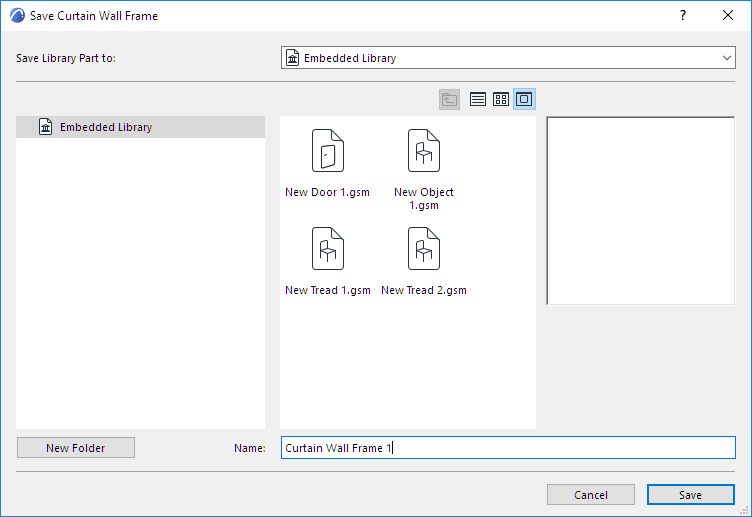
4.Specify a name for the new library part, and choose the desired folder location in which to save it:
–to the Embedded Library (default choice. It is recommended to save customized, project-specific objects to your Embedded Library.)
–to a BIMcloud library that has been added to the project
Note: You must reserve the BIMcloud Library folder before saving to it
–browse for a linked library
Click New Folder to create a new folder within the selected library folder.
5.Select the Curtain Wall whose Frame you wish to customize.
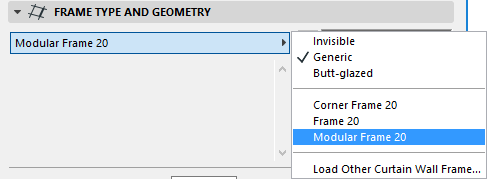
6.In Curtain Wall Selection Settings (either “Mullion” or “Transom”), choose Modular Frame.
7.In the Curtain Wall Frame Settings panel, select “Custom Frame” and/or “Custom Cap” from the Type pop-ups.
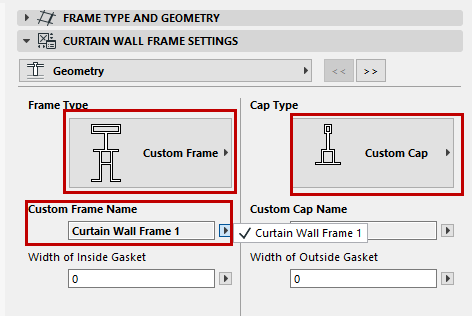
Your saved custom library parts are listed in the pop-ups below.
Click OK to replace the selected Frames with the custom component(s).