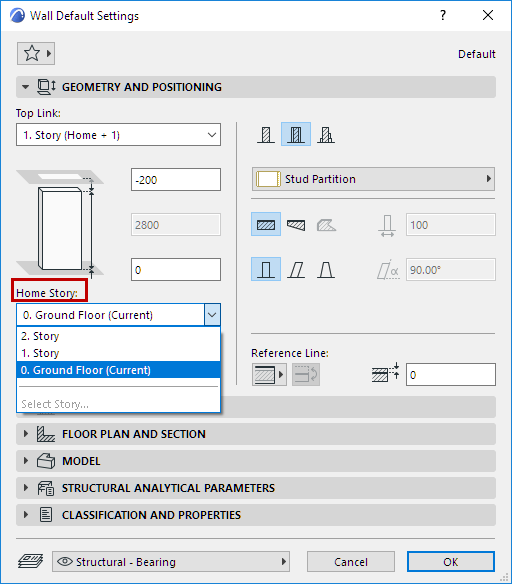
A new element placed in a 2D model window is at the level of its Home Story (plus or minus any optionally defined offset).
Each construction element and object-type element is physically linked to its Home Story and moves together with it.
•On the Floor Plan, a new element’s Home Story is the one defined in its Tool Settings dialog box: by default the current story, but you can choose a different Home Story. In any case, the element will be placed onto its Home Story.
•If you place the element in the 3D Window, the Home Story depends on the element’s elevation: the closest story below the element’s bottom elevation, at the time the element is placed, will be its Home Story. (If the 3D Window is active, the Home Story control and the offset from Home Story field in the Default Tool Settings dialog are grayed out. However, you can still set the bottom elevation from Project Zero in the Tool Settings dialog boxes.)
•If you redefine an element’s Home Story (e.g. from 0. Story to 1. Story), the element will change its position and move onto its new Home Story (from 0. Story to 1. Story).
Note: For reasons of compatibility with older Archicad versions, you can redefine the Home Story in such a way that the element stays in place. See Relink Home Story.
•If you move the element onto a different story (e.g. with the Elevate command), its Home Story will, by default, change to match the element’s new location. (See Change Home Story by Elevation.)
•If you modify the Home Story itself (e.g. redefine the story level in Story Settings), the linked element will move along with it (while respecting the defined offset, if any).
•If you delete an element’s Home Story, that element will be deleted!
Other uses for the Home Story:
•The Home Story helps define which part of an element will be displayed, according to the Show on Stories control in the Tool Settings dialog box. (See Show On Stories.)
•The Home Story can be used in listing criteria.
Define Home Story (Elements Placed on Floor Plan)
Before placing a new element on the Floor Plan:
In the element’s Tool Settings dialog box, or its Info Box, choose a Home Story onto which to place the element on the Floor Plan.

•Default: The element’s Home Story will be the current story.
•Alternatively, choose a different story from this pop-up, or (if there are too many stories to list here) click Select Story to bring up the full list of stories. Choose one onto which to place the element: this will be its Home Story.
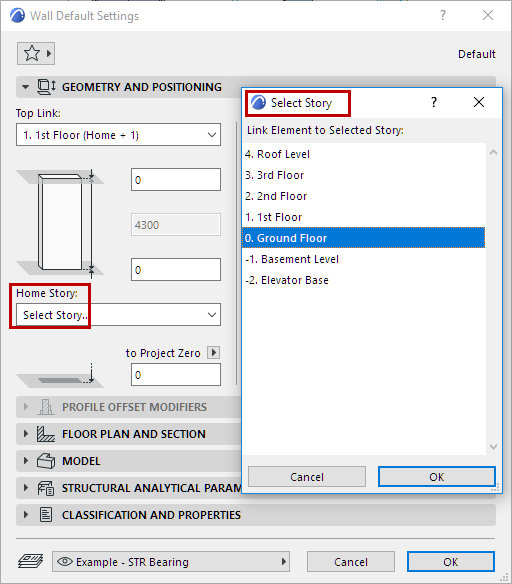
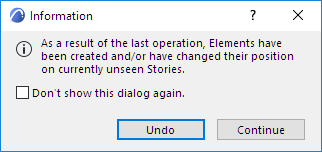
If the current story is the Ground Floor, yet you choose the 2. Story as the Home Story, the new element will be placed onto its Home Story (that is, 2. Story) - you will not see it on the current story. You will get a message telling you this.
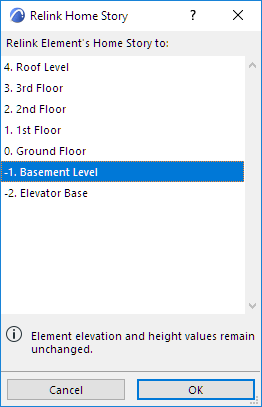
Although elements “follow” their home story - if you change an element’s Home Story, the element will move onto its new Home Story - there is a way to relink the element to a different Home Story so that the element still remains physically located on its original story.
Use the Edit > Element Settings > Relink Home Story command to redefine a selected element’s Home Story. The element will stay in place even as its Home Story changes.
For selected elements, this command is also available in the context menu.
Home Story in the 3D Window
If you place the element in the 3D Window, the Home Story will be defined not according to the Settings dialog box (where the control is grayed out), but rather by elevation: that is, the story beneath the element’s reference point, at the time the element is placed.
Note: For a Shell, this reference point is the first point used to draw the Shell (not the bottommost point).
Change Home Story by Elevation
If you move a placed element to a different story, the element’s Home Story can change to match the element’s new location.
As you elevate the element, the “By Elevation” text in the Tracker indicates that the Home Story changes to match the element’s new elevation:
Notice that a Guide Line appears marking the story positions, to make it easier to place the element.
Alternatively, use Tracker controls to choose a different Home Story for the selected element, regardless of its elevation:
![]()
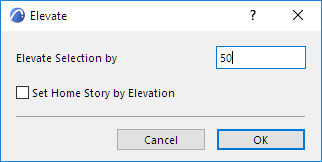
Similarly, in either 2D or 3D windows, you can automatically reset an element’s Home Story as its elevation changes if you use the Elevate or Multiply commands, by checking the Set Home Story by Elevation box:
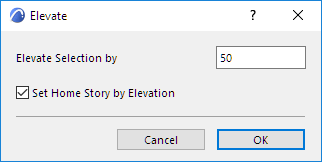
If you uncheck the box, the element’s Home Story as set in the Tool Settings (Info Box) will remain in effect regardless of the elevation change.
See also Elevating Elements and Multiply Elements.