
Quality
The two quality pop-ups refer to the Rendering Quality and Shadow Quality of your rendering.
•Rendering Quality: The first pop-up sets Rendering quality. Choose Low, Medium, High or Final (Details). (The quality you set here will have an effect on the antialiasing and Global Illumination processes, which produce better quality but require more render time.)
•Shadows: The second pop-up sets Shadow quality. (Varies depending on whether you are using a Standard or Physical Renderer.)
–Choose None for no Shadows.
–By Light Settings means that the Shadow Casting setting for each individual placed light object (as defined on the Lamp Settings Light Parameters page) will be in effect in this Scene. (See also Shadow Casting.)

Use three sliders to set the intensity of three different types of light used in the rendering: Sun intensity; Lamp intensity; and Illuminating surfaces.
Each slider can override a particular light source intensity that is set elsewhere in the project.
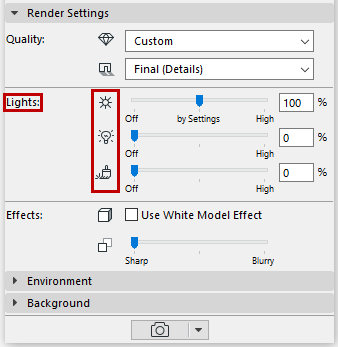
•Sun Intensity
–If you are using a Physical Sky as your Environment, then this slider affects the sun that is part of that Physical Sky setting.
See Cineware Basic Settings: Environment Panel.
–If you are using an HDRI image as your Environment, then this slider affects the Archicad Sunlight settings.
See Sunlight Settings.
–The midpoint of the slider, at “By Settings”, corresponds to 100 percent: this means that the rendering will use the sun intensity defined in current settings.
•Lamp Intensity: Can override the Main Intensity settings (set in Lamp Settings) for all individual lamps placed in the project. The midpoint of the slider, at “By Settings”, corresponds to 100 percent: this means that the rendering will use the lamp intensity exactly corresponding to the intensity set for lamp objects placed in the model.
See Light Color and Intensity for Lamp Tool Settings.
Note: These Rendering settings consider the settings that affect the 3D window, but the reverse is not true: the 3D Window does not consider what you adjust in Rendering settings. So a lamp that is turned off in the 3D window cannot be turned on in Rendering Settings.
•Illuminating Surfaces: This setting overrides the surface-level Luminance channel.
Note: All surfaces also have an Illumination channel, which affects Global Illumination. But the Illuminating Surfaces control in Photorendering Settings affects the Luminance only.
Only two effects are part of the Basic Settings parameters: the White Model Effect and Depth of Field.
White Model Effect
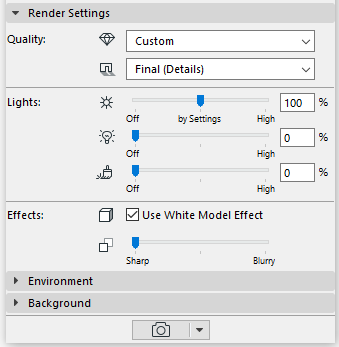
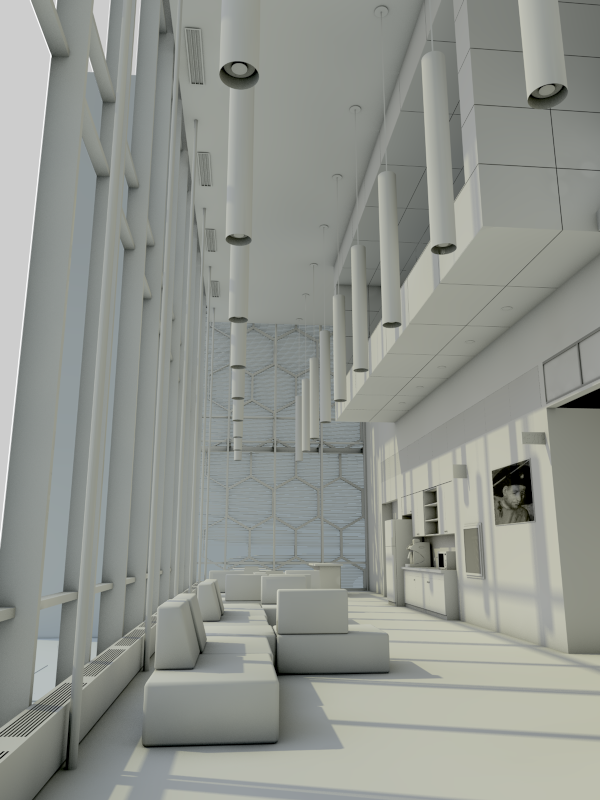
All surfaces are white, except those which use transparency or alpha channels (those remain transparent). This control is useful, for example, when showing an early design phase to a client, to convey the essential forms and space of the project plus light effects, without getting bogged down in colors and textures.
Note that applying this effect involves changing all surfaces in the model. Consequently, the entire model must be converted during the preview generation process, which takes time.
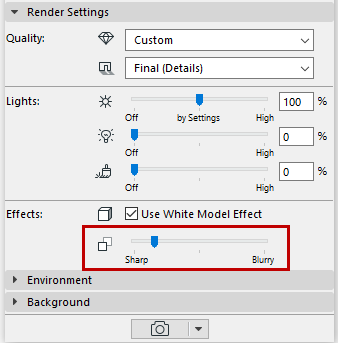
Depth of Field
This parameter controls the sharpness of the depth view. (That is, to what extent should it blur over distance.) By default, this is set to sharp.
Limitations:
Keep in mind that if you are using Standard rendering mode, Depth of Field functions as a post-effect: that is, it is only generated after the photorendered image is completed. Consequently, if:
–you are using Standard rendering mode, and
–your project contains alpha-effect objects (e.g. a bitmap tree object that uses an alpha effect), and
–you have set a value for Depth of Field:
then the Depth of Field may not have the desired effect.
To solve this problem, switch to Physical Renderer mode. (In Physical Renderer, Depth of Field works like a camera setting (F-stop). (See also Physical vs. Standard Renderer.)