Compare Structural Analytical Models
Use this workflow to compare views of a Structural Analytical Model.
In this workflow, you must enable the Structural Model in the “Select View” dialog, as described below.
Example Workflow
In this example, the structural engineer has revised the structural analytical model, and is doing Model Compare to assign issues.
1.Use Design > Model Compare.
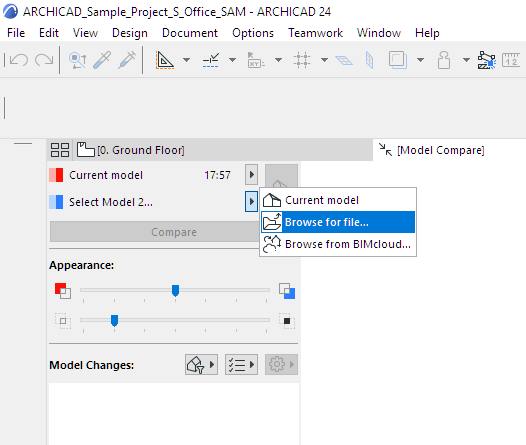
2.From the Model Compare palette:
Select Current model for Model 1. (You can browse for any other pln or SAF as needed.)
3.For Model 2, browse for the SAF file (format: Structural Analysis File .xlsx).
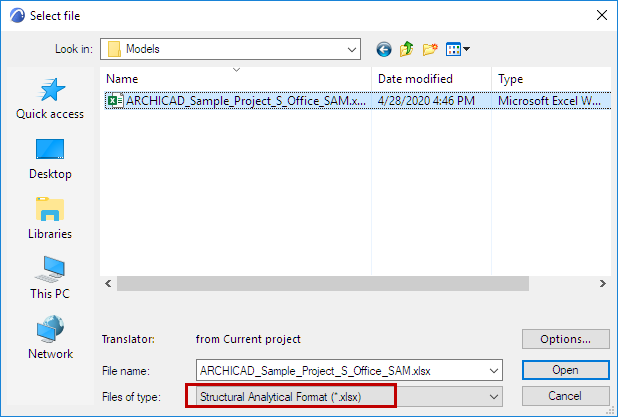
Note: When you open a SAF file using Model Compare, the SAF Translator settings of the current project are applied. Make sure the current project’s SAF Translator settings are the ones you need. To change them, import a different Translator file to the current project. See Import/Export SAF Translators.
4.Click Open.
5.From the Model Compare palette, click the View Selector button.
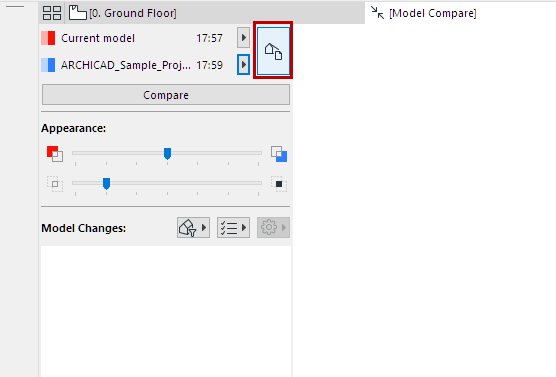
6.The Select View dialog opens.
7.Select 3D View to compare in the 3D Views panel. (See also Select View for Compare.)
Note: In comparing pln with SAF models, only common views are available, since the SAF file does not contain Views.
8.In the Structural View Properties panel, enable the Structural Analytical Model option.
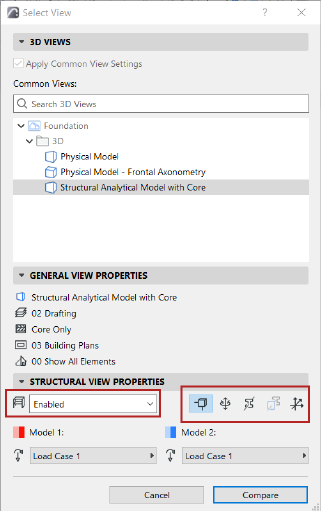
•Click any of the icons (nodes, end releases, profile, replacement profile, local coordinate system) to show these Structural components in the Compare window.
•Optionally, choose to compare particular Load Cases of each view. (See Load Cases in Model Compare, below.)
Note: Visibility settings are stored in the selected view, but these icons and Load Case options allow you to temporarily override them.
9.Click Compare. While the Model Compare results are being generated, you can navigate to any other tab or window.
10.Check the results in the Model Compare window.
11.Filter the parameters you want to see. Available parameter sets are specific to the Structural Analytical Model.

12.Review the Model Compare palette to see what has changed: changed elements that exist in both models (“Modified”; and those that exist only in Model 1 or in Model 2.
See Model Compare: Review the Changes.
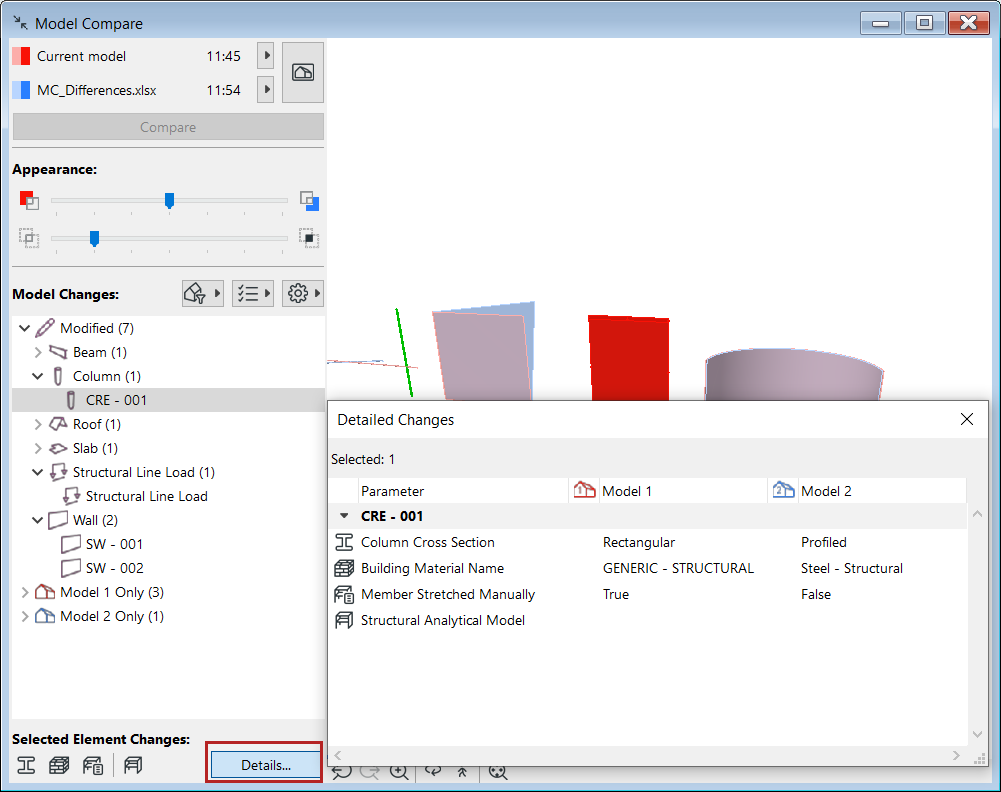
13.Click Details for more information on structural-related changes in modified elements. (Available for Structural view compare only. Not available in Teamwork.)
Where available, you can see Model 1 vs. Model 2 values for specific parameters.
Note: You can also open Detailed Changes from the Structural Analytical toolbar, or from Window > Palettes.

14.As needed, create Issues.
See Create Issue from Model Compare Change List.
In the Select View dialog (Structural View Properties panel):
•For both models, check the Load Case controls. The model’s saved Load Case (part of View Settings) is displayed.
•Optionally, enable or disable Load Cases for either or both models. Disabling the Load Case means Load-related information will be ignored for that model.
•For either or both models, you can choose a different Load Case to consider in Model Compare.
