Publish BIMx Hyper-Model Using a Wizard
Use this method (File > Publish BIMx Hyper-model) to create a new Hyper-model Publisher Set from your Archicad model a few easy steps.
Compared to the Publisher method, the wizard is easier, but customization options are more limited:
•You can save only a single 3D view to the Hyper-model.
•You cannot pick and choose among individual layouts: you can include all Layouts, no Layouts, or a single Layout Subset.
•You have fewer options to limit model size or to fine-tune the exported element information.
To take full advantage of Archicad model data in BIMx, try saving the Publisher set using the Publisher-Organizer instead. See Publish BIMx Hyper-Model: Publisher method (detailed method).
Steps to Publish BIMx Hyper-model Wizard
1.In the 3D window, set up the desired view. This will be the basis of your Hyper-model.
If you want to include a gallery of camera positions in the BIMx model, place cameras on the Floor Plan and select one.
Note: You may need to optimize the Archicad model before saving it in BIMx format to ensure optimal performance. See BIMx: Notes on Model Data, 3D Model Settings, and Textures.
2.Go to File > Publish BIMx Hyper-model.
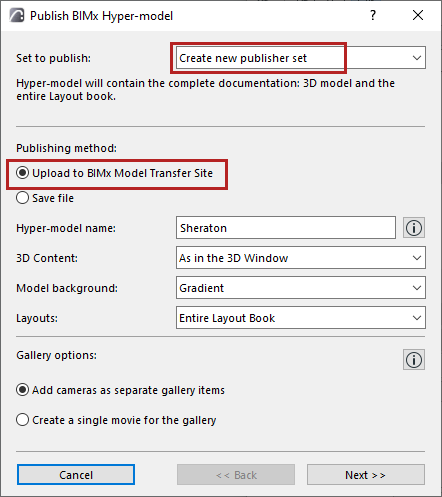
3.In the appearing dialog box, choose Create new publishing set.
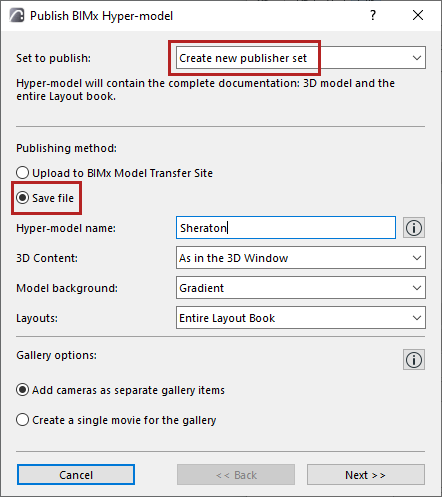
4.Choose a publishing method: Upload to BIMx Model Transfer site or Save file.
–Upload to BIMx Model Transfer site will upload the file to bimx.graphisoft.com. (You must register before using this site.)
5.Hyper-model name: Optionally, use this field to rename the Hyper-model.
Note: The Hyper-model will include the Archicad Project Info and Project Preview data.
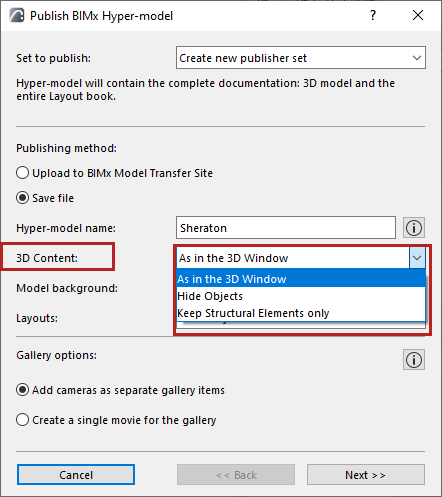
6.3D Content: Choose an option to filter the model’s 3D content:
–As in the 3D Window: Use the current view
–The Hide Objects and Keep Structural Elements only options limit the elements included in the 3D view, thus reducing file size.
7.Model background: Choose a background to use while exploring the 3D model in BIMx.
8.Layouts: Choose the Layout content to include in the BIMx Hyper-model: Entire Layout Book; No Layouts; or a selected subset.
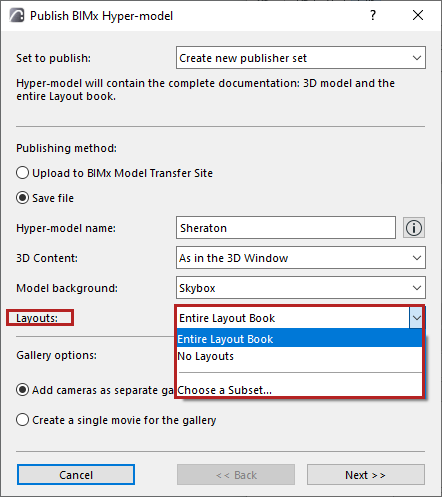
–Click Choose a Subset to select one Layout Book Subset.
Note: When using this wizard, you cannot add or remove individual Layouts to the new Publisher Set. To do that, you must use the Publisher-Organizer.
9.Set Gallery options:
Gallery options for camera path
If the Publisher Set contains a camera path: set Gallery options.
•Add cameras as separate gallery items: A separate gallery item (an image viewpoint) will be created out of each camera in the current Archicad camera path. (In BIMx, you can then combine these gallery items into a presentation.)
•Create a single movie for the gallery: A single movie-type gallery item will be created out of the current Archicad camera path
10.Click Next.
11.Set the options depending on the publishing method you choose (either Upload or Save).
If you are uploading the BIMx Hyper-model:
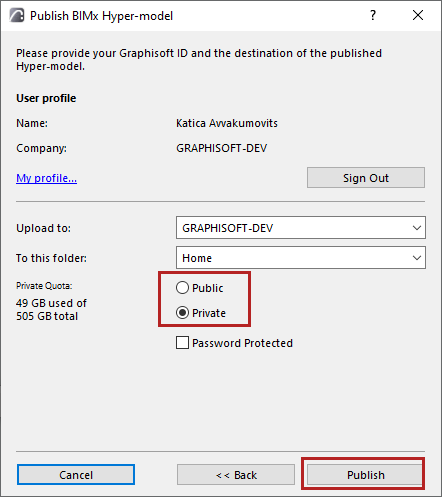
•Choose whether to upload to the Public Domain, or to a Private Folder. If you choose Private Folder, you can optionally password-protect the file.
Note: The Private Folder option is available only in your company storage location, to users who have a Software Service Agreement (SSA), or a subscription, or a Forward agreement for Archicad.
If you are saving the BIMx Hyper-model:
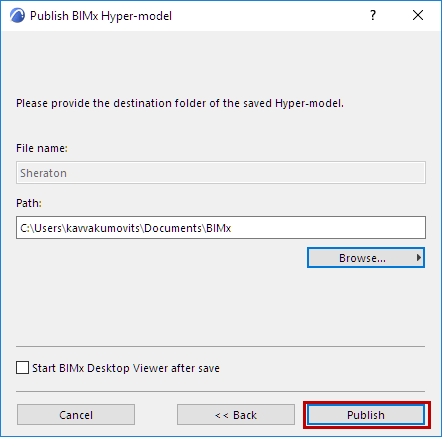
•Enter a destination file path.
•Optionally, check Start BIMx after save to open the BIMx model in BIMx Desktop.
Note: The latest version of the BIMx Desktop application is available only in Microsoft Store and Apple App Store. Please use the store version to stay up-to-date.
Read more here.
12.Click Publish.
For details, see Step 6: The Publish Process.