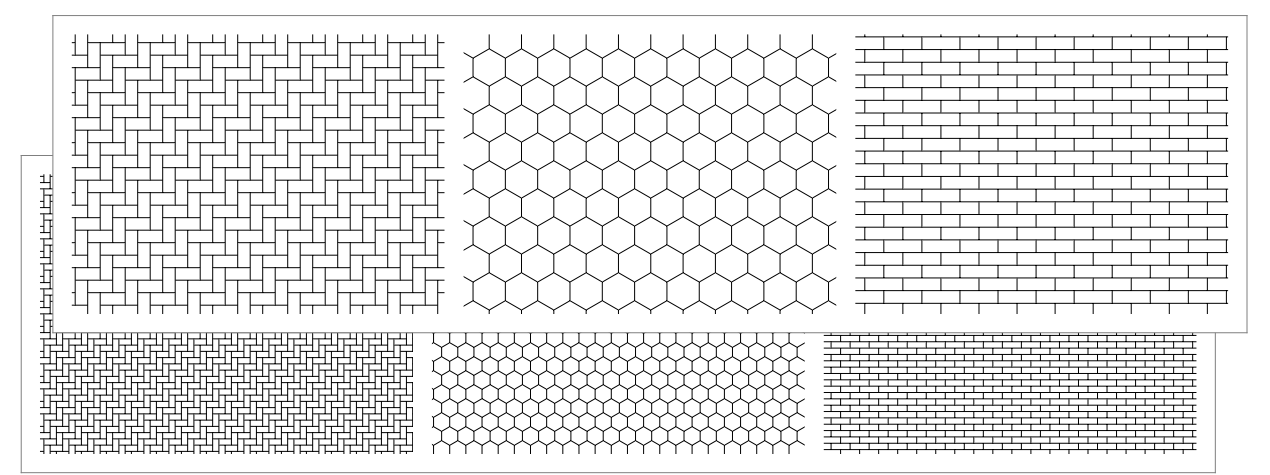
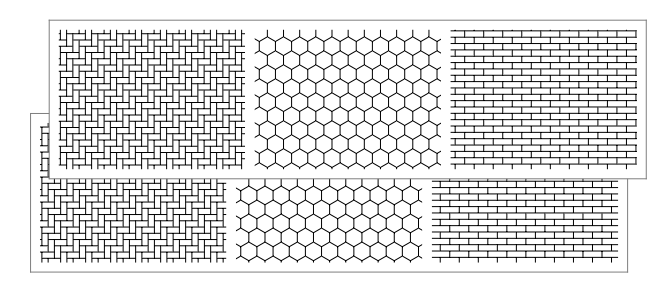
Create Image Fill
Image Fills can be used as the foreground part of Drafting fills or Cover fills.
Your default template provides predefined Image fills, but you can define your own.
Create New Image Fill
- Go to Options > Element Attributes > Fills.
- Click New.
- In the Add New Fill dialog box, choose Image fill.
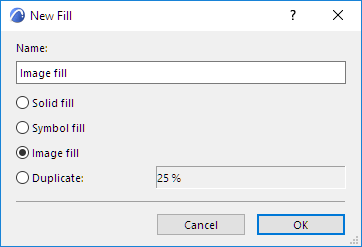
- In the Availability panel, define the new Image fill as a Drafting and/or Cover fill.
- In the Appearance panel, click Browse to bring up a library directory dialog box. Browse for the desired image and click OK to load it.
- In the Sample field, set the number of texture units displayed
in the Preview.
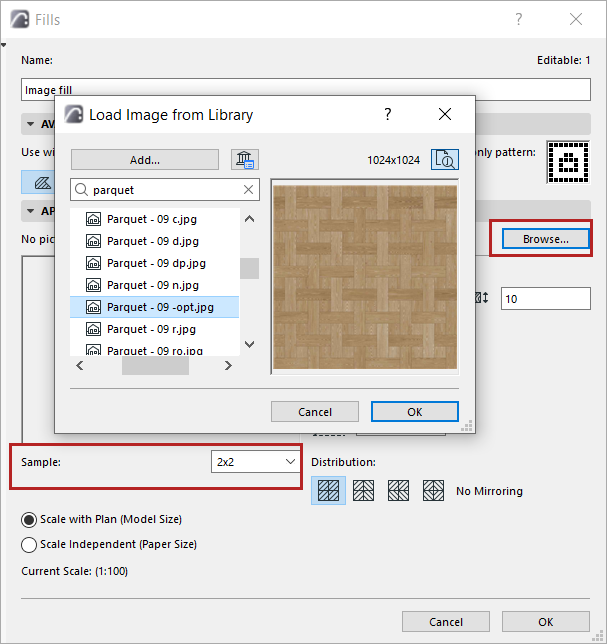
- Use the Image Size controls to fine-tune the size and pattern
of your Image fill.
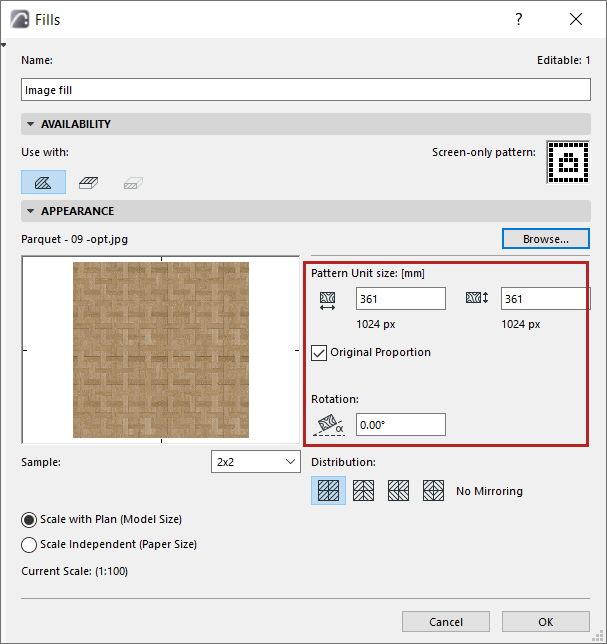
Original Proportion: Link the Horizontal and Vertical Size values so that the image is not distorted when editing its size.
Rotation: Enter an angle if you want to rotate the image pattern from the horizontal.
- Choose a Distribution method to set up the repeating patterns within your Image fill: Mirror the pattern vertically, horizontally, both, or none.
- To determine the relationship between fills and project scale, use
the two radio buttons.
Scale of Fills
- Click OK to save the newly created fill as a project attribute.