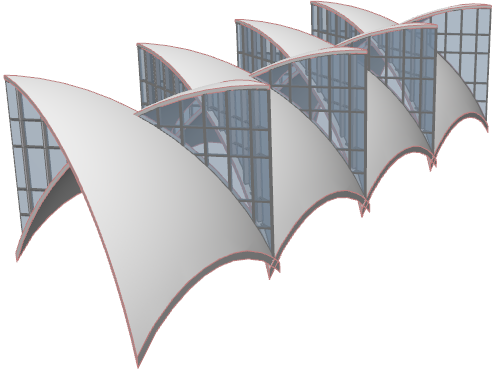
Revolved Shell: Arced Triangular Roof Complex
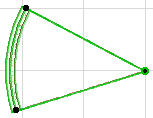
- On the Floor Plan, activate the Shell Tool and choose the Revolved geometry method with simple input method.

- Create a Revolved Shell with a 45-degree angle of revolution.
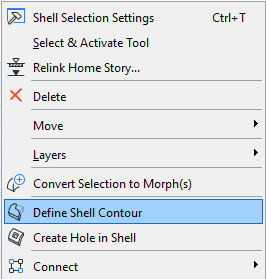
- With the Shell selected, choose Define Shell Contour from the context menu.
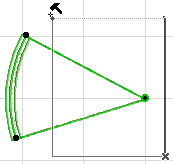
- Define a square contour with which to cut the edge of the Shell, as shown. View the result in 3D.
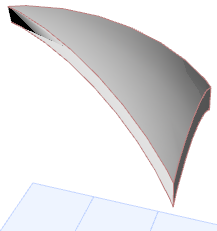
- Back on the Floor Plan, mirror a copy of this Shell.
- Move the second Shell so that it is alongside the first one.
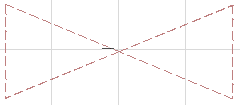
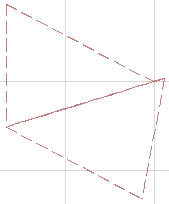
- Move the second Shell slightly upward on the Y-axis so that it slightly overlaps the first Shell (this will make it easier to trim the elements to each other.) View it in 3D.
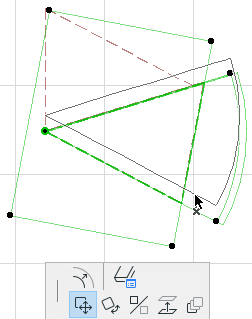
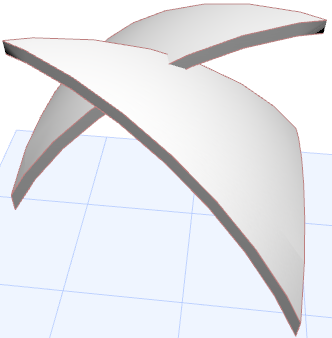
- Return to the 2D window. Create two Curtain Walls, each facing in the opposite direction, running between the two Shells as shown.
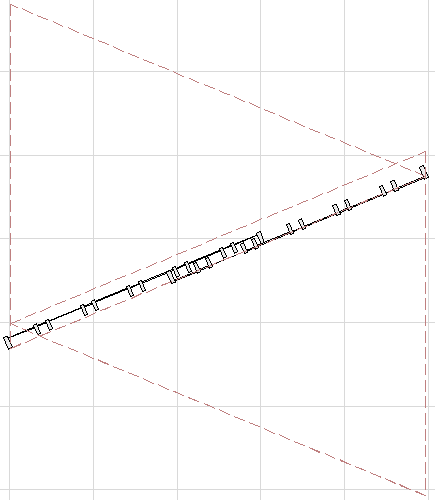
- View in 3D.
- Edit the position of the Curtain Walls into the right place: Elevate the Curtain Wall, then stretch its top corner to the right height.
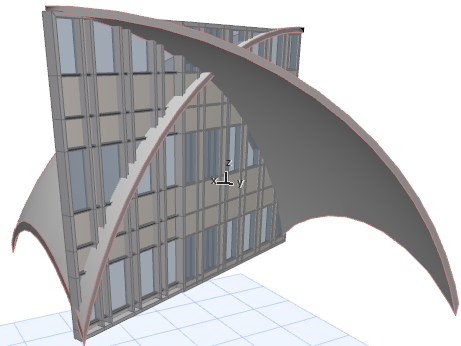
- Now select each Curtain Wall in turn and trim it to each of the Shells to achieve the desired geometry, by following these steps.
- Select one of the Curtain Walls and use the Connect > Trim Elements to Roof/Shell command (also available in Standard toolbar).
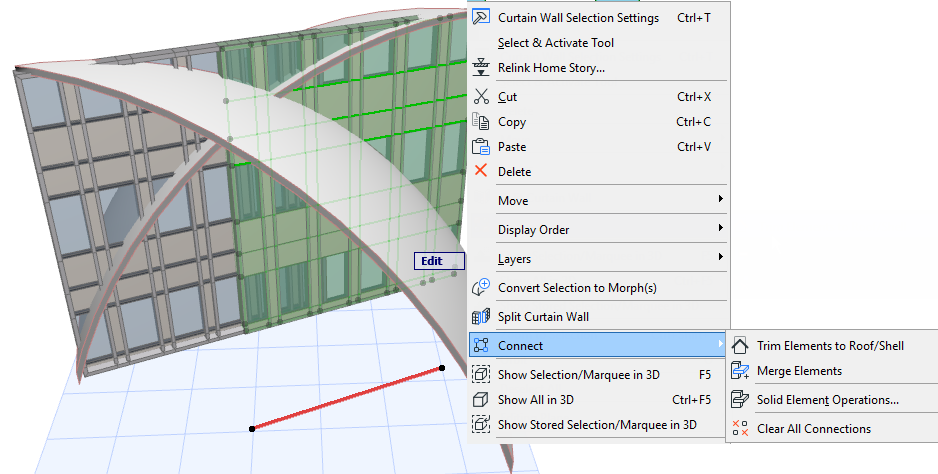
- Trim the selected Curtain Wall to each of the two Shells.
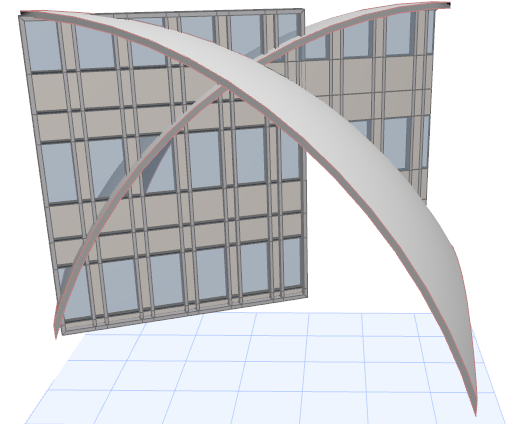
- Now select the other Curtain Wall, and trim it to each of the two Shells.
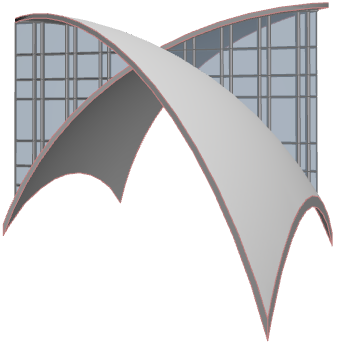
- Multiply the resulting structure as needed.