Create Curtain Wall on the Floor Plan
- Activate the Curtain Wall tool.
- Choose the Polyline - Single geometry method from the Info Box.

- Draw a Reference Line representing the length of the Curtain Wall. Note: If your Scheme has a fixed-size grid pattern, the ghost feedback and pencil/snap point indicate where the next pattern segment will be complete.
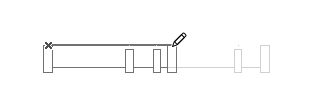
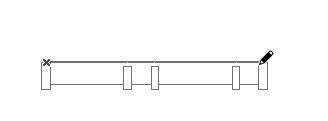
- Click to complete the Reference Line.
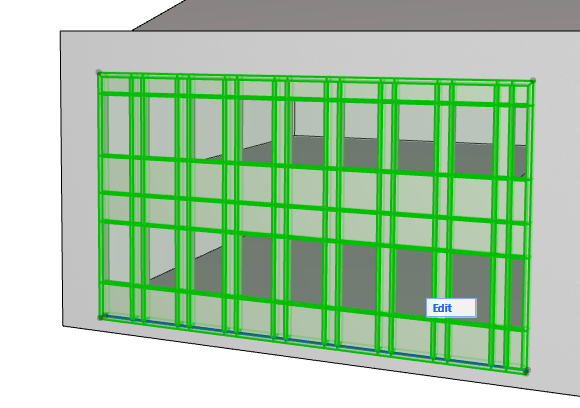
- View the result in the 3D window.
Chained Curtain Wall
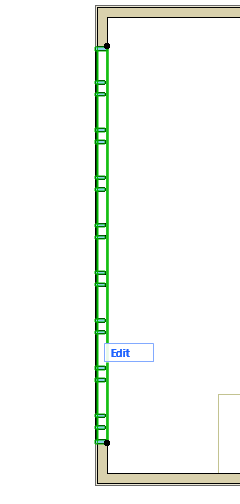
Use the Chained geometry method to create a multi-segment Curtain Wall. The reference line is a polyline.
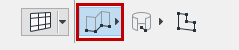
- For each segment, you can set up a separate Scheme, with a distinct pattern for each - in Edit mode.
- A Frame is always placed where two adjacent segments are joined. Such a Frame cannot be deleted. (If you wish, you can set its type to Invisible, by selecting the Frame in Edit mode and adjusting its Type in Frame Settings.)