Curtain Wall Input Plane in 3D Window
In the 3D window, the Curtain Wall Info Box provides the following options for defining the Curtain Wall’s input plane:
Default Input Plane

Intelligent Input Plane (Choose a plane)

Use one of the following “intelligent” methods to define an input plane by a series of clicks:
- Surface: Click any surface: The plane of the surface will be your input plane.
- Edge plus point: Click any edge (Mercedes cursor) to define a line.
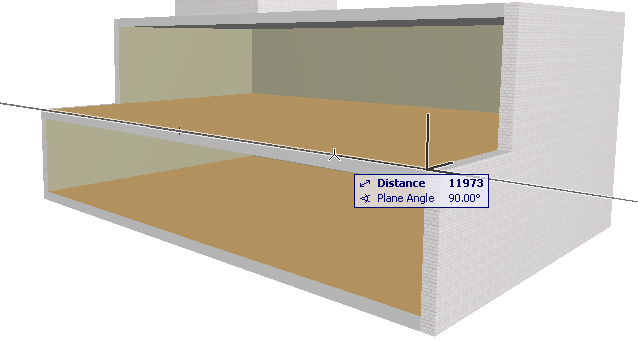
A plane appears on screen, rotating around the line as its axis. Then click a point (arrow cursor) to fix the input plane.
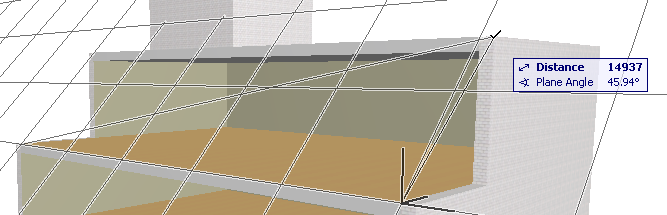
- Point plus edge: This is just the reverse of the method above. Click a point, then an edge to define the input plane.
- Three points: Click any three points to define the input plane.
Horizontal Input Plane

Click on a point to place a horizontal input plane at that point.
Vertical Input Plane

Click on a point to locate a vertical input plane, then click again to define the plane’s orientation.
Normal Input Plane

Define a slanted input plane by defining a vector that is perpendicular (“normal”) to the desired plane.
- Click two points to define the normal vector to the input plane, or
click on an edge to define the normal vector to the input plane.
- Then click a point through which the input plane will run.
For an example, see Extrude Curtain Wall from a Slanted Input Plane.