Positioning Curtain Wall in Section
Use this workflow in a Section-type window when extruding a Curtain Wall from a Reference Line.
The input plane in the Section window coincides with the Section Plane.
- Activate the Curtain Wall tool
- Choose an input method from the Info Box.
- Draw the Reference Line as usual.
- the Place Curtain Wall on Section dialog box appears. Choose an option:
- Freely position the extrusion starting point relative to the input plane. The first field is the absolute length of the extrusion; the third field is its offset from the input plane. (The sum of the two values is shown in the middle field.)
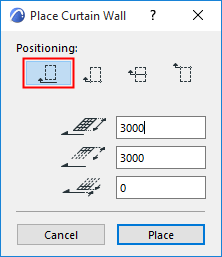
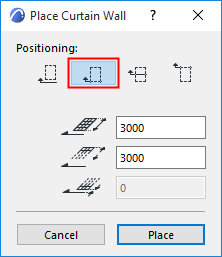
- To extrude the Curtain Wall “away” from you, starting from the input plane (Section line): Choose the second method and enter the length of extrusion. There is no offset (the Curtain Wall begins right at the input plane).
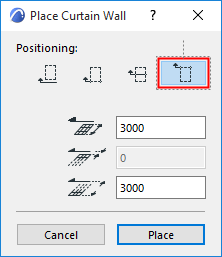
- To extrude the Curtain Wall “toward” you, starting from the input plane (Section line): Choose the fourth method and enter the length of extrusion.
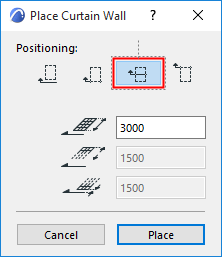
- To place the midpoint of the extrusion vector at the input plane, choose the third option. Enter the total extrusion length in the first field below.