Tread and Riser Finishes
From Stair Settings, select Finish from the tree to open this page.
Check Finish to add Tread/Riser Finish components to the Stair.
Below, click the components you need:
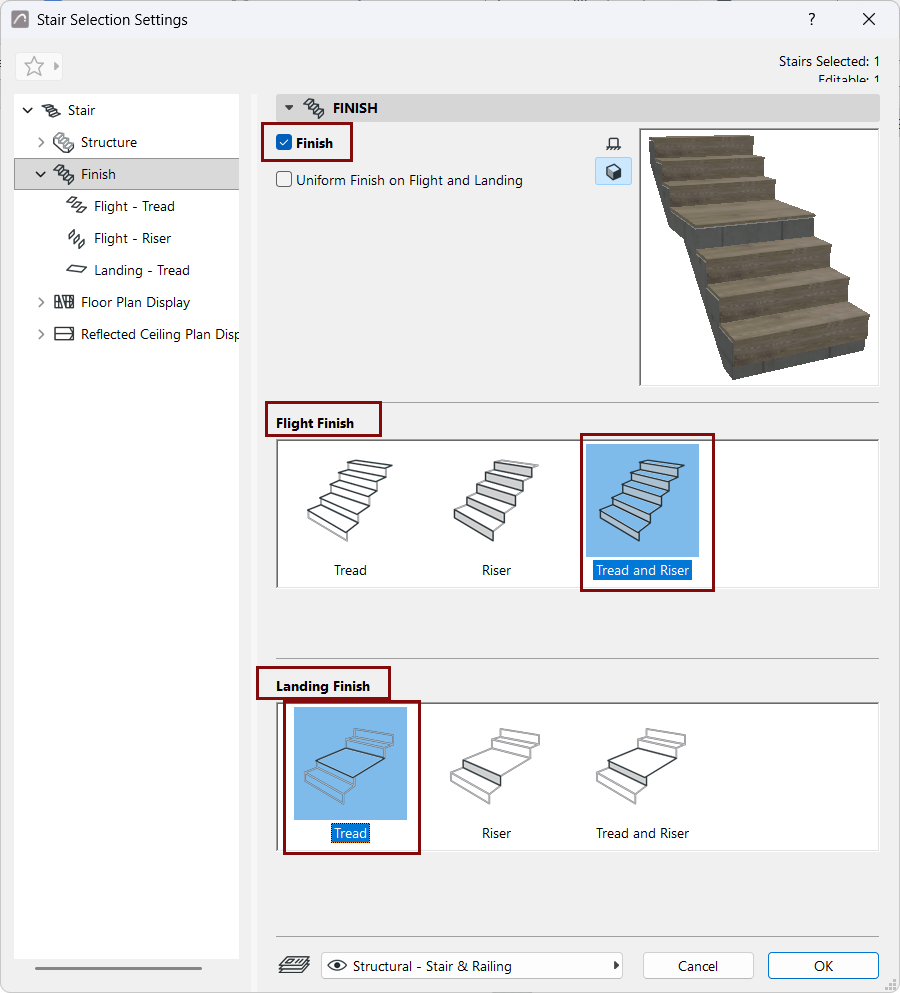
The components you choose appear in the tree structure: a separate settings page for each of the Tread/Riser/Landing/Flight finishes.
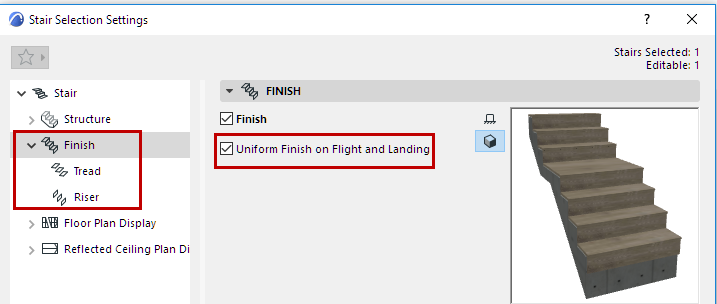
Uniform Finish on Flight and Landing
Check this option to use the same Finish settings for all the Stair’s Treads and Risers, on both Flights and Landings. The number of settings pages is thus reduced.
Tread and Riser Settings: Choose Component
On the Tread and Riser Settings pages, as applicable, choose a GDL component from the pop-up to serve as the Finish:
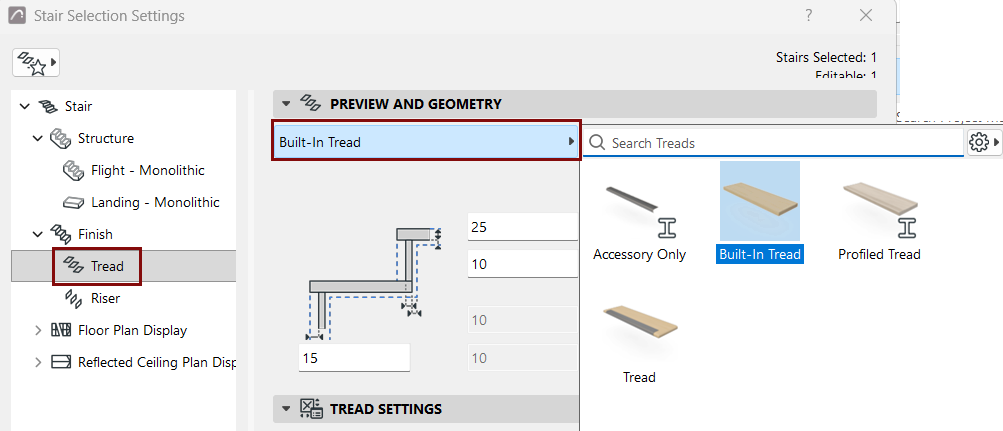
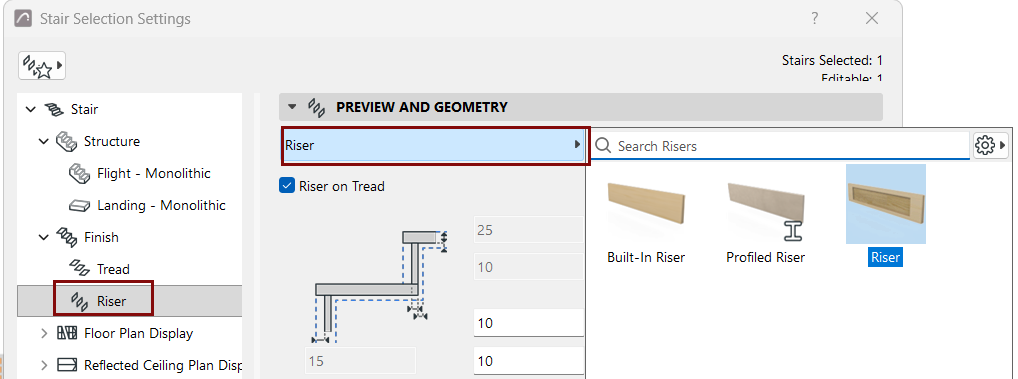
Riser on Tread: Check this to place the Riser on top of the Tread. (If this is unchecked, the Riser extends to the bottom plane of the Tread - see the diagram.)
Tread and Riser Settings
Use the Tread or Riser Settings panel to specify the shape and appearance of the chosen finish. The settings vary depending on the chosen component:
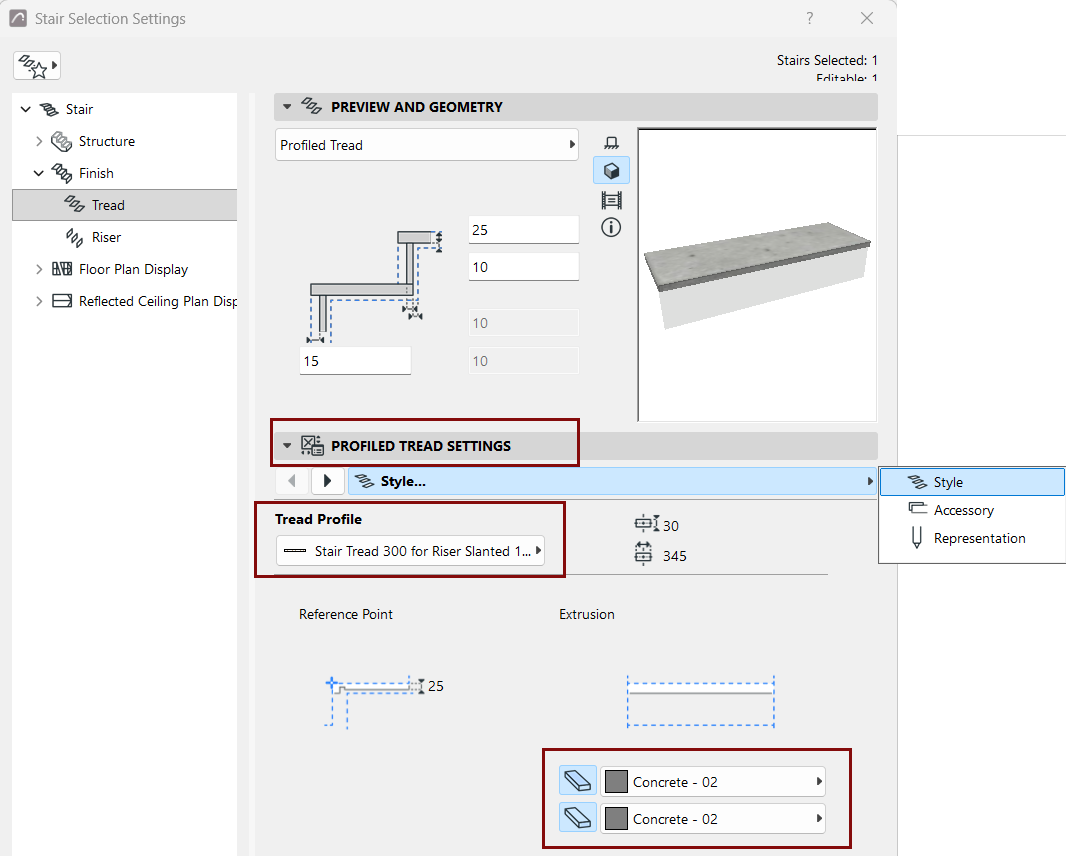
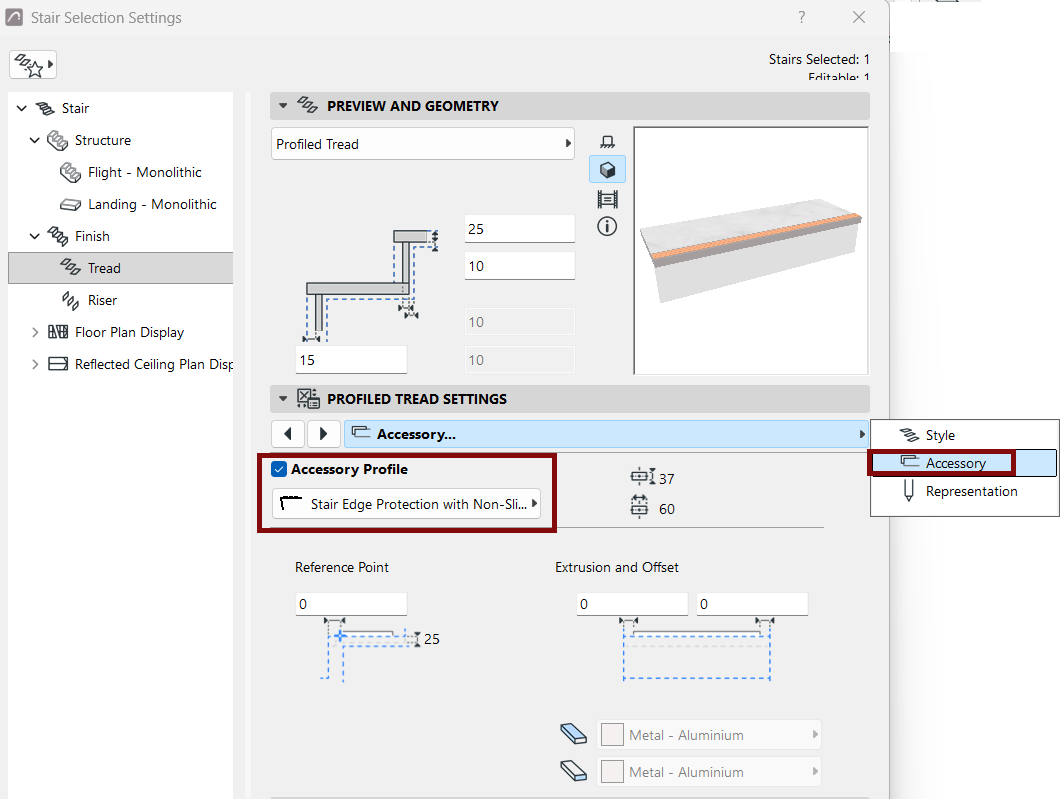
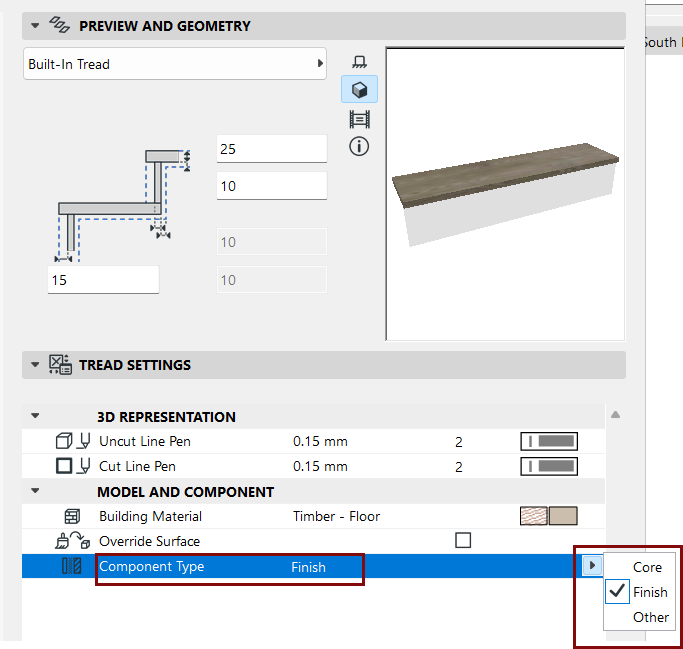
Define components as Core/Finish/Other
In the Representation section of the Settings dialog: set the components as Core/Finish/Other. (When editing Beam, Cantilever, and Stringer structures: uncheck the "Uniform Component Types" to set each component separately.)
Defining component types in this way allows you to control their display via Partial Structure Display. For example, to display structure-only coordination views, choose "Core only" as the view's Partial Structure Display setting. This will hide stair components that are defined as "Finish" or "Other".
Edit Individual Treads or Risers
Use Edit mode to edit individual Tread and Riser components. You must edit Treads and Risers separately.
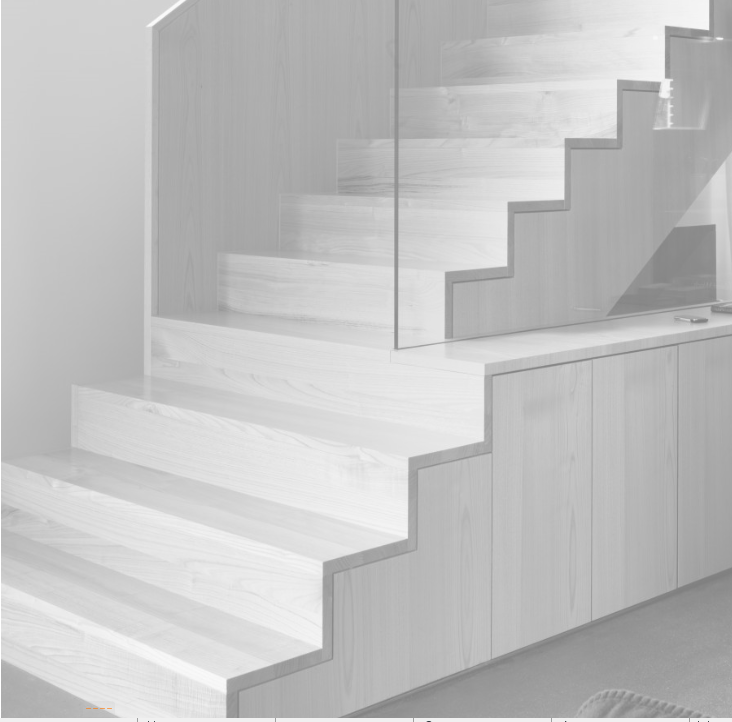
For example, edit the shape of certain Treads and Risers of a Stair that has a built-in cabinet structure.
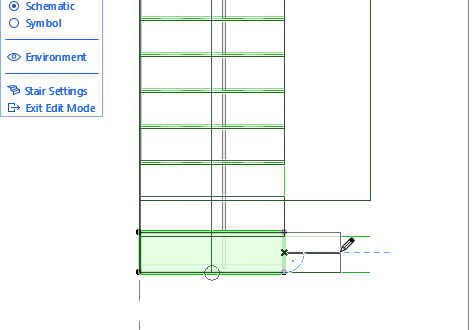
- Select the Stair and enter Edit mode. Here, use the Schematic view.
- Select each Tread individually. Use the
familiar pet palette commands to edit them.
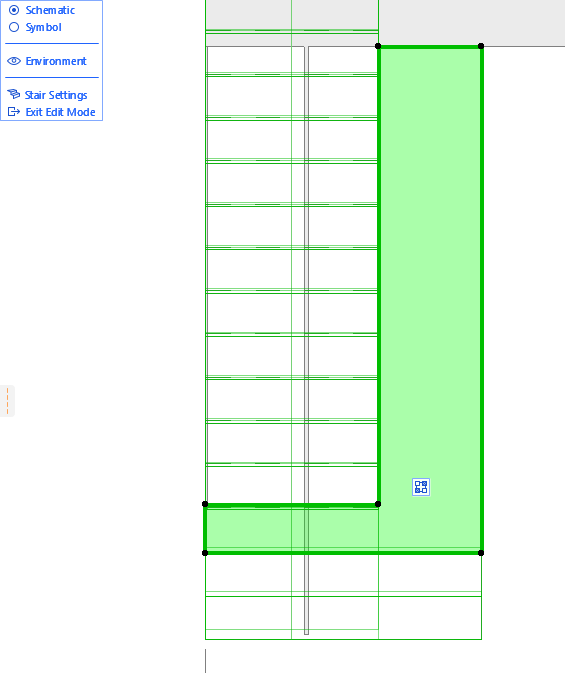
- Switch to the 3D window: Note that you are still in Edit mode.
- Continue editing the Stair components -
here, edit the Risers individually.
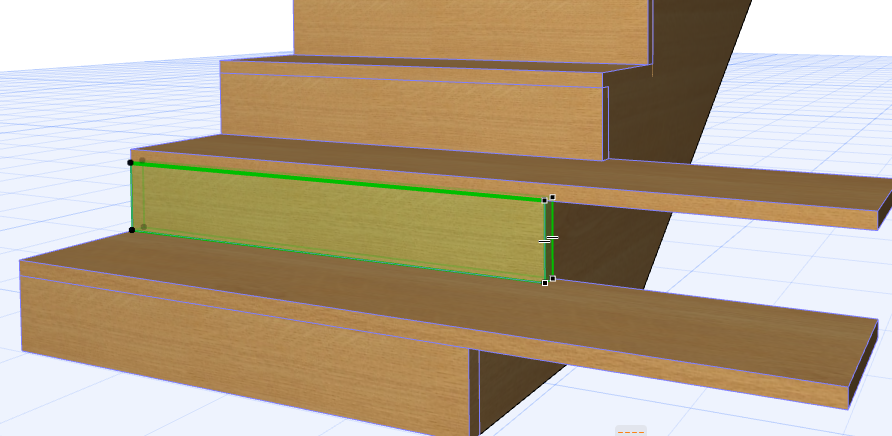
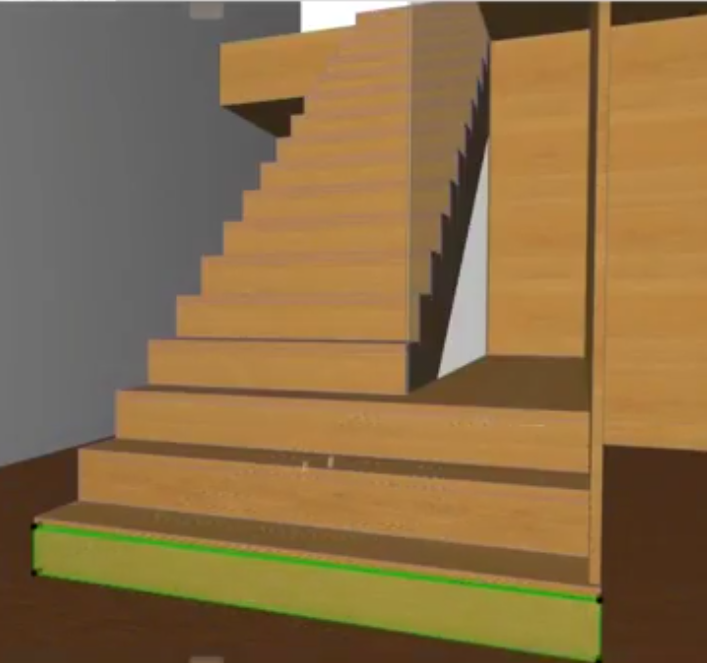
- When the Stair is complete, use Solid
Element Operations to connect it to the Wall.
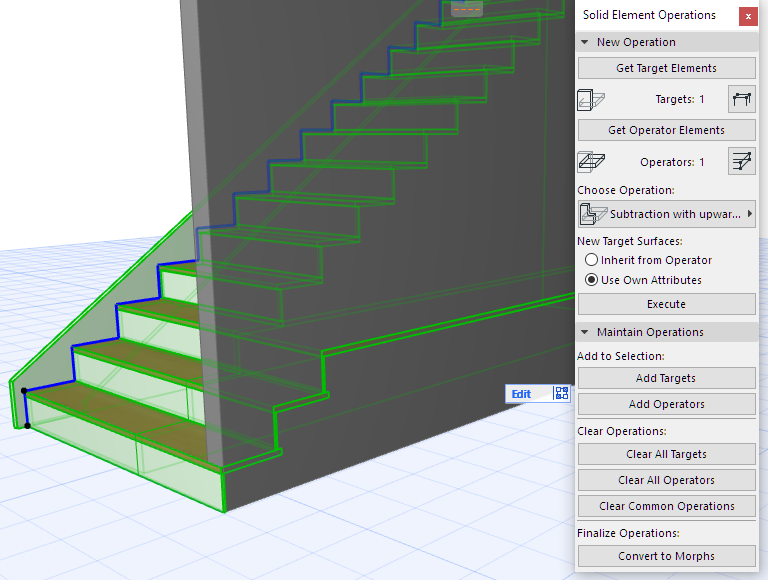
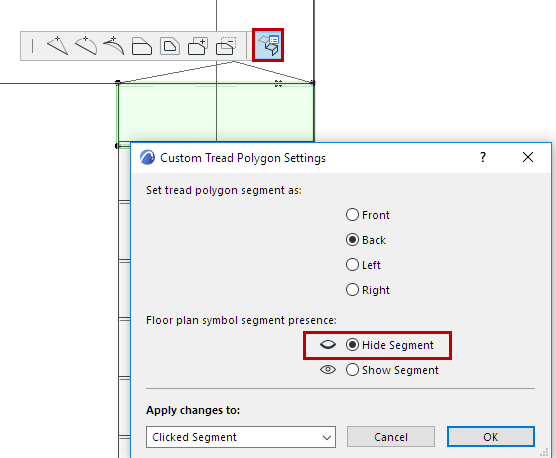
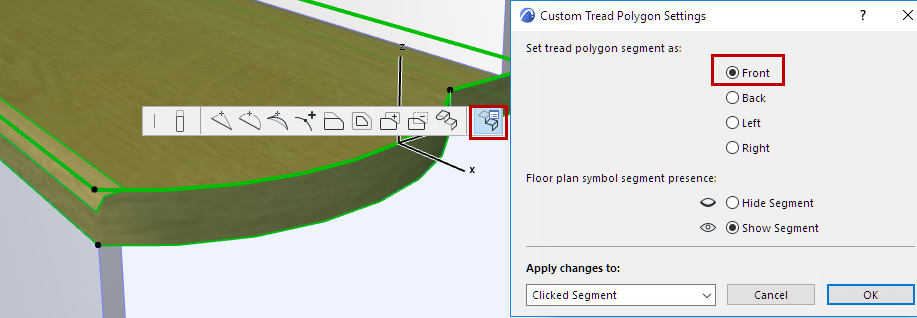
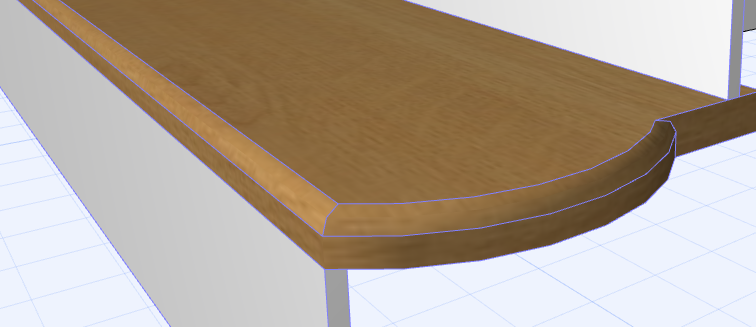
Define Custom Tread Segment: Front, Back, Left, Right
When you edit a Tread to change its shape, the Tread accessories - such as the nosing - might not extend to the customized parts.
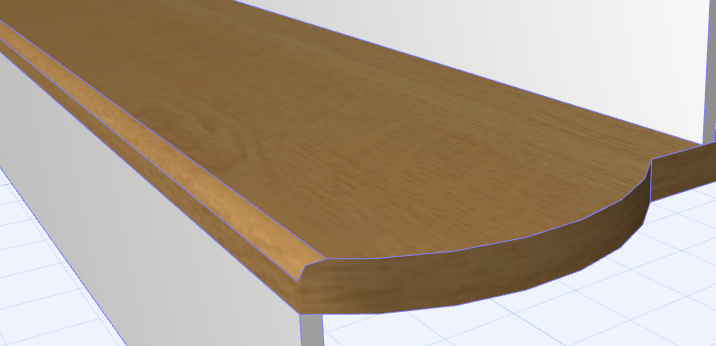
In this case, you can customize any Tread segment to behave like the front, back, left or right side of the standard tread shape.
Edit Individual Riser Heights in Edit Mode (Section/Elevation)
To edit the height of each Riser separately, you can use Edit mode from the Section or Elevation window.
(For example, to document a historic Stair with Risers of various heights.)
- Select the Stair in the Section/Elevation window, then enter Edit mode.
- Select a Tread.
- Drag the top of the Tread to the
desired location.
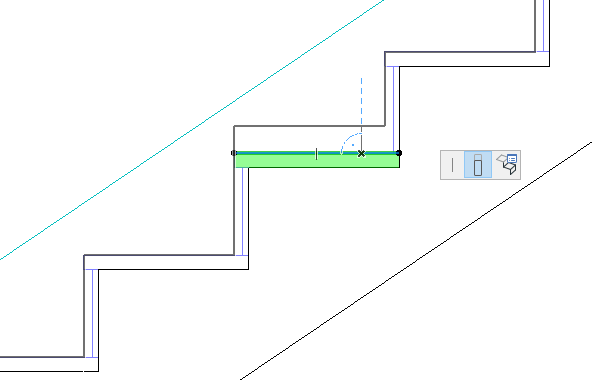
The Riser Height is adjusted. Note that the entire Stair shape is affected (including the connecting Structure).
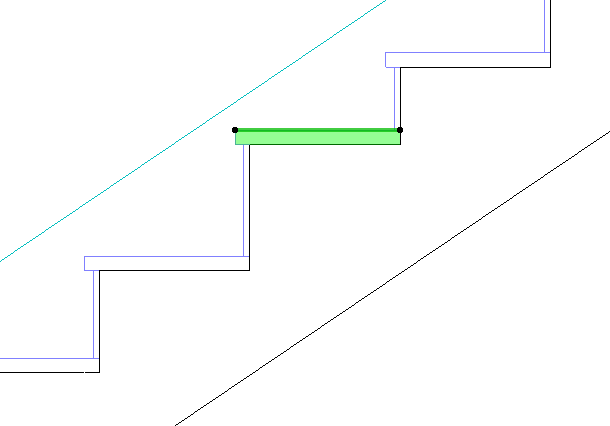
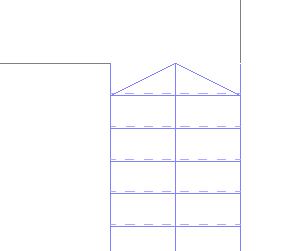
Hide Any Edge of a Single Tread
You may wish to hide a tread line in 2D. For example, you can hide the top tread line, if the last tread is on the same level as the slab of the landing.