The Pattern Editor (Railing Tool Settings)
The Pattern Editor is the graphical interface at the top of the Segment settings page and all of the Railing component settings pages.
Use the Pattern Editor to assemble a unique Railing pattern specific to each Segment. The pattern can be repeated within each Segment, according to a distribution logic defined by you.
The Pattern Editor is a symbolic representation of this pattern. It may consist of Toprail, Handrails, Rails, Inner Posts, Balusters and Panels.
The white part of Pattern Editor interface represents the pattern itself, which is placed (repeatedly, as needed/depending on distribution settings) over the whole length of the Segment. This white section - that is, the Pattern Length - extends to the last (rightmost) Inner Post within the pattern (marked with a dotted line in the image below):
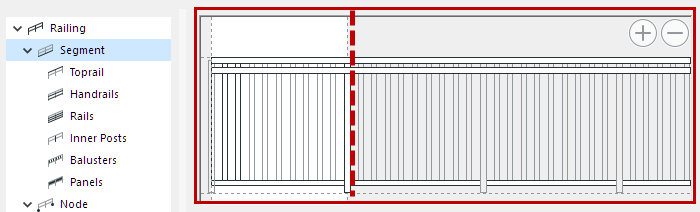
See also Pattern Length, below.
Selection in Pattern Editor
To select a component from the pattern, hover over it to see the feedback:
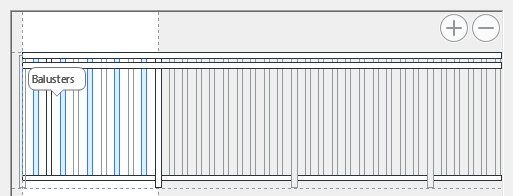
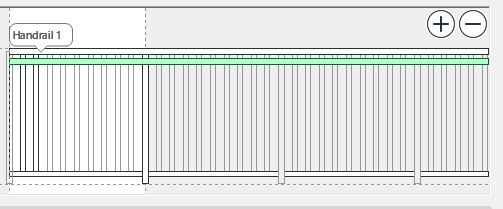
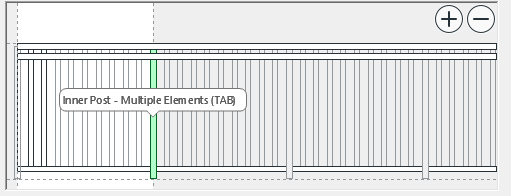
Click on a component to select it. Notice that the component type is also selected in the tree structure, and its settings are available in the dialog box.
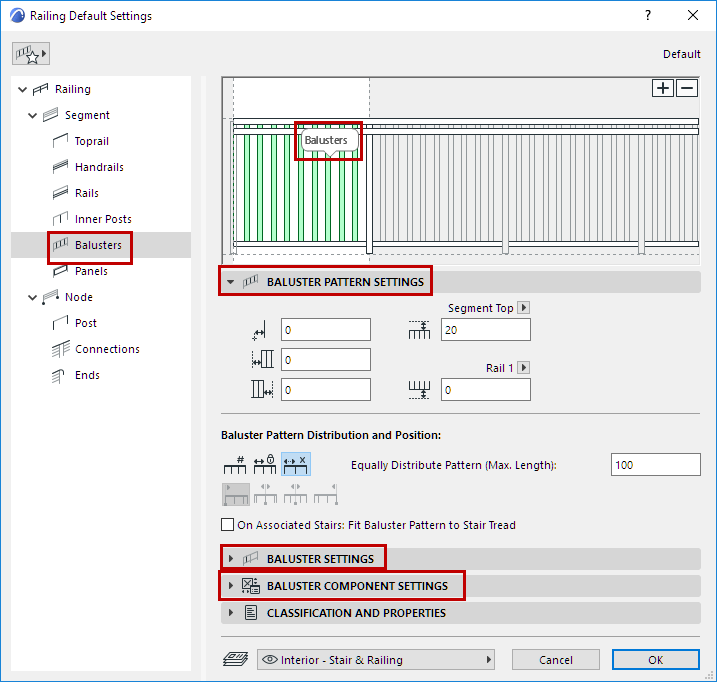
Add Component in Pattern Editor
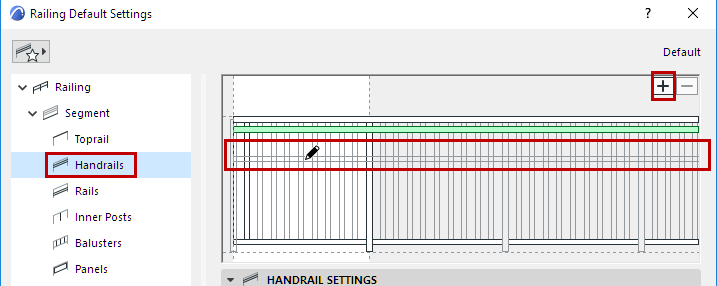
To add a Railing component to the Pattern Editor:
- Select the component (e.g. Handrails) from the tree structure
- Click the Plus sign.
- Drag the appearing symbol into place on the Pattern Editor.
- Click to place.
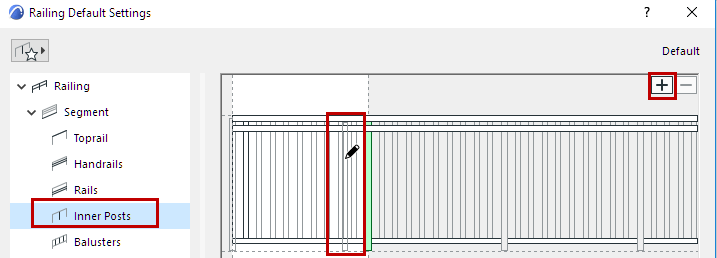
Example: Add Inner Post in Pattern Editor
- Select Inner Posts from the tree structure.
- Click the Plus sign, then drag the appearing post symbol into place on the Pattern Editor.
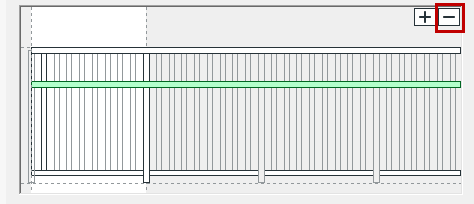
Delete Component from Pattern Editor
To delete a component from Pattern Editor:
Select it in the pattern, then do one of the following:
Pattern Length
The pattern extends to the rightmost Inner Post within the white area of the Pattern Editor.
To change Pattern Length, select the Inner Post and adjust the Distance from Previous value in the Settings below.
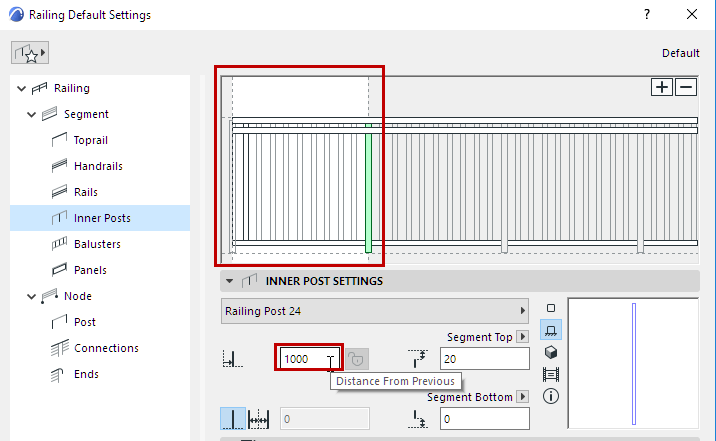
For more information on Inner Posts, see Inner Post Settings (Railing Tool).
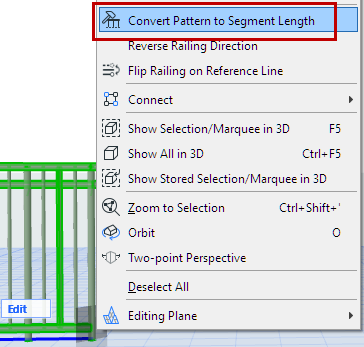
Convert Pattern to Segment Length
For a placed Railing:
Select the Railing, and use Convert Pattern to Segment Length from the context menu.
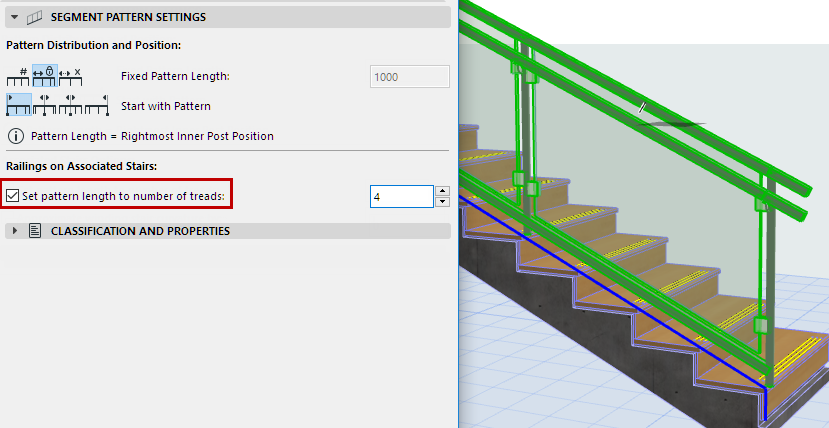
You can also fit the Pattern Length to Stair Tread width: